BAKE THE BEST Chocolate Brownies: Your Guide to Fudgy Perfection!
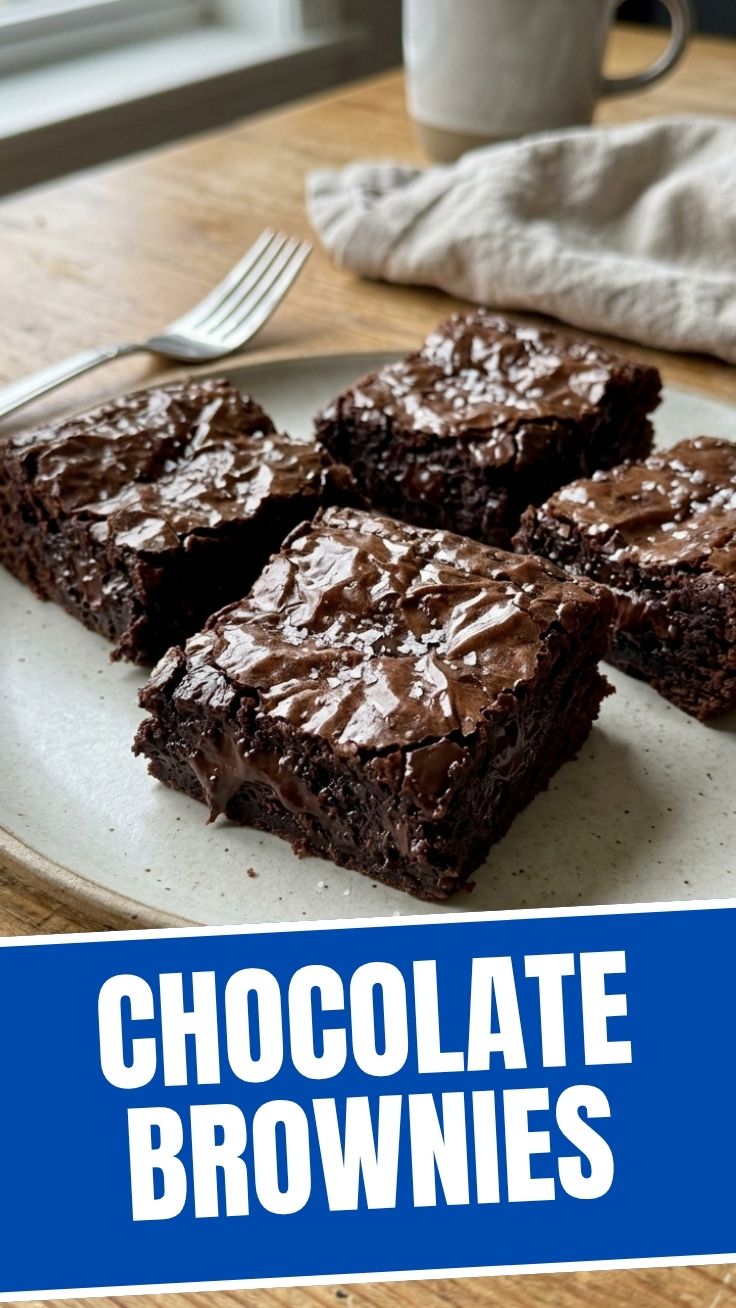
Ever wondered how to achieve that perfectly fudgy, intensely chocolatey brownie that melts in your mouth? There’s nothing quite like the aroma of freshly baked Chocolate Brownies filling your kitchen, promising a comforting treat. Preparing these delightful squares at home isn’t just about saving money; it’s about control over ingredients, customizing flavors, and creating cherished memories. Forget store-bought versions – this comprehensive guide will walk you through crafting the ultimate homemade brownie, ensuring a decadent dessert experience. Plus, mastering a few key techniques will unlock a whole world of delicious brownie recipes to explore!
Ingredients & Kitchen Tools
Here’s everything you’ll need to conjure up your own batch of magical chocolatey goodness:
- Unsalted Butter (1 cup, 2 sticks): Essential for richness and flavor. Using unsalted allows you to control the salt content.
- Granulated Sugar (1 ¾ cups): Sweetness and contributes to that desirable crackly crust.
- Light Brown Sugar (½ cup, packed): Adds moisture, chewiness, and a subtle caramel note.
- Large Eggs (4): Binds ingredients, adds structure, and contributes to fudginess.
- Vanilla Extract (2 teaspoons): Enhances the chocolate flavor. Opt for pure vanilla for best results.
- All-Purpose Flour (1 cup): Provides structure. Avoid overmixing to keep brownies tender.
- Unsweetened Cocoa Powder (¾ cup): The key for intense chocolate flavor. Dutch-processed is great for a darker, less bitter taste.
- Salt (½ teaspoon): Balances sweetness and deepens chocolate notes.
- Chocolate Chips or Chunks (1 cup, semi-sweet or dark): For extra pockets of melted chocolate. (Optional substitution: Chopped nuts like walnuts or pecans for crunch.)
- 9×13-inch Baking Pan: The ideal size for uniform brownies.
- Parchment Paper: For easy removal and cleanup.
- Large Mixing Bowls (2): For wet and dry ingredients.
- Whisk: To combine dry ingredients and aerate eggs.
- Rubber Spatula: For folding and scraping bowls.
- Saucepan (small): For melting butter and chocolate (if using the stovetop method).
- Oven thermometer: To ensure accurate oven temperature. (Recommended)
Prep Time & Cooking Schedule
Planning is key for perfect brownies!
- Prep Time: 15 minutes
- Cook Time: 25-30 minutes
- Cooling/Resting Time: At least 2 hours (crucial for fudginess!)
- Total Time: Approximately 2 hours 45 minutes
Dedicate the proper cooling time. While they’ll smell amazing, resisting the urge to cut into them hot ensures those irresistibly fudgy Chocolate Brownies and clean slices.
Step-by-Step Instructions
Follow these steps carefully for consistently excellent results.
1. Preheat & Prepare: Preheat your oven to 350°F (175°C). Line a 9×13-inch baking pan with parchment paper, leaving an overhang on the sides for easy lifting. Lightly grease the parchment paper.
2. Melt Butter & Sugar: In a large heatproof bowl (or a saucepan on low heat), melt the unsalted butter. Once melted, remove from heat and stir in both granulated sugar and light brown sugar until thoroughly combined. The sugar won’t fully dissolve yet, but it should be well incorporated. This step is crucial for achieving that signature crackly top, a hallmark of excellent brownie recipes.
3. Add Wet Ingredients: Let the butter-sugar mixture cool for a few minutes. Then, whisk in the eggs one at a time, incorporating each fully before adding the next. Stir in the vanilla extract. The mixture should be glossy.
4. Combine Dry Ingredients: In a separate medium bowl, whisk together the all-purpose flour, unsweetened cocoa powder, and salt.
5. Gently Combine Wet & Dry: Gradually add the dry ingredients to the wet ingredients. Mix using a rubber spatula until just combined. Be careful not to overmix, as this can develop gluten and lead to dry, cakey brownies instead of fudgy ones.
6. Fold in Chocolate Chips: Gently fold in the chocolate chips or chunks.
7. Bake: Pour the batter into the prepared baking pan and spread evenly. Bake for 25-30 minutes, or until a toothpick inserted into the center comes out with moist crumbs, but not wet batter. The edges should look set.
8. Cool Completely: Remove from the oven and let cool completely in the pan on a wire rack for at least 2 hours. This is the most important step for fudgy brownies. Do not skip it!
Nutritional Benefits & Advantages
Beyond their delicious taste, homemade Chocolate Brownies offer some surprising benefits:
- Antioxidants from Cocoa: Unsweetened cocoa powder is rich in flavonoids, powerful antioxidants linked to heart health and reduced inflammation.
- Portion Control: Making them at home allows you to control portion sizes, a key aspect of mindful indulgence.
- Customizable Ingredients: You can choose high-quality butter, organic eggs, or reduce sugar slightly to align with your dietary preferences, unlike many pre-made options.
Tips, Variations & Cooking Advice
Get creative with your brownies!
- Flavor Boosts: Add a pinch of espresso powder to enhance chocolate flavor, or a dash of cayenne for a subtle chili kick.
- Nutty Crunch: Fold in toasted walnuts, pecans, or almonds for added texture.
- Swirl It Up: Swirl in a tablespoon of peanut butter, Nutella, or cream cheese frosting before baking.
- White Chocolate Bliss: For a delightful contrast, use white chocolate chips or chunk. Many brownie recipes feature this wonderful addition.
- Gluten-Free: Substitute the all-purpose flour with a 1:1 gluten-free baking flour blend for a gluten-friendly option.
- Dairy-Free: Use a plant-based butter alternative and dairy-free chocolate chips.
Common Mistakes to Avoid
Steer clear of these pitfalls for brownie perfection:
Overmixing the Batter: This develops gluten, leading to dry, tough brownies. Mix until just* combined.
- Overbaking: The number one culprit for dry, cakey brownies. A toothpick should come out with moist crumbs, not completely clean.
- Cutting While Warm: Impatience leads to crumbly, messy brownies. Let them cool completely for fudgy, clean slices.
- Incorrect Pan Size: Using a pan that’s too small will result in overly thick, possibly undercooked brownies, while a pan that’s too large will yield thin, crispy ones. Stick to 9×13.
Storage & Meal Prep Tips
Maximize the life and deliciousness of your brownies:
- Room Temperature: Store cooled brownies in an airtight container at room temperature for up to 3-4 days.
- Refrigeration: While not strictly necessary, refrigerating can make them chewier and extend freshness slightly. Bring to room temperature before serving for optimal texture.
- Freezing: For longer storage, wrap individual brownies tightly in plastic wrap, then place them in an airtight freezer-safe bag or container. Freeze for up to 3 months. Thaw at room temperature for a few hours.
Conclusion
There you have it – your definitive guide to baking the most decadent, fudgy Chocolate Brownies imaginable! This recipe isn’t just about following steps; it’s about understanding the science behind the perfect texture and flavor. Don’t be afraid to experiment with variations, and remember that patience, especially during the cooling phase, is truly a virtue when making these treats. Now that you’ve mastered this classic, you’re well-equipped to explore countless other delectable brownie recipes. Share your creations with us, we’d love to see your baking triumphs!
FAQs
Q: Can I use oil instead of butter?
A: Yes, you can use a neutral-flavored oil like vegetable or canola oil. However, butter contributes to a richer flavor and a more tender, fudgy texture that’s harder to achieve with oil alone.
Q: My brownies are cakey, what went wrong?
A: This usually indicates overmixing the batter or overbaking. Ensure you mix only until the dry ingredients are just incorporated, and check for doneness around the 25-minute mark.
Q: How do I get that shiny, crackly top?
A: The key is a good amount of sugar and thoroughly whisking the eggs and sugar together until light and fluffy. Also, making sure the butter-sugar mixture is warm when the eggs are added helps too.
Q: Can I add nuts to this recipe?
A: Absolutely! Fold in about 1 cup of chopped nuts (walnuts, pecans, almonds) with the chocolate chips for added flavor and crunch.
Q: How do I know when the brownies are done?
A: A toothpick inserted into the center should come out with moist crumbs attached, but not raw batter. The edges should look set, and the center might still look slightly gooey. This is crucial for fudgy brownies.