Elevate Your Feast: The Ultimate Homemade Turkey Gravy Recipe
Have you ever experienced the disappointment of a dry, flavorless gravy drowning an otherwise perfect roast? It’s a common Thanksgiving dinner dilemma, but one that’s easily avoidable with this incredible Turkey Gravy recipe. Preparing your own gravy from scratch isn’t just about avoiding store-bought blandness; it’s about infusing your meal with unparalleled depth, richness, and the comforting taste of home. This guide will walk you through crafting a silky-smooth, intensely flavored gravy that will become the star of your entire holiday spread, transforming every forkful into a memorable experience. Get ready to impress your guests with a gravy that’s full of robust flavor, perfectly complementing your Thanksgiving dinner.
Ingredients & Kitchen Tools
Crafting the perfect gravy requires fresh ingredients and the right tools. Here’s what you’ll need:
- Turkey Pan Drippings (2 cups): The cornerstone of incredible flavor. These fats and juices collect at the bottom of your roasting pan.
- Chicken or Turkey Broth (4 cups, low sodium preferred): Adds volume and intensifies the savory base.
- All-Purpose Flour (½ cup): Our thickening agent, creating that desired velvety texture. Can be substituted with cornstarch (¼ cup dissolved in ¼ cup cold water) for a gluten-free option.
- Unsalted Butter (¼ cup): Enhances richness and helps create a smooth roux.
- Onion (½ medium, finely diced): Adds aromatic depth and subtle sweetness.
- Garlic (2 cloves, minced): Pungent notes that complement the savory turkey.
- Fresh Sage (1 tbsp, minced): Classic poultry herb, earthy and aromatic. Can substitute with ½ tsp dried sage.
- Fresh Thyme (1 tbsp, minced): Delicate, peppery notes that elevate the gravy. Can substitute with ½ tsp dried thyme.
- Dry White Wine or Sherry (¼ cup, optional): Adds a bright, complex acidity.
- Salt (to taste): Essential for balancing and enhancing flavors.
- Black Pepper (to taste): A touch of warmth and spice.
- Gravy Separator (optional but highly recommended): For easiest removal of excess fat from drippings.
- Whisk: Essential for preventing lumps and achieving a smooth consistency.
- Medium Saucepan: For cooking the gravy.
- Fine-Mesh Sieve: For straining out any solids for a silky finish.
Prep Time & Cooking Schedule
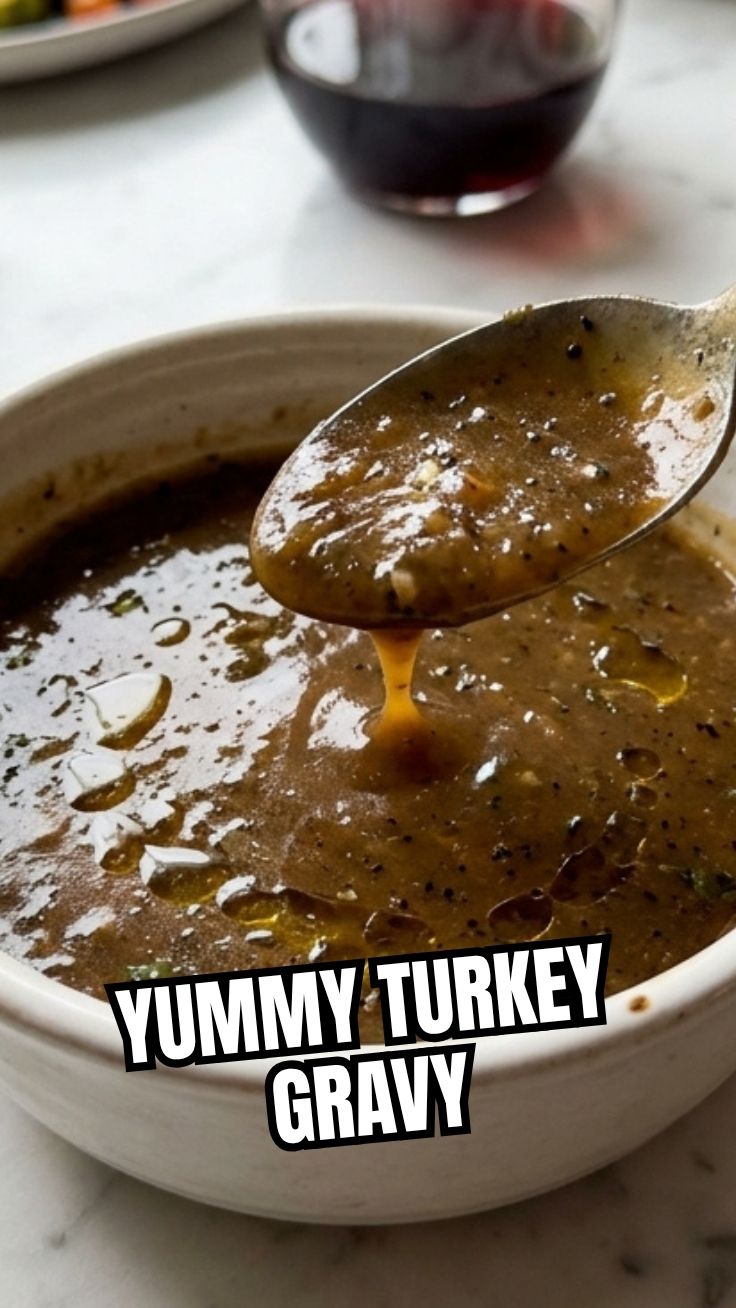
Planning is key for a stress-free holiday meal! This Turkey Gravy is best made after your turkey has rested.
- Prep Time: 15 minutes (collecting drippings, chopping aromatics)
- Cook Time: 20-25 minutes (simmering and thickening)
- Resting Time: Not applicable for gravy, but ensure your turkey rests for at least 20-30 minutes before carving so you have ample drippings.
This schedule allows you to focus on the gravy while your roasted turkey rests, ensuring both components are perfect for your Thanksgiving dinner.
Step-by-Step Instructions
Follow these detailed steps to create a show-stopping homemade Turkey Gravy that will be the centerpiece of your Thanksgiving dinner.
1. Prepare the Drippings: Once your turkey is out of the oven and resting, carefully pour all the pan drippings into a gravy separator or a large measuring cup. Allow the fat to separate and rise to the top. Skim off and discard most of the fat, leaving about 2 tablespoons of flavorful drippings in the pan, or collect about 2 cups of the fat-separated drippings for your gravy.
2. Sauté Aromatics: In a medium saucepan, melt the unsalted butter over medium heat. Add the diced onion and cook until softened and translucent, about 5-7 minutes. Add the minced garlic, fresh sage, and fresh thyme, cooking for another minute until fragrant.
3. Create the Roux: Sprinkle the flour over the softened aromatics and stir constantly for 2-3 minutes. This forms a roux, which will thicken your gravy. Cook until the mixture turns a light golden brown, ensuring the raw flour taste is cooked out.
4. Deglaze (Optional): If using, pour in the dry white wine or sherry. Scrape the bottom of the pan with a whisk to dislodge any browned bits – these are packed with flavor! Let the wine simmer for 1-2 minutes until slightly reduced.
5. Whisk in Liquids: Gradually whisk in the turkey pan drippings and then the chicken or turkey broth, adding a little at a time to prevent lumps. Continue whisking until the gravy is smooth and lump-free.
6. Simmer and Thicken: Bring the gravy to a gentle simmer, stirring frequently. Allow it to cook for 8-10 minutes, or until it reaches your desired consistency. It should be thick enough to coat the back of a spoon. If it becomes too thick, whisk in a little more broth. If too thin, continue to simmer or make a quick cornstarch slurry (1 tbsp cornstarch dissolved in 1 tbsp cold water) and whisk it in.
7. Season and Strain: Taste the gravy and season generously with salt and black pepper. Remember, flavor layering is key. For an extra silky gravy, pour it through a fine-mesh sieve into a clean serving bowl to remove any lingering solids. Serve immediately.
Nutritional Benefits & Advantages
Homemade Turkey Gravy, especially when made with low-sodium broth and skimmed drippings, offers a flavorful addition to your meal without excessive unhealthy fats. It’s a fantastic way to utilize the nutrient-rich pan drippings from your turkey, providing a savory sauce that enhances the digestibility and enjoyment of your meal. By controlling the ingredients, you avoid artificial flavors, excessive sodium, and preservatives often found in store-bought versions, making it a healthier choice for your Thanksgiving dinner.
Tips Variations & Cooking Advice
- For a Richer Flavor: Roast some turkey wings, necks, or giblets along with your turkey. Simmer them in broth for an hour or two before making the gravy to create an even more intense turkey stock base.
- Gluten-Free Gravy: Substitute the all-purpose flour with a cornstarch slurry. Dissolve ¼ cup cornstarch in ¼ cup cold water and whisk into the simmering gravy until thickened.
- Creamy Gravy: Stir in a tablespoon or two of heavy cream at the very end for an extra luxurious, creamy texture.
- Herb Variations: Experiment with different fresh herbs like rosemary or bay leaf.
- Mushroom Gravy: Sauté sliced mushrooms with the onions for an earthy, umami-rich gravy.
- Make Ahead (Partially): You can prepare the gravy base (sautéed aromatics and roux) a day in advance. Store in the fridge and then whisk in the drippings and broth on Thanksgiving day.
Common Mistakes to Avoid
- Not Skimming Fat: Too much fat makes the gravy greasy and unappetizing. Use a gravy separator or spoon off excess fat diligently.
- Not Whisking Enough: Lumpy gravy is a common pitfall. Whisk constantly when adding flour and liquids to ensure a smooth, velvety texture.
- Undercooking the Roux: If the flour isn’t cooked long enough, the gravy can have a raw flour taste. Cook until it’s a light golden brown.
- Not Seasoning Enough: Gravy needs robust seasoning. Taste as you go and adjust salt and pepper liberally.
- Starting with Cold Broth: Always use warm or hot broth when adding to the roux to prevent lumps and ensure smoother incorporation.
Storage & Meal Prep Tips
Leftover Turkey Gravy is a treasure!
- Refrigeration: Store in an airtight container in the refrigerator for up to 3-4 days.
- Freezing: For longer storage, freeze the gravy in an airtight container or freezer-safe bags for up to 3 months. Thaw overnight in the refrigerator before reheating.
- Reheating: Gently reheat the gravy in a saucepan over low heat, whisking frequently. If it’s too thick, whisk in a splash of chicken broth or water to achieve the desired consistency. It’s perfect for leftover sandwiches or drizzled over mashed potatoes.
Conclusion
Mastering the art of homemade Turkey Gravy is a culinary triumph that will undoubtedly elevate your holiday feasts. This recipe demystifies the process, turning what might seem daunting into an achievable and incredibly rewarding endeavor. By following these steps, you’ll create a rich, flavorful, and perfectly textured gravy that truly complements your Thanksgiving dinner, leaving your guests clamoring for more. Don’t settle for anything less than spectacular this holiday season – give this recipe a try and share your delicious results with us!
FAQs
Q1: Can I make this gravy without turkey pan drippings?
A1: Yes! While drippings offer the best flavor, you can substitute them entirely with extra chicken or turkey broth. You might want to add a teaspoon of poultry seasoning for more depth.
Q2: My gravy is too thin, what can I do?
A2: Create a cornstarch slurry: mix 1 tablespoon of cornstarch with 1 tablespoon of cold water until smooth. Whisk this mixture into the simmering gravy a little at a time until it thickens to your desired consistency.
Q3: My gravy is lumpy! How do I fix it?
A3: The easiest fix is to pour the gravy through a fine-mesh sieve or strainer into a clean bowl. For truly stubborn lumps, you can briefly use an immersion blender, but be careful not to over-blend and make it gummy.
Q4: Can I make this gravy ahead of time?
A4: Yes, you can make it 1-2 days in advance. Store it in an airtight container in the refrigerator. Reheat gently over low heat, adding a splash of broth or water if it’s too thick.
Q5: What’s the best way to separate the fat from the drippings if I don’t have a gravy separator?
A5: Pour the drippings into a large measuring cup or bowl and let it sit for about 10-15 minutes. The fat will rise to the top. Use a large spoon or a small ladle to carefully skim off the fat layer from the surface.