The Ultimate Guide to Crafting a Perfect Roast Turkey
Ever wondered what it takes to transform a humble bird into a magnificent centerpiece,
a dish so flavorful it becomes the star of any gathering? The secret lies not in
culinary wizardry, but in understanding a few key techniques and embracing the joy of
homemade goodness. Preparing your own Roast Turkey isn’t just about saving money;
it’s about infusing your meal with love, choosing quality ingredients, and tailoring
flavors to perfection. This comprehensive guide will walk you through every step,
ensuring your next roast turkey recipe
is an unforgettable culinary triumph, filling your home with
aromas that signal celebration and comfort.
Ingredients & Kitchen Tools
Crafting the perfect Roast Turkey requires a thoughtful selection of ingredients and
the right tools. Here’s what you’ll need:
- 12-15 lb Whole Turkey: Opt for a fresh, untrussed bird for even cooking.
(Approx. $30-50 depending on size/brand)
- 1/2 cup Unsalted Butter: Softened, for a golden, crispy skin.
(Approx. $2-4)
- 2 large Yellow Onions: Quartered, for aromatic stuffing and moisture.
(Approx. $1-2)
- 4 stalks Celery: Chopped into large pieces, adds depth to the cavity.
(Approx. $1-2)
- 4 sprigs Fresh Rosemary: Pungent herb for classic turkey flavor.
(Approx. $2-3)
- 6 sprigs Fresh Thyme: Earthy herb, complements the rosemary beautifully.
(Approx. $2-3)
- 1 Head Garlic: Halved horizontally, for a mellow roasted garlic essence.
(Approx. $0.50-1)
- 2 cups Chicken Broth (low sodium): For basting and creating a flavorful drippings base.
(Approx. $2-4)
- Salt and Freshly Ground Black Pepper: Essential seasonings.
(Pantry staples)
- Large Roasting Pan with Rack: Crucial for even browning and preventing sticking.
(One-time purchase, approx. $30-70)
- Meat Thermometer: Instant-read or probe-style, for accurate temperature readings.
(One-time purchase, approx. $15-30)
- Basting Brush: For applying butter and broth.
(One-time purchase, approx. $5-10)
- Kitchen Twine: Optional, for trussing if desired (promotes even cooking).
(Pantry staple)
Optional Substitutions: Olive oil for butter, leeks for onions, sage for rosemary/thyme.
Prep Time & Cooking Schedule
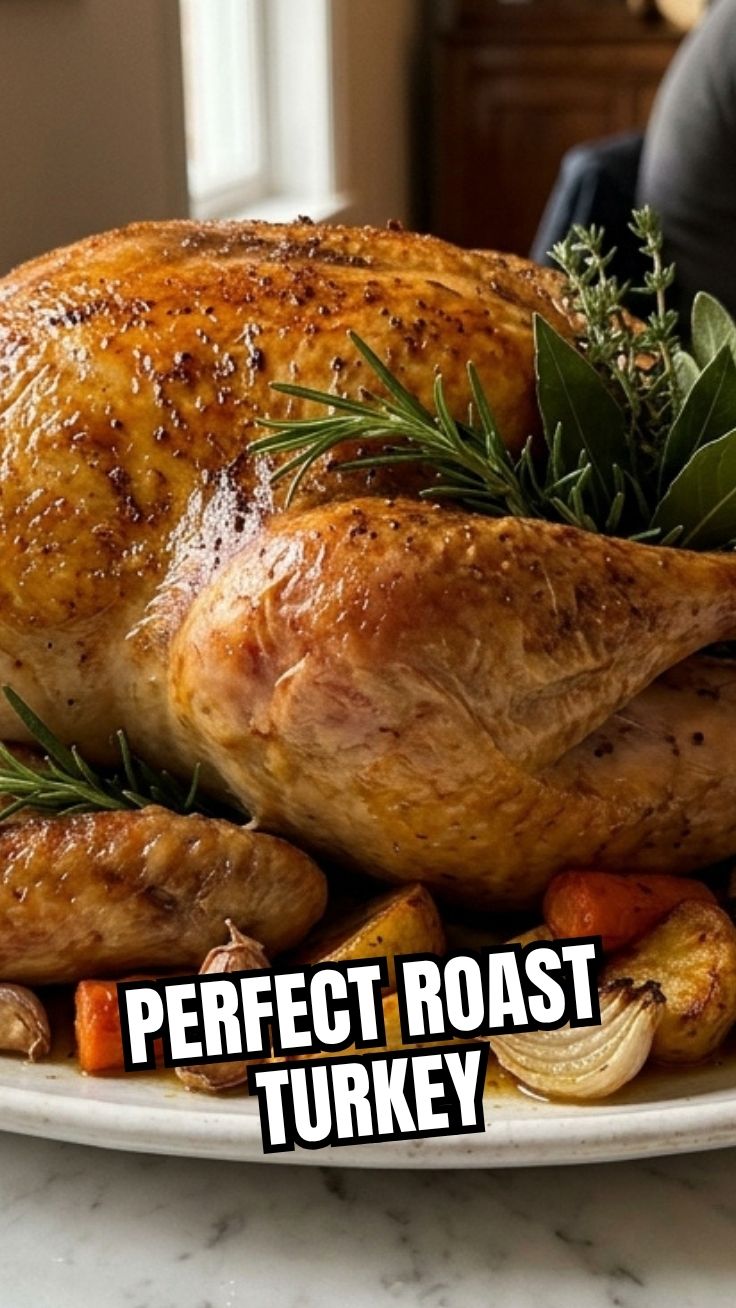
Planning is key to a stress-free turkey experience.
- Prep Time: 30 minutes (includes removing giblets, rinsing, patting dry, seasoning)
- Brining/Dry Brining (Optional but Recommended): 12-24 hours. This adds significant
moisture and flavor.
- Cooking Time: Approximately 15 minutes per pound at 325°F (160°C). For a 12-15 lb
turkey, this is roughly 3-4 hours. Always cook until the internal temperature reaches 165°F (74°C)
in the thickest part of the thigh without touching the bone.
- Resting Time: 20-30 minutes. Non-negotiable! This allows juices to redistribute,
resulting in a more tender and flavorful bird.
Step-by-Step Instructions
Follow these steps for a moist, flavorful, and perfectly golden Roast Turkey.
1. Prepare the Turkey: Remove the turkey from its packaging. Take out the giblets and
neck from both cavities (reserve for gravy if desired). Rinse the turkey inside and out
with cold water, then pat it thoroughly dry with paper towels. You want the skin
as dry as possible for ultimate crispiness.
2. Seasoning & Aromatics: In a small bowl, combine softened butter with salt and pepper.
Carefully loosen the skin over the breast and thighs with your fingers and spread about
half of the butter mixture directly onto the meat. Rub the remaining butter over the
outside of the skin. Stuff the cavity with quartered onions, celery, halved garlic,
rosemary, and thyme. This infuses incredible aromatic flavor into the bird as it roasts.
3. Roasting: Place the turkey on the rack in your roasting pan. Pour 2 cups of chicken
broth into the bottom of the pan – this prevents drippings from burning and adds moisture
to the roasting environment. Preheat your oven to 425°F (220°C). Roast the turkey for 20 minutes
at this higher temperature to help crisp the skin.
4. Reduce Heat & Continue Roasting: Reduce the oven temperature to 325°F (160°C).
Continue roasting, basting every 30-45 minutes with the pan juices and any leftover
butter mixture. If the skin begins to brown too quickly, tent it loosely with foil.
Monitor the internal temperature using a meat thermometer inserted into the thickest
part of the thigh, away from the bone. The turkey is done when it reaches 165°F (74°C).
This precise temperature ensures safety and optimal juiciness for your
roast turkey recipe.
5. Resting: Once cooked, remove the turkey from the oven and transfer it to a large
cutting board. Tent it loosely with foil and let it rest for at least 20-30 minutes
before carving. This crucial step allows the juices to redistribute throughout the meat,
resulting in a more tender and moist bird.
Nutritional Benefits & Advantages
Turkey is a lean protein powerhouse, and our Roast Turkey recipe capitalizes on its
nutritional advantages. It’s an excellent source of protein, essential for muscle repair
and growth, and contains vital B vitamins (Niacin, B6, B12) important for energy metabolism
and nervous system function. It’s also rich in selenium, an antioxidant that supports
thyroid health and immunity, and zinc, crucial for immune function. By roasting, we
avoid excessive fats often associated with frying, making it a healthier option. The
aromatics like onions, celery, and garlic add not just flavor but also beneficial
phytonutrients and fiber.
Tips, Variations & Cooking Advice
- Dry Brining: For an incredibly juicy and flavorful bird, consider dry brining for
12-24 hours. Rub 1 tablespoon of kosher salt per 4-5 lbs of turkey all over the bird,
then refrigerate uncovered. Rinse well before roasting.
- Flavor Boosts: Add apple wedges, lemon halves, or whole sprigs of sage to the cavity
along with the other aromatics for different flavor profiles.
- Crispier Skin: For extra crispy skin, lightly rub a tablespoon of baking powder with
the salt and pepper mixture onto the skin before roasting. This helps to dry the surface
and promote browning.
- Compound Butter: Get creative with your butter mixture! Add finely chopped herbs
(parsley, chives), lemon zest, or a pinch of smoked paprika for an extra layer of flavor.
- Spatchcocking: If you have a larger bird and want a faster, more even cook, consider
spatchcocking (removing the backbone and flattening the bird). It dramatically
reduces cooking time and helps the skin crisp all over.
Common Mistakes to Avoid
- Not Patting Dry: A damp turkey skin means steamed skin, not crispy skin. Pat, pat, pat!
- Overcooking: The number one enemy of a juicy turkey. Invest in a good meat
thermometer and trust it. Err on the side of slightly underdone, as the turkey will
continue to cook during the resting period (carryover cooking).
- Not Resting: Carving too soon leads to a dry bird because all the delicious juices
will run out onto your cutting board instead of staying in the meat. Be patient!
- Cold Turkey: Don’t roast a turkey straight from the fridge; let it sit at room
temperature for about 1-2 hours before cooking for more even roasting.
Storage & Meal Prep Tips
Leftover Roast Turkey is a treasure! Once cooled, carve any remaining meat from the
bones. Store cooked turkey in an airtight container in the refrigerator for up to 3-4 days.
For longer storage, freeze portions in freezer-safe bags or containers for up to 2-3 months.
To reheat, gently warm in the oven at 300°F (150°C) with a splash of broth to prevent drying,
or microwave in small portions. Leftover turkey is fantastic in sandwiches, salads, soups,
tacos, or stir-fries.
Conclusion
Mastering the art of a perfectly cooked Roast Turkey
is a truly rewarding culinary experience. With the right ingredients, a logical process, and
a little patience, you can create a succulent, flavorful, and memorable centerpiece for
any occasion. We hope this guide empowers you to confidently tackle a
roast turkey recipe and impress your family and friends. Don’t be shy – give
this recipe a try and share your delicious results in the comments below! Happy roasting!
FAQs
Q1: How do I know when my turkey is fully thawed?
A1: A thawed turkey should be soft to the touch and there should be no ice crystals in the cavity.
Allow approximately 24 hours of refrigeration per 4-5 pounds of turkey.
Q2: Can I stuff the turkey with traditional bread stuffing?
A2: While you can, it’s generally recommended to cook stuffing separately. Stuffing inside
the turkey can prevent the bird from cooking evenly and makes it difficult to ensure the
stuffing reaches a safe internal temperature of 165°F (74°C) without overcooking the turkey.
Q3: My turkey skin isn’t getting crispy, what can I do?
A3: Ensure the skin is completely dry before roasting. You can also try increasing the oven
temperature to 400°F (200°C) for the last 15-20 minutes of cooking (watching carefully to
prevent burning) or turn on the broiler for a minute or two at the very end, again,
with extreme vigilance.
Q4: How can I use the turkey drippings?
A4: Turkey drippings are the foundation for an incredible gravy! Simply separate the fat
from the drippings, then use the flavorful liquid to create a roux with flour and whisk
in more broth or wine until you reach your desired consistency.
Q5: What if my turkey breasts cook faster than the thighs?
A5: This is a common issue. If you notice the breast cooking faster, you can tent the
breast area with aluminum foil to shield it from direct heat, allowing the thighs to catch up.