The Ultimate Guide to Crafting Perfect Homemade Shortbread Cookies
Ever wondered what makes a truly exceptional cookie? That perfect crumbly texture, the subtle sweetness, and the way it just melts in your mouth? Today, we’re diving deep into the delightful world of homemade Shortbread Cookies. Forget store-bought imitations; preparing these classic treats at home isn’t just about saving money – it’s about crafting a personalized culinary experience. With just a few simple ingredients and a little love, you can bake a batch of buttery, tender cookies that will impress everyone. We’ll be focusing on achieving that quintessential butter shortbread mouthfeel, guaranteeing a delightful experience for your taste buds.
Ingredients & Kitchen Tools
To embark on your shortbread journey, gather these essentials:
- 2 cups all-purpose flour: The structural base for our cookies.
- 1 cup (2 sticks) unsalted butter, softened: Crucial for that signature rich, melt-in-your-mouth texture. Unsalted allows you to control the salinity.
- 1/2 cup granulated sugar: Provides sweetness and contributes to browning.
- 1/4 teaspoon salt: Enhances flavor and balances the sweetness.
- Optional: 1 teaspoon vanilla extract: Adds a lovely aromatic depth.
- Large mixing bowl: For combining ingredients.
- Electric mixer (stand or hand-held): For creaming butter and sugar effectively. A whisk and elbow grease can work too!
- Rolling pin: To achieve an even thickness.
- Cookie cutters (round, square, or fluted): For shaping your cookies. If you don’t have cutters, a knife works for classic shortbread fingers.
- Baking sheets: Preferably light-colored to prevent over-browning.
- Parchment paper or silicone baking mats: Prevents sticking and ensures even baking.
- Wire cooling rack: For cooling baked cookies.
Prep Time & Cooking Schedule
- Prep Time: 20 minutes
- Chill Time: 30 minutes (minimum) to 1 hour (recommended)
- Cook Time: 15-20 minutes
- Total Time: Approximately 1 hour 5 minutes (plus chilling)
This schedule allows for efficient baking. The chilling step is crucial for preventing spread and ensuring your cookies retain their shape and delicate texture. Plan to make the dough ahead if you want freshly baked cookies quickly.
Step-by-Step Instructions
1. Cream Butter and Sugar: In your large mixing bowl, beat the softened butter and granulated sugar together with an electric mixer on medium speed until light and fluffy. This usually takes about 3-5 minutes. If using vanilla extract, beat it in now. This step is vital for incorporating air, which contributes to the tender crumb of Shortbread Cookies.
2. Add Flour and Salt: Gradually add the all-purpose flour and salt to the creamed mixture, mixing on low speed until just combined. Be careful not to overmix, as this can develop the gluten and result in tough cookies. The dough will be crumbly at first but will come together.
3. Form and Chill the Dough: Gather the dough into a ball, flatten it slightly into a disc, and wrap it tightly in plastic wrap. Refrigerate for at least 30 minutes, or up to an hour. This chilling process allows the butter shortbread to firm up, making it easier to roll and cut, and prevents excessive spreading during baking.
4. Preheat Oven & Prepare Baking Sheets: Preheat your oven to 325°F (160°C). Line your baking sheets with parchment paper or silicone baking mats.
5. Roll and Cut Cookies: On a lightly floured surface, roll out the chilled dough to about 1/4 inch thickness. Use your preferred cookie cutters to cut out shapes. Reroll any scraps and repeat until all dough is used.
6. Bake: Carefully transfer the cut cookies to the prepared baking sheets, leaving about 1 inch between them. Bake for 15-20 minutes, or until the edges are lightly golden. The centers should remain pale.
7. Cool: Remove the baking sheets from the oven and let the cookies cool on the sheets for 5 minutes before transferring them to a wire rack to cool completely.
Nutritional Benefits & Advantages
While shortbread is undeniably a treat, its simple ingredients offer a few advantages. Made primarily from butter, flour, and sugar, it contains no artificial preservatives or complicated additives found in many mass-produced snacks. Baking at home gives you full control over ingredient quality. While it is calorie-dense, a small serving provides a satisfying indulgence, and moderate consumption can be part of a balanced diet.
Tips, Variations & Cooking Advice
- Flavor Boosts: Add citrus zest (lemon or orange), a pinch of cardamom, or finely chopped nuts (almonds, pistachios) to the dough for different flavor profiles.
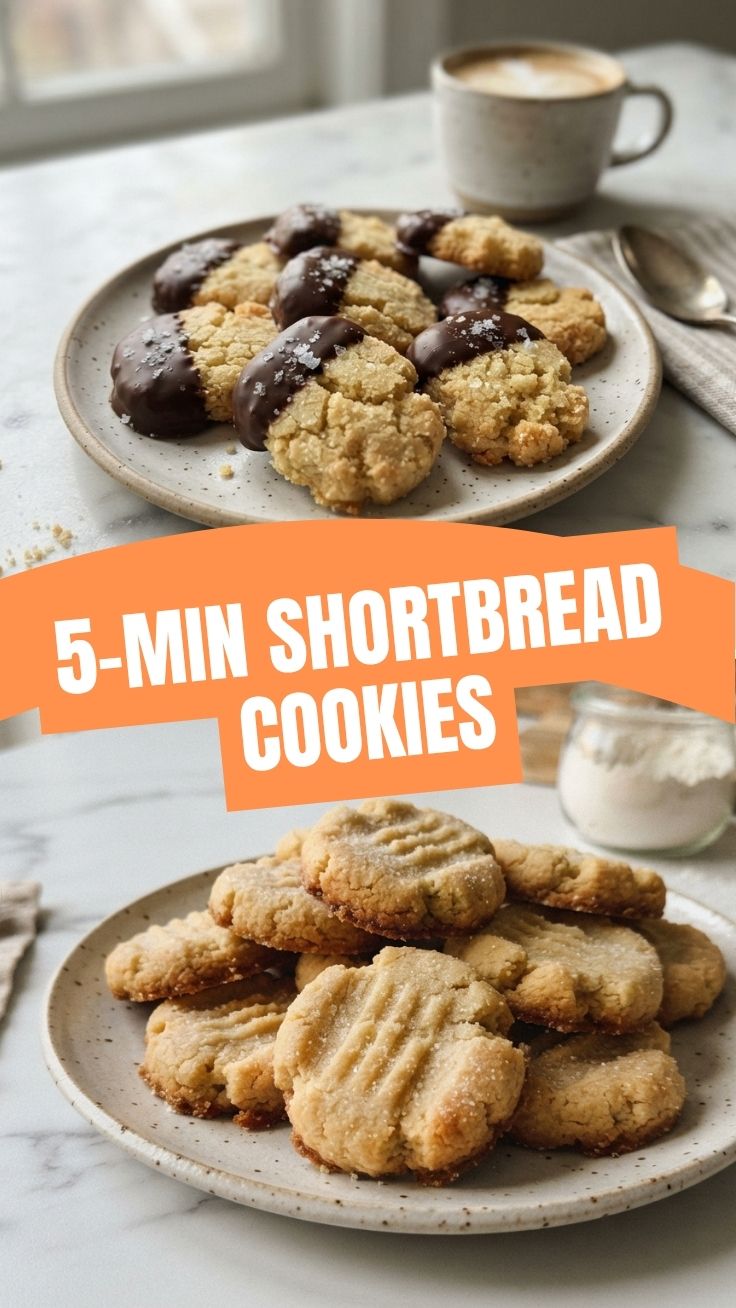
- Chocolate Dipped: Once cooled, dip half of each cookie in melted dark or white chocolate for an extra touch of decadence.
- Gluten-Free: Substitute the all-purpose flour with a 1:1 gluten-free baking blend that contains xanthan gum.
- Dairy-Free: Use a high-quality plant-based butter substitute.
- Piercing: For a classic look, prick the tops of the shortbread cookies with a fork before baking.
Common Mistakes to Avoid
- Overmixing the Dough: This develops gluten, leading to tough rather than tender cookies. Mix until just combined.
- Not Chilling the Dough: Skipping this step will result in cookies that spread too much and lose their shape.
- Baking at Too High a Temperature: This can cause the cookies to brown too quickly on the outside while remaining undercooked internally. Stick to 325°F (160°C).
- Overbaking: Shortbread cookies should be pale with only lightly golden edges. Darker shortbread tends to be dry.
Storage & Meal Prep Tips
Homemade Shortbread Cookies can be stored in an airtight container at room temperature for up to one week. For longer storage, they freeze exceptionally well. Arrange cooled cookies in a single layer on a baking sheet to flash freeze, then transfer them to a freezer-safe bag or container for up to 3 months. Thaw at room temperature before serving. The dough itself can also be prepared ahead of time, wrapped tightly, and refrigerated for up to 3 days or frozen for up to 2 months. Thaw frozen dough in the refrigerator overnight before rolling and baking.
Conclusion
Crafting your own Shortbread Cookies is a truly rewarding experience. From the simple joy of mixing the ingredients to the comforting aroma filling your kitchen and, finally, that first bite of exquisite butter shortbread, it’s a culinary journey worth taking. This recipe provides a solid foundation for perfection, ensuring tender, crumbly cookies every time. Don’t hesitate to experiment with the variations suggested to tailor them to your unique taste. We encourage you to try this recipe, share your delightful results, and explore more homemade baking adventures!
FAQs
Q1: Why is my shortbread tough instead of tender?
A1: This usually happens from overmixing the dough, which develops gluten. Mix only until the ingredients are just combined.
Q2: Can I substitute margarine for butter?
A2: While you can, it’s not recommended for authentic shortbread. Butter provides the unique flavor and texture that margarine cannot replicate.
Q3: How do I know when the shortbread is done baking?
A3: The cookies should be lightly golden around the edges, with the centers remaining pale. They will firm up as they cool.
Q4: Can I add toppings before baking?
A4: Yes, a sprinkle of coarse sugar or a light layer of finely chopped nuts can be added to the top of the cookies before baking for extra flavor and texture.