The Ultimate Guide to Perfect Chocolate Crinkle Cookies
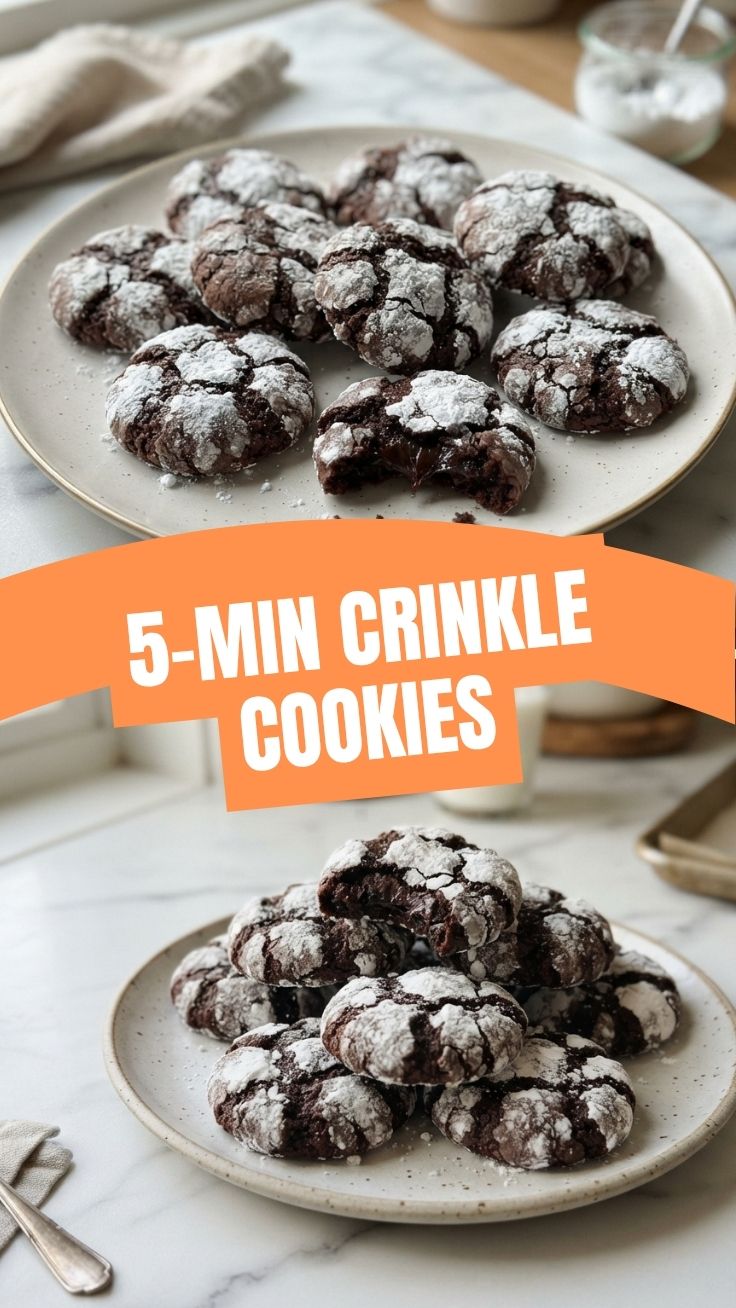
Ever wondered what makes a cookie truly irresistible – that perfect blend of rich, fudgy interior and a delightful crinkled exterior dusted with powdered sugar? If you’re a fan of dessert magic, then mastering the art of making Chocolate Crinkle Cookies at home is an absolute game-changer. Beyond the sheer joy of biting into one, preparing these deeply flavorful treats yourself offers unparalleled control over ingredients, ensuring a wholesome and utterly delicious experience. Forget store-bought imitations; today, we’re diving deep into crafting the most exquisite Crinkle Cookies you’ve ever tasted, right in your own kitchen. This comprehensive guide will arm you with all the knowledge, tips, and tricks to achieve bakery-quality results every single time.
Ingredients & Kitchen Tools
Crafting these delightful cookies requires a few basic ingredients and standard kitchen tools. Precision here makes all the difference!
Ingredients:
- All-Purpose Flour (2 cups): The structural backbone of our cookies. Sifting ensures a lighter texture.
- Unsweetened Cocoa Powder (¾ cup): Essential for that deep, rich chocolate flavor. Opt for high-quality cocoa.
- Granulated Sugar (1 ½ cups): Sweetens the dough and helps with spread and tenderness.
- Light Brown Sugar (½ cup, packed): Adds moisture and a hint of caramel notes for a richer flavor profile.
- Unsalted Butter (½ cup, 1 stick), melted: Adds richness and helps bind the mixture. Melting it creates a chewier cookie.
- Large Eggs (2): Provide structure and moisture, contributing to a fudgy texture.
- Vanilla Extract (1 teaspoon): Enhances the chocolate flavor. Use pure vanilla for best results.
- Baking Powder (1 teaspoon): The leavening agent that gives the cookies their lift.
- Salt (½ teaspoon): Balances the sweetness and amplifies other flavors.
- Powdered Sugar (1 cup): The iconic coating, creating the crinkled effect. Don’t skimp!
Kitchen Tools:
- Large Mixing Bowls (2): For dry and wet ingredients.
- Whisk: To combine dry ingredients.
- Electric Mixer (stand or hand-held): For creaming butter and sugar, and incorporating eggs.
- Rubber Spatula: For scraping down bowls and folding ingredients.
- Measuring Cups & Spoons: For accurate ingredient measurements.
- Baking Sheets: Non-stick or lined with parchment paper.
- Parchment Paper or Silicone Baking Mats: Prevents sticking and ensures even baking.
- Cooling Rack: For cooling the cookies completely.
- Small Bowl: For rolling cookies in powdered sugar.
Prep Time & Cooking Schedule
- Prep Time: 20 minutes
- Chilling Time: 2 hours (minimum), or overnight
- Bake Time: 10-12 minutes per batch
- Total Time: Approximately 2.5 – 3 hours (including chilling)
The chilling time is crucial for developing flavor and ensuring the cookies hold their shape and achieve that signature crinkled exterior without spreading too thin. Plan ahead to allow adequate time for the dough to firm up properly.
Step-by-Step Instructions
Follow these detailed steps to create your perfect batch of Chocolate Crinkle Cookies. The key to successful Crinkle Cookies lies in careful mixing and proper chilling.
1. Combine Dry Ingredients: In a large bowl, whisk together the all-purpose flour, unsweetened cocoa powder, baking powder, and salt. Set aside.
2. Combine Wet Ingredients: In a separate large bowl, using an electric mixer, beat the granulated sugar, light brown sugar, and melted butter until light and fluffy (about 2-3 minutes).
3. Add Eggs & Vanilla: Beat in the eggs one at a time, incorporating fully after each addition. Stir in the vanilla extract.
4. Combine Wet and Dry: Gradually add the dry ingredient mixture to the wet ingredients, mixing on low speed until just combined. Be careful not to overmix. The dough will be soft and sticky.
5. Chill the Dough: Cover the bowl with plastic wrap and refriger refrigerate for at least 2 hours, or preferably overnight. This firms up the dough, making it easier to handle and crucial for creating those beautiful crinkles.
6. Preheat & Prepare: Preheat your oven to 350°F (175°C). Line baking sheets with parchment paper or silicone baking mats.
7. Roll in Powdered Sugar: Place the powdered sugar in a small bowl. Scoop out 1-inch balls of chilled dough. Roll each ball generously in the powdered sugar, ensuring it’s completely coated. A thick coating is essential for the crinkled effect.
8. Bake: Place the coated dough balls about 2 inches apart on the prepared baking sheets. Bake for 10-12 minutes. The cookies should be puffed and set on the edges but still soft in the center.
9. Cool: Let the cookies cool on the baking sheet for 5 minutes before transferring them to a wire rack to cool completely.
Nutritional Benefits & Advantages
These decadent cookies, while a treat, offer some surprising benefits. Cocoa powder, especially unsweetened, is rich in antioxidants and flavonoids, which have been linked to improved heart health and reduced inflammation. While the sugar content means moderation is key, the joy and satisfaction derived from baking and enjoying these homemade treats can contribute to overall well-being. Plus, making them from scratch means you control the quality of ingredients, avoiding artificial additives often found in commercially produced goods.
Tips, Variations & Cooking Advice
- Extra Chocolatey: Add ½ cup of chocolate chips or chopped dark chocolate to the dough for an even richer chocolate experience.
- Mint Chocolate Crinkles: Add ½ teaspoon of peppermint extract along with the vanilla for a festive twist.
- Citrus Zest: For a brighter flavor profile, incorporate 1 tablespoon of orange or lemon zest into the dough.
- Gluten-Free: Substitute the all-purpose flour with a 1:1 gluten-free baking blend that contains xanthan gum.
- Dairy-Free: Use a good quality plant-based butter substitute.
- Perfect Crinkles: Ensure your powdered sugar coating is very thick. If it’s too thin, the crinkles won’t be as pronounced. Re-roll if needed!
Common Mistakes to Avoid
- Not Chilling the Dough Enough: This is the most common mistake. Insufficient chilling leads to flat, overly spread cookies with minimal crinkles.
- Overmixing the Dough: Overmixing develops gluten, resulting in tougher, less tender cookies. Mix until just combined.
- Skimping on Powdered Sugar: A thin layer of powdered sugar won’t create the desired crinkled effect. Be generous!
- Overbaking: Overbaked cookies will be dry and hard. Look for set edges and a slightly soft center for that perfect fudgy texture.
- Crowding the Baking Sheet: Give your cookies enough space to spread (even if minimally) and bake evenly.
Storage & Meal Prep Tips
Once completely cooled, Chocolate Crinkle Cookies can be stored in an airtight container at room temperature for up to 5-7 days. For longer storage, they freeze exceptionally well. Place cooled cookies in a single layer on a baking sheet to flash freeze for about 30 minutes, then transfer them to a freezer-safe bag or container for up to 3 months. Thaw at room temperature for a few hours before serving. You can also freeze the raw dough balls (after coating in powdered sugar) and bake them from frozen, adding an extra minute or two to the baking time.
Conclusion
There’s a unique satisfaction in pulling a batch of perfectly crinkled, deeply chocolatey cookies from the oven. By following this detailed guide, you’re not just baking; you’re creating a moment of pure culinary delight. These Chocolate Crinkle Cookies are more than just a dessert; they’re a testament to the magic of home baking, offering that delightful balance of sweet, fudgy, and visually stunning. So go ahead, embrace the joy of creating these wonderful Crinkle Cookies. We encourage you to try this recipe, share your delicious results with us in the comments, and explore our other delightful cookie recipes!
FAQs
Q1: Why do my cookies not have enough crinkles?
A1: The most common reason is not enough powdered sugar, or the dough wasn’t chilled long enough. Ensure a very thick coating of powdered sugar and at least 2 hours of chilling for the dough.
Q2: Can I make this dough ahead of time?
A2: Absolutely! The dough can be made up to 2-3 days in advance and stored in the refrigerator, or frozen for up to a month. Just allow frozen dough to thaw slightly in the fridge before rolling.
Q3: My cookies are flat, what went wrong?
A3: Flat cookies are usually a sign of warm dough (not chilled enough), overmixing the dough, or butter that was too warm when incorporated. Always ensure proper chilling.
Q4: Can I use cocoa powder for rolling instead of powdered sugar?
A4: While you could roll them in cocoa powder, it won’t give you the classic “crinkled” effect. The powdered sugar creates the white surface that cracks during baking, forming the desired crinkles.
Q5: How do I get chewy cookies instead of cakey ones?
A5: For chewy cookies, ensure you don’t overbake. Pull them from the oven when the edges are set but the center still looks slightly soft. The melted butter also contributes to a chewier texture.