Unlocking Autumn’s Embrace: Crafting the Perfect Homemade Pumpkin Pie from Scratch
Have you ever savored that first bite of a truly exceptional Pumpkin Pie, a symphony of rich spices and creamy texture that instantly transports you to a cozy autumn evening? While store-bought versions offer convenience, there’s an unparalleled joy and satisfaction in preparing this quintessential Thanksgiving Dessert from scratch. Beyond the delicious outcome, baking your own pumpkin pie allows for complete control over ingredients, ensuring a wholesome and truly personalized culinary experience. This blog post will guide you through crafting a delectable pumpkin pie, turning a classic into your signature fall delight.
Ingredients & Kitchen Tools
To embark on your pumpkin pie journey, gather the following:
- For the Crust:
* 2 ½ cups all-purpose flour: The base for a flaky, golden crust.
* 1 teaspoon salt: Enhances the flavor of the flour.
* 1 cup (2 sticks) unsalted butter, very cold and cubed: Essential for a tender, flaky texture.
* ½ cup ice water: Binds the dough without overworking the gluten.
- For the Filling:
* 1 (15-ounce) can pumpkin puree: (Not pumpkin pie filling!) The star ingredient, providing earthy sweetness.
* 1 (12-ounce) can evaporated milk: Adds creaminess and richness.
* ¾ cup granulated sugar: Sweetens the pie to perfection.
* ½ teaspoon salt: Balances the sweetness and spices.
* 2 large eggs: Provide structure and bind the filling.
* 2 ½ teaspoons pumpkin pie spice: A pre-mixed blend of cinnamon, nutmeg, ginger, and cloves for classic flavor.
* ½ teaspoon ground cinnamon (optional, for extra warmth): If you prefer a stronger cinnamon note.
- Kitchen Tools:
* 9-inch pie plate: The perfect vessel for your creation.
* Large mixing bowls: For combining ingredients.
* Whisk: For smooth, lump-free filling.
* Pastry blender or food processor: For incorporating butter into the flour for the crust.
* Rolling pin: To achieve an even crust thickness.
* Measuring cups and spoons: For accurate ingredient proportions.
Prep Time & Cooking Schedule
- Crust Prep: 25 minutes (plus 30 minutes chilling)
- Filling Prep: 10 minutes
- Bake Time: 50-60 minutes
- Cooling Time: At least 3 hours (essential for setting)
Plan to start your pie well in advance, as proper chilling and cooling are crucial for a perfectly set pie and a flaky crust. The waiting, though a test of patience, is well worth the reward.
Step-by-Step Instructions
1. Prepare the Pie Crust: In a large bowl, whisk together flour and salt. Cut in the cold, cubed butter using a pastry blender or food processor until the mixture resembles coarse crumbs. Gradually add ice water, one tablespoon at a time, mixing until just combined. Form the dough into a disc, wrap in plastic, and chill for at least 30 minutes. This chilling step is vital for a tender, flaky crust.
2. Preheat Oven & Roll Crust: Preheat your oven to 425°F (220°C). On a lightly floured surface, roll out the chilled dough into a 12-inch circle. Carefully transfer the dough to your 9-inch pie plate. Trim and crimp the edges as desired.
3. Prepare the Pumpkin Filling: In a large bowl, whisk together pumpkin puree, evaporated milk, granulated sugar, salt, eggs, and pumpkin pie spice (and optional extra cinnamon) until smooth and well combined. Ensure there are no lumps.
4. Assemble and Bake: Pour the pumpkin filling into the prepared pie crust. Place the pie on a baking sheet (to catch any potential spills) and bake for 15 minutes at 425°F (220°C).
5. Reduce Heat & Continue Baking: Reduce oven temperature to 350°F (175°C) and continue baking for 35-45 minutes, or until the edges are set and the center jiggles only slightly when gently shaken. A knife inserted near the center should come out clean.
6. Cool Completely: Transfer the baked Pumpkin Pie to a wire rack and let it cool completely for at least 3 hours, or preferably overnight. This extended cooling period is critical for the filling to fully set, ensuring a beautifully sliceable Thanksgiving Dessert.
Nutritional Benefits & Advantages
Pumpkin is a nutritional powerhouse, packed with beta-carotene (a precursor to Vitamin A), which supports vision and immune function. It’s also a good source of fiber, promoting digestive health, and provides essential minerals like potassium. Choosing homemade over store-bought allows you to limit artificial ingredients and control sugar content, making it a healthier indulgence.
Tips, Variations & Cooking Advice
- Blind Baking: For an extra crispy crust, you can blind bake the pie crust for 10-15 minutes before adding the filling.
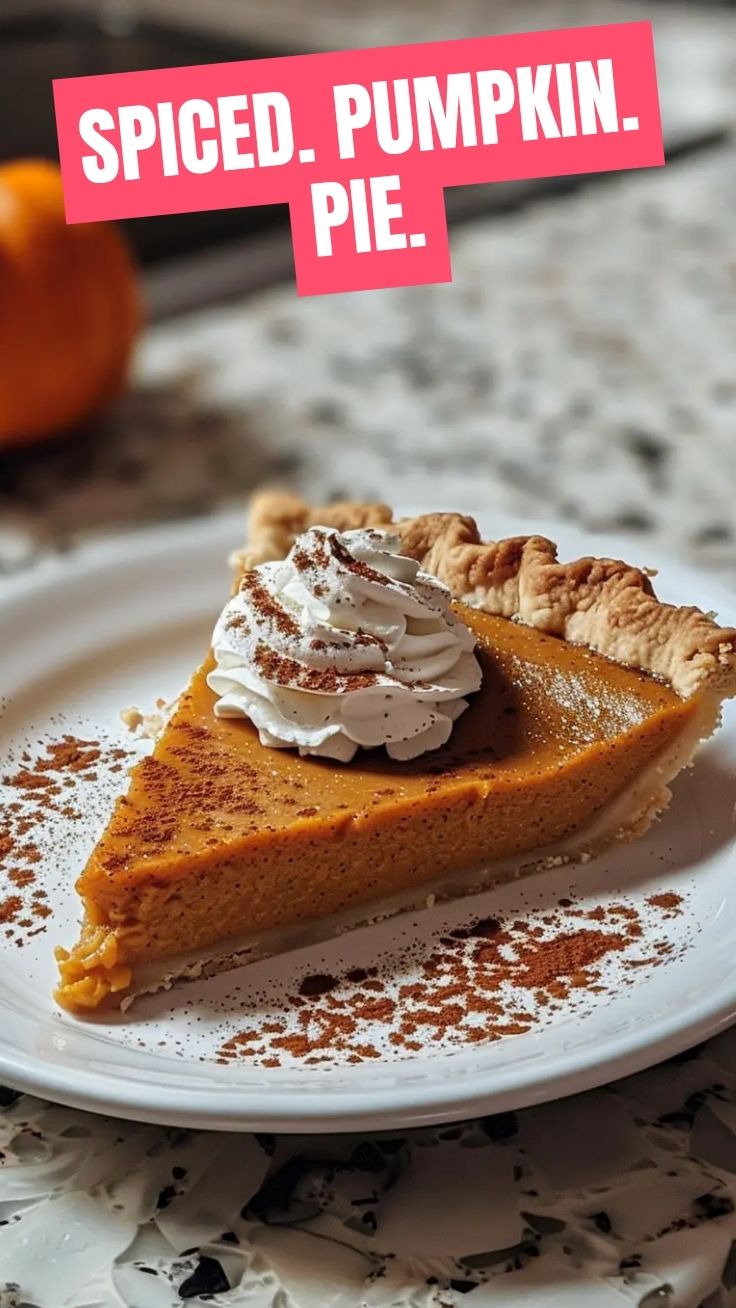
- Spiced Whipped Cream: Elevate your pie with homemade whipped cream infused with a pinch of cinnamon or nutmeg.
- Gluten-Free Version: Substitute all-purpose flour with a 1:1 gluten-free baking blend for the crust.
- Dairy-Free Option: Use full-fat coconut milk (canned) instead of evaporated milk for a rich, dairy-free alternative.
- Pecan Streusel Topping: For added texture, sprinkle a pecan streusel (crushed pecans, brown sugar, melted butter) over the filling before baking.
Common Mistakes to Avoid
- Overworking the Dough: This leads to a tough, chewy crust. Handle the dough as little as possible.
- Warm Butter in Crust: Forgetting to use very cold butter will result in a less flaky crust.
- Undercooking the Filling: An undercooked pie will be runny. Ensure the center is mostly set.
- Not Cooling Long Enough: Patience is key! Cutting into a warm pie will cause the filling to collapse.
- Using Pumpkin Pie Filling: Pumpkin pie filling contains added spices and sweeteners. Always opt for plain pumpkin puree.
Storage & Meal Prep Tips
Leftover pumpkin pie should be stored in the refrigerator, covered with plastic wrap or aluminum foil, for up to 3-4 days. While you can freeze individual slices for up to a month, the texture of the crust may become slightly soggy upon thawing. Thaw frozen slices in the refrigerator overnight. Reheat gently in the microwave for a few seconds if desired, but it’s often best served chilled.
Conclusion
Crafting a sublime homemade Pumpkin Pie is an incredibly rewarding culinary endeavor. From the rich, custardy filling to the perfectly flaky crust, each element combines to create a timeless Thanksgiving Dessert that embodies the warmth and comfort of the autumn season. We encourage you to try this recipe and experience the sheer delight of baking your own. Don’t forget to share your creations and tell us how your pie turned out in the comments below!
FAQs
Q1: Can I make the pie crust ahead of time?
A1: Absolutely! You can prepare the pie crust dough up to 2-3 days in advance and keep it tightly wrapped in the refrigerator.
Q2: My pie crust is browning too quickly, what can I do?
A2: If the edges of your crust are browning too fast, loosely cover them with aluminum foil during baking to prevent over-browning.
Q3: How do I know when the pumpkin pie is fully cooked?
A3: The pie is done when the edges are set and appear golden, and the center jiggles only slightly when gently shaken. A knife inserted near the center should come out clean.
Q4: Can I use fresh pumpkin instead of canned puree?
A4: Yes, you can! You’ll need to roast, peel, and then process about 2 pounds of fresh pumpkin to get enough puree for this recipe. Ensure it’s strained of excess liquid.
Q5: What if I don’t have pumpkin pie spice?
A5: You can make your own! Combine 1 ½ teaspoons ground cinnamon, ½ teaspoon ground ginger, ½ teaspoon ground nutmeg, and ¼ teaspoon ground cloves for a homemade blend.