Unwrap Zesty Perfection: Your Ultimate Homemade Key Lime Pie Guide
Ever dreamt of biting into a slice of pure, unadulterated sunshine? Few desserts capture that feeling quite like a perfectly crafted Key Lime Pie. But beyond the vibrant flavor and creamy texture, there’s a real joy in creating this iconic treat in your own kitchen. Forget store-bought imitations; making this luscious dessert at home allows you to control every ingredient, ensuring a superior taste experience tailored to your preferences. The bright, tangy notes of fresh key lime are simply unparalleled, transforming simple ingredients into a show-stopping dessert that will impress everyone.
Ingredients & Kitchen Tools
Crafting the perfect pie requires a few essential ingredients and tools. Here’s what you’ll need:
- For the Crust:
* 1 ½ cups graham cracker crumbs: Approximately 10-12 full graham cracker sheets, finely crushed. You can also use store-bought crumbs for convenience.
* ½ cup unsalted butter, melted: Binds the crumbs together and adds richness.
* ¼ cup granulated sugar: Enhances the sweetness of the crust.
* Pinch of salt: Balances the sweetness.
- For the Filling:
* 4 egg yolks (large): Provide richness, color, and act as a natural thickener.
* 1 (14-ounce) can sweetened condensed milk: The star ingredient, offering sweetness and a velvety texture. Do not substitute with evaporated milk.
* ½ cup fresh key lime juice: The heart and soul of the pie! Freshly squeezed is non-negotiable for authentic flavor. Use about 10-12 key limes.
* 1 tablespoon key lime zest: Adds intense citrus aroma and enhances the lime flavor.
- For the Garnish (Optional):
* Whipped cream: Freshly made is always best.
* Extra lime zest or thin lime slices: For a beautiful presentation.
- Kitchen Tools:
* 9-inch pie plate: A standard size for most pies. Glass or ceramic works well.
* Large mixing bowls: For separate crust and filling preparations.
* Whisk: For thoroughly combining ingredients.
* Citrus juicer: Essential for extracting fresh key lime juice.
* Microplane zester: For fine, aromatic zest.
* Measuring cups and spoons: For accurate ingredient ratios.
* Spatula: For mixing and scraping bowls.
Prep Time & Cooking Schedule
This delightful Key Lime Pie comes together surprisingly quickly, though it requires ample chilling time to set properly.
- Prep Time: 20 minutes
- Cook Time: 15-18 minutes
- Chilling Time: Minimum 4 hours, preferably overnight
Plan ahead to ensure you have enough time for the pie to chill adequately. The longer it sets, the firmer and more sliceable it will be.
Step-by-Step Instructions
Embark on your journey to Key Lime Pie perfection with these detailed steps:
1. Preheat Oven & Prepare Crust: Preheat your oven to 350°F (175°C). In a medium bowl, combine graham cracker crumbs, granulated sugar, salt, and melted butter. Mix until the crumbs are evenly moistened and resemble wet sand. Press the mixture firmly and evenly into the bottom and up the sides of your 9-inch pie plate. For a compact crust, use the bottom of a glass or your knuckles. Bake for 8-10 minutes, or until lightly golden. This helps the crust firm up and prevents it from becoming soggy. Remove from oven and let cool completely.
2. Prepare the Filling: While the crust cools, prepare the luscious filling. In a large mixing bowl, whisk the egg yolks until they are pale yellow and slightly foamy. Gradually whisk in the sweetened condensed milk until well combined and smooth.
3. Add the Key Lime Flavor: Now for the star of the show. Slowly whisk in the fresh key lime juice and key lime zest. As you add the juice, you’ll notice the mixture thickening slightly due to the acidity reacting with the condensed milk – this is normal and desired! Continue whisking until the filling is perfectly smooth and uniform.
4. Bake the Pie: Pour the key lime filling into the cooled graham cracker crust. Gently smooth the top with a spatula. Bake for 15-18 minutes, or until the center is just set but still has a slight wobble when gently shaken. Be careful not to overbake, as this can lead to a rubbery texture.
5. Chill to Perfection: Remove the pie from the oven and let it cool completely on a wire rack at room temperature. Once cooled, cover loosely with plastic wrap and refrigerate for at least 4 hours, or ideally overnight. Chilling is crucial for the pie to set properly and develop its signature firm, yet creamy texture.
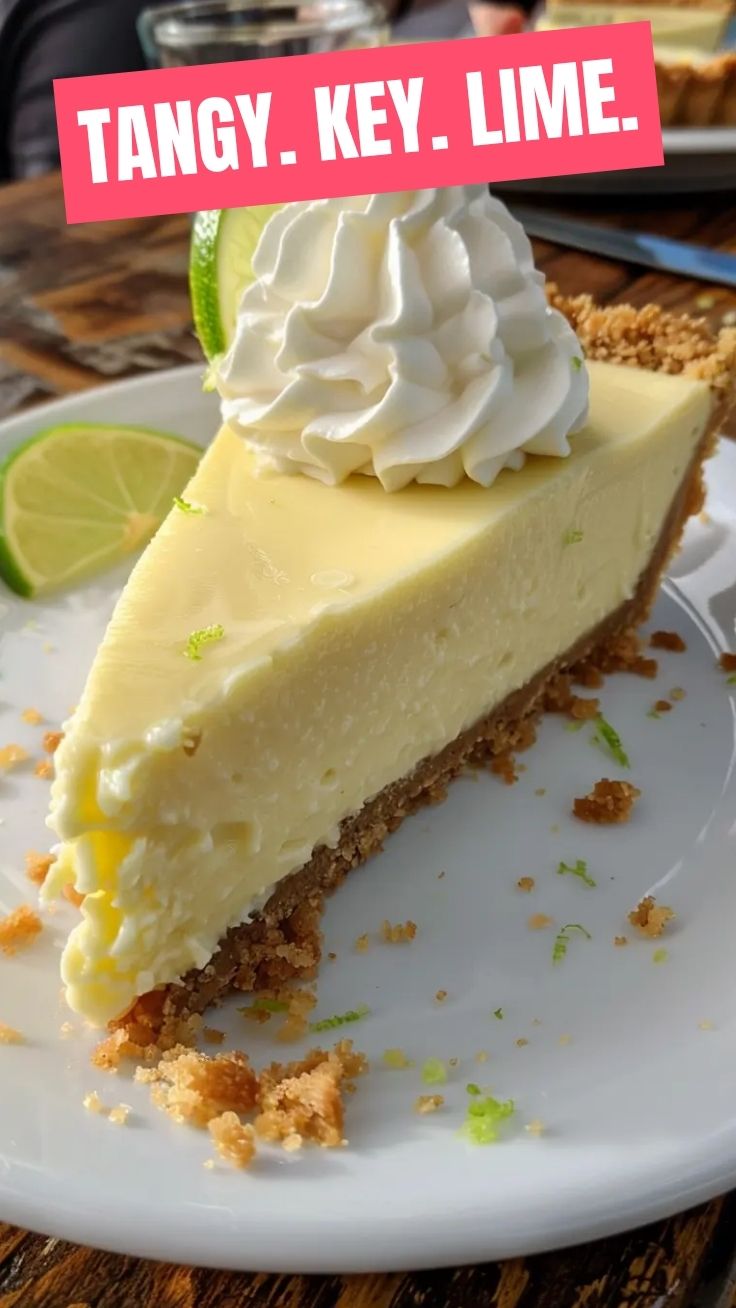
6. Serve & Garnish: Once thoroughly chilled, slice and serve your magnificent key lime pie. Garnish with a dollop of fresh whipped cream, extra key lime zest, or thin lime slices for an elegant touch.
Nutritional Benefits & Advantages
While Key Lime Pie is undeniably a dessert, it does offer some surprising benefits. Key limes themselves are a good source of Vitamin C, which is crucial for immune health and collagen production. The eggs provide protein and essential vitamins like B12 and D. When made at home, you have full control over the sugar content, allowing you to potentially reduce it compared to commercial versions. Plus, the sheer satisfaction of enjoying a homemade treat can be a powerful mood booster!
Tips, Variations & Cooking Advice
- For a Lighter Crust: If you prefer a less sweet crust, reduce the sugar in the graham cracker mixture to 2 tablespoons.
- Dairy-Free Option: For a dairy-free version, use a plant-based condensed milk alternative (such as coconut or oat milk based) and a dairy-free butter alternative for the crust.
- Gluten-Free: Substitute standard graham cracker crumbs with certified gluten-free graham cracker crumbs.
- Citrus Zest Power: Don’t skip the zest! It contains essential oils that provide a more intense and aromatic lime flavor than juice alone.
- Mini Pies: For individual servings, press the crust into muffin tins lined with paper liners and fill. Adjust baking time accordingly.
Common Mistakes to Avoid
- Using Bottled Lime Juice: This is the cardinal sin of Key Lime Pie! Bottled juice lacks the vibrant flavor and complexity of fresh key limes.
- Overbaking: An overbaked pie will have a rubbery texture. Watch for that slight wobble in the center as your cue.
- Insufficient Chilling: Patience is key! If you cut the pie before it’s fully chilled, it will be messy and won’t hold its shape.
- Too Much Zest: While zest is good, too much can make the pie bitter. Stick to the recommended amount.
Storage & Meal Prep Tips
Leftover Key Lime Pie should be stored tightly covered in the refrigerator. It will stay fresh for 3-4 days. While you can freeze Key Lime Pie (it makes a fantastic frozen dessert!), the texture can become slightly compromised upon thawing, especially the crust. For best results, freeze individual slices, wrapped tightly in plastic wrap and then foil, for up to 1-2 months. Thaw in the refrigerator overnight.
Conclusion
There’s truly nothing quite like the refreshing tang and creamy indulgence of a homemade Key Lime Pie. With its vibrant key lime flavor and delightful graham cracker crust, this dessert is a perennial favorite for a reason. By following these detailed instructions and tips, you’re now equipped to create a masterpiece that will transport your taste buds to a tropical paradise. Don’t hesitate – gather your ingredients, embrace the joy of baking, and share your delicious creation with friends and family! We’d love to hear about your key lime adventures in the comments below.
FAQs
Q1: Can I use regular limes instead of key limes?
A1: While you can substitute regular lime juice, the flavor will be different. Key limes have a more aromatic, less tart, and slightly sweeter profile. Regular limes are more acidic and can make the pie taste sharper. If you must use them, you might consider slightly reducing the amount.
Q2: My crust is too soft/soggy. What went wrong?
A2: This usually happens if the crust isn’t baked long enough or if the pie isn’t adequately chilled. Ensure you bake the crust until lightly golden and let it cool completely before adding the filling. Also, allow the pie to chill for at least 4 hours, preferably overnight.
Q3: How do I know when the pie is set?
A3: The pie is set when the edges are firm, but the very center still has a slight jiggle or wobble. It will firm up completely as it chills. Overbaking will eliminate the wobble and can result in a tougher texture.
Q4: Can I make the pie ahead of time for a party?
A4: Absolutely! Key Lime Pie is an excellent make-ahead dessert. Prepare it the day before, chill it thoroughly overnight, and it will be perfectly set and ready to serve.
Q5: What’s the best way to get enough juice from key limes?
A5: Key limes are small and can be tricky to juice. Rolling them firmly on a counter before cutting can help release more juice. A small citrus press or reamer designed for limes is also very helpful.