The Ultimate Guide to Crafting the Perfect Homemade Pumpkin Pie
Are you ready to transform your kitchen into an aromatic haven of comfort and joy? There’s something undeniably magical about a homemade pie, and when it comes to classic American desserts, the Pumpkin Pie reigns supreme. Forget store-bought iterations; preparing this autumn favorite from scratch is not only rewarding but also allows you to control the quality of every ingredient, elevating a simple dessert into a truly unforgettable culinary experience. This isn’t just about baking; it’s about creating memories, sharing warmth, and celebrating the rich flavors of the season. And as we approach the bustling holiday season, mastering this delightful recipe will make your array of Thanksgiving Desserts truly shine.
Ingredients & Kitchen Tools
Crafting the perfect pie starts with the right ingredients and equipment.
- For the Crust (or use a store-bought pie crust for convenience):
* 1 ¼ cups all-purpose flour: The foundation of a flaky crust.
* ½ teaspoon salt: Enhances flavor.
* ½ cup (1 stick) unsalted butter, very cold and cubed: Creates flakiness.
* ¼ cup ice water: Binds the dough without over-activating gluten.
* Kitchen Tools: Large mixing bowl, pastry blender or food processor, plastic wrap, rolling pin, 9-inch pie plate.
- For the Filling:
* 1 (15-ounce) can pumpkin puree (not pumpkin pie filling): The star ingredient, providing natural sweetness and texture.
* 1 (12-ounce) can evaporated milk: Adds creaminess and richness.
* ¾ cup granulated sugar: For sweetness.
* ½ teaspoon salt: Balances the flavors.
* 1 teaspoon ground cinnamon: Classic warm spice.
* ½ teaspoon ground ginger: Adds a subtle zing.
* ¼ teaspoon ground cloves: Deepens the spice profile.
* ⅛ teaspoon ground nutmeg: Aromatic complement.
* 2 large eggs, lightly beaten: Binds the filling and adds structure.
* Kitchen Tools: Large mixing bowl, whisk, fine-mesh sieve (optional, for smoother filling), oven.
Prep Time & Cooking Schedule
- Prep Time: 25-30 minutes (if making crust from scratch, add 15 minutes for chilling)
- Cook Time: 50-60 minutes
- Cooling Time: At least 2-3 hours (essential for the pie to set properly)
Planning ahead is crucial for a perfectly set pie. If you’re making your own crust, prepare it the day before and let it chill overnight. This allows the gluten to relax, resulting in a more tender and flaky texture. For the filling, you can whisk together the dry spices and even the pumpkin puree/liquids a few hours in advance, then add the eggs just before baking.
Step-by-Step Instructions
1. Prepare the Pie Crust: If making from scratch, combine flour and salt in a large bowl. Cut in cold butter with a pastry blender until pea-sized crumbs form. Gradually add ice water, mixing until just combined. Form into a disc, wrap in plastic, and chill for at least 30 minutes. Roll out the dough and transfer it to a 9-inch pie plate, crimping the edges. For a perfect Pumpkin Pie, ensure your crust is evenly thick to prevent soggy bottoms.
2. Preheat Oven & Blind Bake (Optional): Preheat your oven to 425°F (220°C). If blind baking the crust (recommended for a flakier base), line it with parchment paper, fill with pie weights or dried beans, and bake for 10-15 minutes until lightly golden. Remove weights and parchment.
3. Mix the Filling: In a large bowl, whisk together the pumpkin puree, evaporated milk, granulated sugar, salt, cinnamon, ginger, cloves, and nutmeg until smooth. Gently whisk in the lightly beaten eggs until just combined. Over-mixing the eggs can introduce too much air, leading to cracks in the final pie.
4. Assemble and Bake: Pour the pumpkin mixture into the prepared pie crust.
5. Initial High Heat Bake: Bake at 425°F (220°C) for 15 minutes. This initial high heat helps set the crust and prevents sogginess.
6. Reduce Heat & Continue Baking: Reduce the oven temperature to 350°F (175°C) and continue baking for 35-45 minutes, or until a knife inserted near the center comes out clean. The center should be mostly set but still slightly wobbly, as it will firm up as it cools. Keep an eye on it to ensure it’s perfectly baked, providing a wonderful addition to your array of Thanksgiving Desserts.
7. Cool Completely: Transfer the pie to a wire rack and let it cool completely for at least 2-3 hours before slicing and serving. This step is critical for the filling to set properly.
Nutritional Benefits & Advantages
Pumpkin is a nutritional powerhouse! It’s rich in Vitamin A, an essential nutrient for vision, immune function, and skin health. It’s also a good source of fiber, which aids digestion and promotes satiety, helping you feel fuller longer. The spices like cinnamon and ginger offer anti-inflammatory benefits, and evaporated milk provides calcium and protein. While this is a dessert, the natural ingredients offer a healthier alternative to many processed sweets.
Tips, Variations & Cooking Advice
- Spice It Up: For a spicier pie, add a pinch of black pepper or cardamom to the filling.
- Sweetener Swap: You can experiment with brown sugar or maple syrup for a deeper, more complex sweetness, though you might need to adjust the liquid content slightly.
- Crust Variations: Try a graham cracker crust or a gingersnap crust for a different textural and flavor profile.
- Dairy-Free: Substitute evaporated milk with full-fat canned coconut milk (refrigerate first and scoop out the thick cream) and use a dairy-free pie crust.
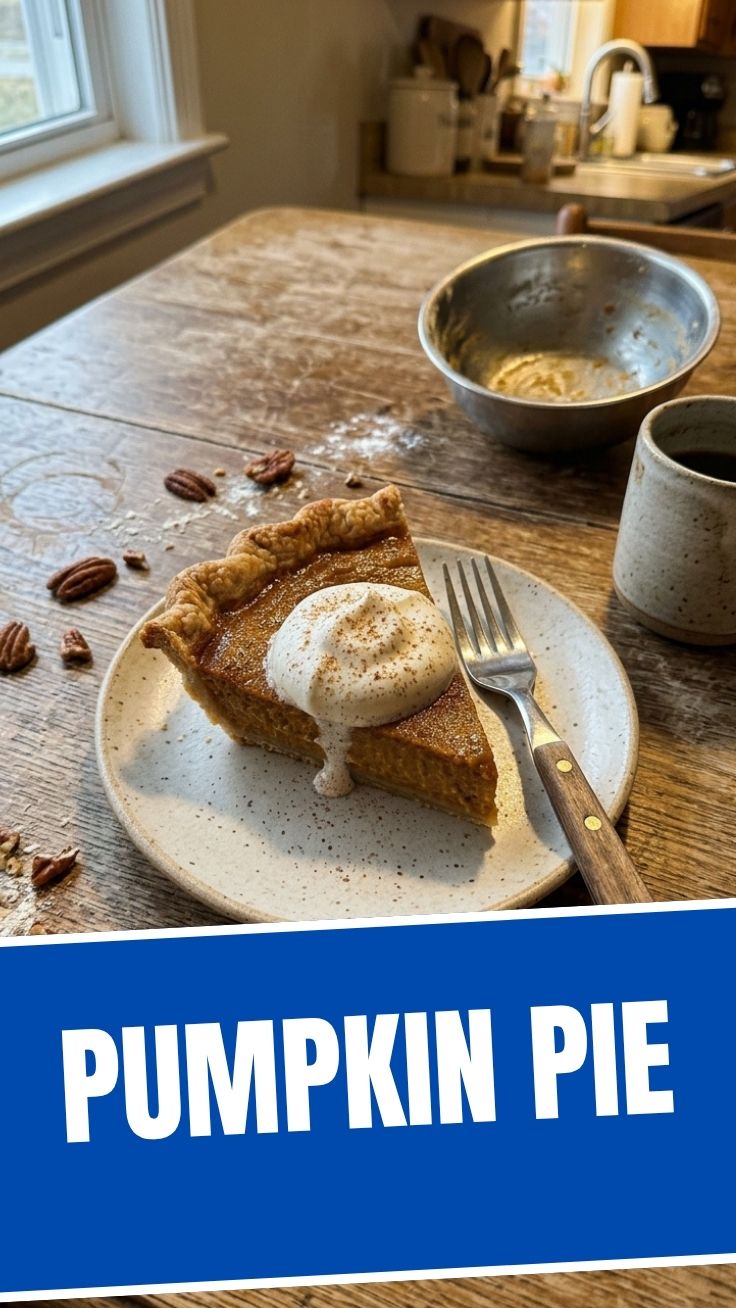
- Garnish: A dollop of fresh whipped cream, a sprinkle of cinnamon, or a drizzle of caramel sauce can elevate its presentation and taste.
Common Mistakes to Avoid
- Over-mixing the Filling: This can incorporate too much air, leading to cracks in your pie. Mix until just combined.
- Undercooking: An undercooked pie will be runny and not set, leading to a disappointing slice. Ensure the center is mostly firm.
- Not Cooling Properly: Rushing the cooling process will result in a messy, unset pie. Patience is key!
- Soggy Bottom Crust: Blind baking the crust (as mentioned in step 2) is a great defense against this. Also, ensure your filling isn’t too wet.
Storage & Meal Prep Tips
Leftover pumpkin pie should be covered loosely with plastic wrap or foil and stored in the refrigerator. It will stay fresh for 3-4 days. For longer storage, you can freeze individual slices or the whole pie (unbaked or baked) for up to 1 month. If freezing baked pie, wrap it tightly in plastic wrap and then foil. Thaw in the refrigerator overnight before serving. Reheat gently in a low oven (300°F/150°C) for 10-15 minutes if you prefer it warm.
Conclusion
Crafting a homemade Pumpkin Pie is a delightful journey into the heart of autumnal baking, promising a comforting aroma and an irresistible taste that far surpasses any store-bought alternative. With fresh ingredients, a sprinkle of patience, and a dash of love, you’ll create a dessert that will be the star of countless gatherings. So, gather your ingredients, preheat your oven, and prepare to impress your family and friends with this timeless classic, making your spread of Thanksgiving Desserts truly unforgettable. We encourage you to try this recipe and share your creations!
FAQs
Q1: Can I use fresh pumpkin instead of canned puree?
A1: Yes, you can! You’ll need to roast, peel, and puree the fresh pumpkin yourself. Ensure it’s very well drained to avoid a watery pie. Use about 1.5-2 cups of fresh puree.
Q2: My pie cracked on top. What went wrong?
A2: Cracks are often caused by over-baking (which dries out the filling) or cooling too quickly. Ensure you don’t over-mix the eggs, bake until just set, and cool slowly on a wire rack.
Q3: How do I prevent the crust from burning while the filling bakes?
A3: If your crust edges are browning too quickly, you can cover them loosely with aluminum foil or use a pie shield for the latter part of the baking.
Q4: Can I make this pie ahead of time for a holiday meal?
A4: Absolutely! Pumpkin pie is an excellent make-ahead dessert. You can bake it up to 2-3 days in advance and store it in the refrigerator. The flavors often deepen overnight.