Beyond the Bakery: Craft Your Own Perfect Pumpkin Bread at Home
Ever walked into a bakery and been enveloped by the warm, spicy aroma of freshly baked pumpkin goods? That comforting scent, synonymous with crisp autumn days and cozy evenings, often signals the arrival of delicious treats like a moist slice of Pumpkin Bread or a comforting Pumpkin Loaf. But what if I told you that achieving that same bakery-quality, soul-satisfying experience is not only possible but incredibly rewarding right in your own kitchen? Preparing homemade pumpkin bread offers a unique blend of freshness, customizable flavors, and the undeniable satisfaction of creating something truly special from scratch. This comprehensive guide will walk you through crafting a perfectly tender and aromatic loaf, ensuring your fall baking endeavors are a resounding success.
Ingredients & Kitchen Tools
Gathering your provisions is the first step to baking bliss! Here’s what you’ll need:
- All-Purpose Flour (2 cups): The structural backbone of our bread; use unbleached for best results.
- Granulated Sugar (1 ¾ cups): Provides sweetness and helps with browning. Can substitute with ½ brown sugar for deeper molasses notes.
- Baking Soda (1 teaspoon): A leavening agent that helps the bread rise.
- Salt (½ teaspoon): Enhances all the flavors.
- Ground Cinnamon (1 teaspoon): Classic warming spice.
- Ground Nutmeg (½ teaspoon): Adds a subtle, aromatic depth.
- Ground Cloves (¼ teaspoon): A pungent spice, use sparingly for balance.
- Large Eggs (2): Act as a binder and add richness.
- Canned Pumpkin Puree (15 ounces / ~1 ¾ cups): The star ingredient! Ensure it’s 100% pumpkin, not pie filling.
- Vegetable Oil (½ cup): Adds moisture and a tender crumb. Can substitute with melted unsalted butter or applesauce for a slightly different texture.
- Vanilla Extract (1 teaspoon): Boosts overall flavor.
Kitchen Tools:
- Large Mixing Bowl: For combining wet and dry ingredients.
- Whisk: For dry ingredients.
- Rubber Spatula: For folding and scraping.
- Measuring Cups & Spoons: For accurate ingredient quantities.
- 9×5 Inch Loaf Pan: The ideal size for a standard Pumpkin Loaf.
- Parchment Paper: Optional, for easy removal and cleanup.
- Wire Rack: For cooling the bread completely.
Prep Time & Cooking Schedule
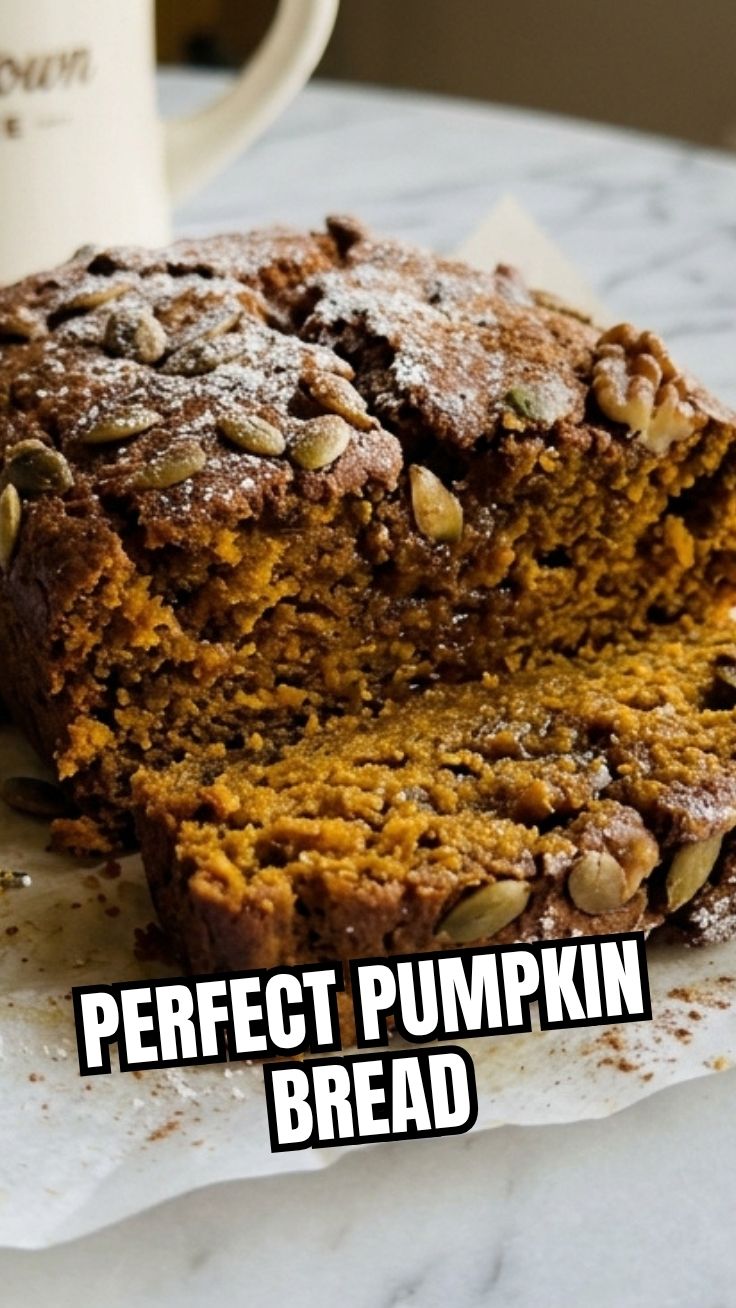
This recipe is surprisingly quick to assemble, making it perfect for a weekend baking project or even a weeknight treat.
- Prep Time: 15 minutes
- Cook Time: 60-70 minutes
- Resting Time: 15-20 minutes (before slicing)
Allocate around 1.5 to 2 hours from start to finish. The resting time is crucial for the bread to set properly and prevent crumbling, so don’t rush it!
Step-by-Step Instructions
Let’s transform these humble ingredients into a delightful Pumpkin Bread!
1. Preheat & Prepare: Preheat your oven to 350°F (175°C). Grease and flour a 9×5 inch loaf pan, or line with parchment paper for effortless removal.
2. Combine Dry Ingredients: In a large bowl, whisk together the all-purpose flour, granulated sugar, baking soda, salt, ground cinnamon, ground nutmeg, and ground cloves. This ensures even distribution of flavors and leavening.
3. Mix Wet Ingredients: In a separate medium bowl, whisk the large eggs, canned pumpkin puree, vegetable oil, and vanilla extract until well combined and smooth.
4. Combine Wet and Dry: Pour the wet ingredients into the dry ingredients. Using a rubber spatula, gently fold until just combined. Be careful not to overmix, as this can lead to a tough loaf. A few streaks of flour are acceptable.
5. Fill & Bake: Pour the batter evenly into your prepared loaf pan.
6. Bake to Perfection: Bake for 60-70 minutes, or until a wooden skewer or toothpick inserted into the center comes out clean. The top should be golden brown and the edges slightly pulling away from the pan.
7. Cool Down: Once baked, remove the loaf pan from the oven and let it cool on a wire rack for 10-15 minutes in the pan. This allows the loaf to firm up before removal.
8. Final Cooling: Carefully invert the loaf onto the wire rack to cool completely before slicing and serving. This ensures a perfectly structured Pumpkin Loaf.
Nutritional Benefits & Advantages
Pumpkin isn’t just delicious; it’s a nutritional powerhouse! Rich in Vitamin A (from beta-carotene), it supports vision and immune function. It’s also a good source of fiber, aiding digestion and promoting a feeling of fullness. By making this bread at home, you control the ingredients, allowing you to reduce sugar or fat if desired, and avoid artificial preservatives often found in store-bought versions.
Tips, Variations & Cooking Advice
- Spice It Up: For an even deeper flavor, add ½ teaspoon of ground ginger or a pinch of allspice.
- Sweet Additions: Fold in ½ cup of chocolate chips, chopped nuts (pecans or walnuts work beautifully), or dried cranberries for added texture and sweetness.
- Moisture Boost: Substitute half the oil with unsweetened applesauce for a slightly less rich, but equally moist, loaf.
- Gluten-Free Option: Use a 1:1 gluten-free all-purpose flour blend. Baking times may vary slightly.
- Smaller Loaves: Divide the batter into two smaller 8×4 inch loaf pans and reduce baking time to 40-50 minutes.
Common Mistakes to Avoid
- Overmixing: This develops the gluten too much, resulting in a dense, tough bread. Mix until just combined.
- Underbaking: Leading to a gooey center. Always check with a toothpick or skewer.
- Slicing Too Soon: The bread needs to set. Slicing when warm can cause it to crumble. Patience is a virtue here!
- Using Pumpkin Pie Filling: This contains added sugar and spices, which will throw off the recipe’s balance. Ensure you use plain 100% pumpkin puree.
Storage & Meal Prep Tips
This Pumpkin Bread stores beautifully, making it excellent for meal prep!
- Room Temperature: Store leftover bread wrapped tightly in plastic wrap or in an airtight container for up to 3 days.
- Refrigeration: For longer storage, refrigerate for up to 1 week.
- Freezing: Slice the cooled loaf and wrap individual slices in plastic wrap, then place them in a freezer-safe bag or container. It will keep for up to 3 months. Thaw at room temperature or gently warm in the microwave.
Conclusion
There’s truly nothing quite like the aroma and taste of homemade Pumpkin Bread. This recipe, with its perfect balance of moisture, spice, and tender crumb, guarantees a delightful treat that will quickly become a fall favorite. Whether you’re enjoying a slice with your morning coffee or sharing a warm Pumpkin Loaf with loved ones, the effort is undeniably worthwhile. Don’t hesitate to embark on this delicious baking journey – your taste buds (and your family) will thank you! We encourage you to try this recipe, experiment with your own variations, and share your baking successes in the comments below.
FAQs
Q1: Can I use fresh pumpkin instead of canned?
A1: Yes, you can! You’ll need to roast and puree your own pumpkin. Ensure it’s a dense, starchy pumpkin (like sugar pumpkin) for the best results, and drain any excess liquid before using.
Q2: My bread is browning too quickly on top. What should I do?
A2: If the top is browning before the inside is cooked, loosely tent the loaf pan with aluminum foil for the remainder of the baking time.
Q3: Can I make this into muffins?
A3: Absolutely! Prepare the batter as directed, then spoon it into greased muffin cups, filling each about two-thirds full. Bake for 20-25 minutes at 375°F (190°C), or until a toothpick comes out clean.
Q4: How do I know if my baking soda is still active?
A4: To test baking soda, mix ½ teaspoon with a tablespoon of vinegar. If it fizzes vigorously, it’s still good. If not, it’s time for a fresh box.
Q5: What’s the best way to serve pumpkin bread?
A5: It’s delicious on its own, but also wonderful slathered with softened butter, cream cheese, or a dusting of powdered sugar. Some enjoy it with a side of whipped cream or ice cream for a decadent dessert.