Unlock the Secret to Effortless Deliciousness: Your Guide to the Perfect Chia Pudding
Are you constantly searching for breakfast or dessert options that are both incredibly tasty and remarkably healthy? Look no further! Today, we’re diving deep into the world of homemade Chia Pudding. Preparing this nutrient-packed dish at home isn’t just about saving money; it’s about gaining complete control over your ingredients, tailoring flavors to your exact preferences, and enjoying a truly wholesome meal that kickstarts your day or satisfies your sweet tooth without guilt. We’ll explore everything from the basic preparation to advanced tips, ensuring your homemade creation is a masterpiece. And if you’re eager to explore more vibrant and healthy options, you’ll love discovering a plethora of Chia Pudding Recipes to add to your culinary repertoire.
Ingredients & Kitchen Tools
To embark on your chia pudding journey, gather these essential items:
- Chia Seeds (1/2 cup): The star ingredient! These tiny powerhouses absorb liquid and create the pudding’s signature texture.
- Milk (2 cups): Your choice of dairy (cow’s milk) or non-dairy (almond, oat, soy, coconut) milk. Each offers a slightly different flavor profile.
- Sweetener (2-4 tablespoons): Maple syrup, honey, agave nectar, or a sugar substitute to taste. Adjust based on your preferred sweetness level.
- Vanilla Extract (1 teaspoon): Enhances flavor and adds a warm, aromatic note.
- Pinch of Salt: Balances the sweetness and brings out other flavors.
Optional Add-ins & Toppings:
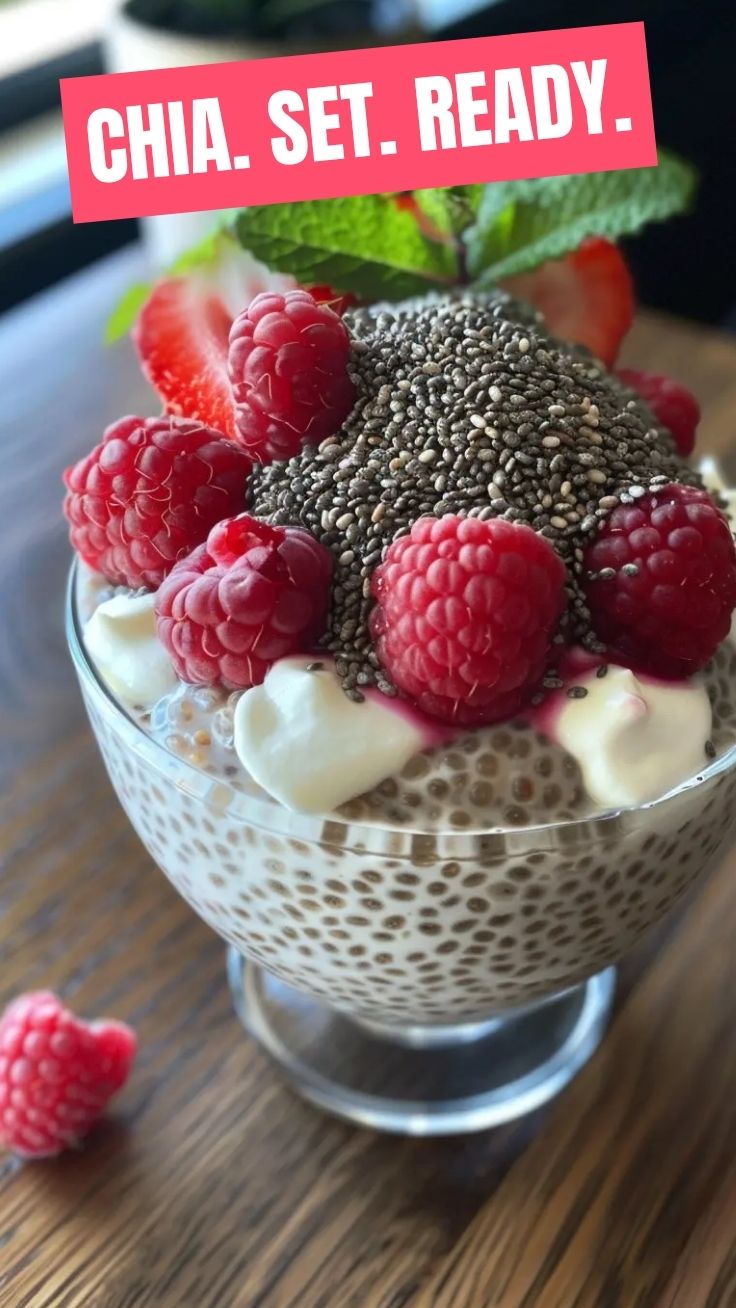
- Fresh Fruit: Berries, sliced banana, mango, kiwi. Adds natural sweetness, vitamins, and texture.
- Nuts/Seeds: Almonds, walnuts, pumpkin seeds, granola. Provides crunch and healthy fats.
- Cacao Powder (1-2 tablespoons): For a chocolatey twist.
- Nut Butter (1 tablespoon): Adds creaminess and protein.
Kitchen Tools:
- Mixing Bowl: Large enough to combine all ingredients.
- Whisk or Spoon: For thorough mixing.
- Airtight Containers or Mason Jars: For chilling and storage. Single-serving jars are great for meal prep.
Prep Time & Cooking Schedule
The beauty of chia pudding lies in its minimal hands-on time.
- Prep Time: 5-10 minutes (depending on how many toppings you’re prepping)
- Resting Time: Minimum 2 hours, ideally overnight. This allows the chia seeds to fully hydrate and create that perfect pudding consistency. There’s no “cooking” involved, making this a fantastic no-cook option! Plan to mix it up the night before for a stress-free breakfast.
Step-by-Step Instructions
Creating your perfect Chia Pudding is incredibly simple. Follow these steps for consistently delicious results:
1. Combine Wet Ingredients: In your mixing bowl, pour in the milk, sweetener, and vanilla extract. Add the pinch of salt. Whisk everything together thoroughly until the sweetener has dissolved completely.
2. Add Chia Seeds: Sprinkle the chia seeds into the wet mixture. This method helps prevent clumping.
3. Mix Thoroughly: Stir vigorously for about 1-2 minutes. This is crucial to ensure the chia seeds are evenly distributed and don’t clump at the bottom. Tip: Don’t skip this step! Initial mixing prevents a lumpy pudding.
4. Initial Rest & Remix: Let the mixture sit for 5 minutes. Stir again vigorously. You’ll notice the mixture starting to thicken slightly. This second mix helps to break up any remaining clumps and ensures even hydration.
5. Chill: Pour the mixture into your airtight containers or mason jars. Cover them and refrigerate for at least 2 hours, but preferably overnight. The longer it chills, the thicker and creamier your pudding will be.
6. Serve & Garnish: Once fully set, give your Chia Pudding Recipes a final stir. Top with your favorite fruits, nuts, or a drizzle of extra sweetener. Enjoy!
Nutritional Benefits & Advantages
Chia seeds are nutritional powerhouses, making this pudding a fantastic choice for supporting your overall health:
- Rich in Fiber: Excellent for digestive health, promoting satiety, and stabilizing blood sugar levels.
- Omega-3 Fatty Acids: Particularly ALA (alpha-linolenic acid), which supports heart health and brain function.
- Protein Content: A good source of plant-based protein, making it a satisfying meal or snack.
- Antioxidants: Helps protect your body from free radicals and oxidative stress.
- Minerals: Contains calcium, magnesium, and phosphorus, crucial for bone health.
Tips, Variations & Cooking Advice
- Flavor Boosts: Add cinnamon, nutmeg, pumpkin spice, or cardamom for an aromatic twist. A tablespoon of cocoa powder creates a chocolate chia pudding.
- Creamier Texture: For an ultra-creamy pudding, blend all ingredients (except chia seeds) first, then stir in the chia seeds and chill.
- Layer It Up: For an attractive presentation, layer your chia pudding with fruit purées, yogurt, or granola in a clear jar.
- Dietary Adaptations: This recipe is naturally gluten-free. For a dairy-free version, simply use any plant-based milk. Increase protein by adding a scoop of protein powder (ensure it’s well mixed before adding chia seeds).
- Ratio Adjustment: If you prefer a thinner pudding, use a slightly higher milk-to-chia seed ratio (e.g., 2.5 cups milk to 1/2 cup chia seeds). For a thicker consistency, reduce the milk to 1.5 cups.
- Sweetener Alternative: Dates or date syrup can also be used for natural sweetness.
Common Mistakes to Avoid
Not Stirring Enough Initially: This is the most common mistake, leading to a lumpy pudding with dry chia seeds at the bottom. Stir thoroughly* and then again after 5 minutes.
- Not Enough Chill Time: Rushing the chilling process results in a runny, un-pudding-like consistency. Patience is key!
- Too Much Sweetener: Start with less and add more to taste. It’s easier to add than to remove.
- Over-reliance on Toppings: While delicious, overloading with sugary toppings can negate some of the health benefits. Balance is key.
Storage & Meal Prep Tips
Chia pudding is a meal prepper’s dream!
- Refrigeration: Store prepared chia pudding in airtight containers in the refrigerator for up to 4-5 days.
Freezing: While it can* be frozen, the texture might become slightly gelatinous and less appealing upon thawing. It’s best enjoyed fresh from the fridge.
- Individual Portions: Prepare single-serving portions in small mason jars for an easy grab-and-go breakfast during the week. Add toppings just before serving to maintain their texture.
Conclusion
Embracing homemade Chia Pudding is a simple yet profound step towards healthier eating. This versatile dish is not only easy to prepare but also incredibly customizable, allowing you to create countless delicious variations tailored to your taste and dietary needs. Whether you’re looking for a quick breakfast, a satisfying snack, or a healthy dessert, this recipe delivers on all fronts. Don’t be afraid to experiment with different flavor combinations and toppings; the possibilities are endless! We encourage you to try this recipe today and share your delightful creations. For more inspiration and innovative ideas, be sure to explore a wealth of Chia Pudding Recipes to keep your palate excited and your body nourished.
FAQs
Q1: Why isn’t my chia pudding thickening?
A1: The most common reasons are an incorrect chia seed to liquid ratio (too much liquid) or insufficient chilling time. Ensure you’re using at least 1/4 cup of chia seeds per cup of liquid and chilling for a minimum of 2 hours, preferably overnight.
Q2: Can I use water instead of milk?
A2: Yes, you can, but using milk (dairy or non-dairy) provides a creamier texture and richer flavor. Water will result in a much less flavorful and thinner pudding.
Q3: What’s the best way to avoid clumps?
A3: Stir the chia seeds into the liquid mixture very thoroughly for 1-2 minutes initially, then let it sit for 5 minutes and stir vigorously again before chilling. This two-stir method is key.
Q4: How can I make my chia pudding more flavorful without adding sugar?
A4: Use naturally sweet ingredients like mashed ripe bananas, fruit purées, vanilla bean paste, or spices like cinnamon and nutmeg. A dash of natural extracts can also enhance the taste.
Q5: Can I quickly “cook” chia pudding if I’m in a hurry?
A5: Chia pudding doesn’t cook; it “sets” through hydration. There’s no quick way to achieve the desired consistency beyond allowing sufficient chill time. However, you can blend some of the chia seeds with the liquid for a quicker, smoothie-like texture.