Master the Art of the Perfect New York Cheesecake at Home
Ever wondered how those impossibly creamy, perfectly tangy New York Cheesecake slices achieve their legendary status? Imagine recreating that decadent experience in your own kitchen, impressing friends and family with a dessert that tastes straight out of a artisan bakery. Preparing this quintessential American dessert at home isn’t just about saving money; it’s about the joy of creating something truly special, tailoring it to your exact preferences, and understanding the magic behind its velvety texture. This comprehensive guide will walk you through every step to achieving that iconic, rich, and smooth cheesecake, offering insightful tips and tricks along the way. With our expert guidance, you’ll unlock the secrets to crafting heavenly Cheesecake recipes that will become your signature bake.
Ingredients & Kitchen Tools
Crafting the perfect cheesecake starts with quality ingredients and the right equipment.
Ingredients:
- For the Crust:
1 ½ cups graham cracker crumbs (about 10–12 full sheets, finely crushed) – Provides a classic, buttery base.*
¼ cup granulated sugar – Adds a touch of sweetness to the crust.*
6 tablespoons unsalted butter, melted – Binds the crumbs together for a firm crust.*
- For the Filling:
32 ounces (four 8-ounce blocks) cream cheese, full-fat, softened at room temperature – Essential for the signature creamy texture.*
1 ½ cups granulated sugar – Sweetens the rich filling.*
¼ cup all-purpose flour – Acts as a stabilizer, preventing cracks.*
1 tablespoon vanilla extract – Enhances the overall flavor profile.*
1 teaspoon lemon zest – Adds a bright, tangy note that compliments the richness.*
Pinch of salt – Balances the sweetness and enhances other flavors.*
4 large eggs, room temperature – Provide structure and richness to the filling.*
1 cup sour cream, full-fat, room temperature – Contributes to the tangy flavor and ultra-smooth texture.*
Kitchen Tools:
9-inch springform pan – Crucial for easy release of the baked cheesecake.*
Aluminum foil (heavy-duty) – For wrapping the pan to create a water bath.*
Large roasting pan or baking dish – To hold the springform pan in a water bath.*
Electric mixer (stand or hand-held) – For thoroughly blending the filling ingredients.*
Rubber spatula – For scraping bowls and folding ingredients.*
Measuring cups and spoons – For accurate ingredient measurements.*
Small mixing bowls – For preparing crust ingredients.*
Large mixing bowl – For preparing the cheesecake filling.*
Wire rack – For cooling the cheesecake.*
Prep Time & Cooking Schedule
- Prep Time: 30 minutes
- Bake Time: 1 hour 15 minutes to 1 hour 30 minutes
- Cooling Time (Room Temperature): 1-2 hours
- Chill Time (Refrigerator): Minimum 6 hours, preferably overnight
Plan ahead! While the active prep isn’t extensive, the cooling and chilling times are essential for the cheesecake to set properly and develop its full flavor and texture. Starting this dessert the day before you plan to serve it is highly recommended.
Step-by-Step Instructions
1. Prepare the Crust: Preheat oven to 350°F (175°C). In a medium bowl, combine graham cracker crumbs, granulated sugar, and melted butter. Press firmly and evenly into the bottom of a 9-inch springform pan. Bake for 10 minutes, then remove and let cool. This pre-baking step ensures a sturdy crust.
2. Prepare the Water Bath: Wrap the outside of the springform pan securely with two layers of heavy-duty aluminum foil to prevent water from seeping in. This water bath technique is key to baking a creamy, crack-free New York Cheesecake by providing gentle, even heat and moisture in the oven.
3. Make the Filling: In a large mixing bowl with an electric mixer on medium speed, beat the softened cream cheese until smooth and creamy (about 2-3 minutes). Gradually add the granulated sugar, flour, vanilla extract, lemon zest, and salt, mixing until just combined and smooth. Do not overmix! Excessive air can lead to cracks.
4. Incorporate Eggs and Sour Cream: Beat in the eggs one at a time, mixing on low speed only until just incorporated after each addition. Finally, gently fold in the sour cream until no streaks remain. The key to successful Cheesecake recipes is careful mixing.
5. Bake the Cheesecake: Pour the filling into the cooled crust. Place the foil-wrapped springform pan into the larger roasting pan. Carefully pour hot water into the roasting pan until it reaches halfway up the sides of the springform pan.
6. Bake: Bake for 1 hour 15 minutes to 1 hour 30 minutes, or until the edges are set but the center still jiggles slightly when gently shaken.
7. Cooling: Turn off the oven, crack the oven door open, and let the cheesecake cool in the water bath inside the oven for 1 hour. This slow cooling helps prevent cracks.
8. Chill: Remove from the oven, carefully lift the springform pan from the water bath, remove the foil, and cool completely on a wire rack at room temperature. Once cooled, cover loosely with plastic wrap and refrigerate for at least 6 hours, or preferably overnight. Chilling is paramount for the cheesecake to firm up and reach its optimal texture.
Nutritional Benefits & Advantages
While a classic dessert, cheesecake does offer some nutritional points. Cream cheese provides calcium and protein, helping with bone health and satiety. The eggs contribute high-quality protein and essential vitamins like B12 and D. While not a health food, enjoying a homemade slice allows you to control sugar levels and avoid artificial additives often found in store-bought versions. The fruit (lemon zest) adds a touch of Vitamin C and antioxidants.
Tips, Variations & Cooking Advice
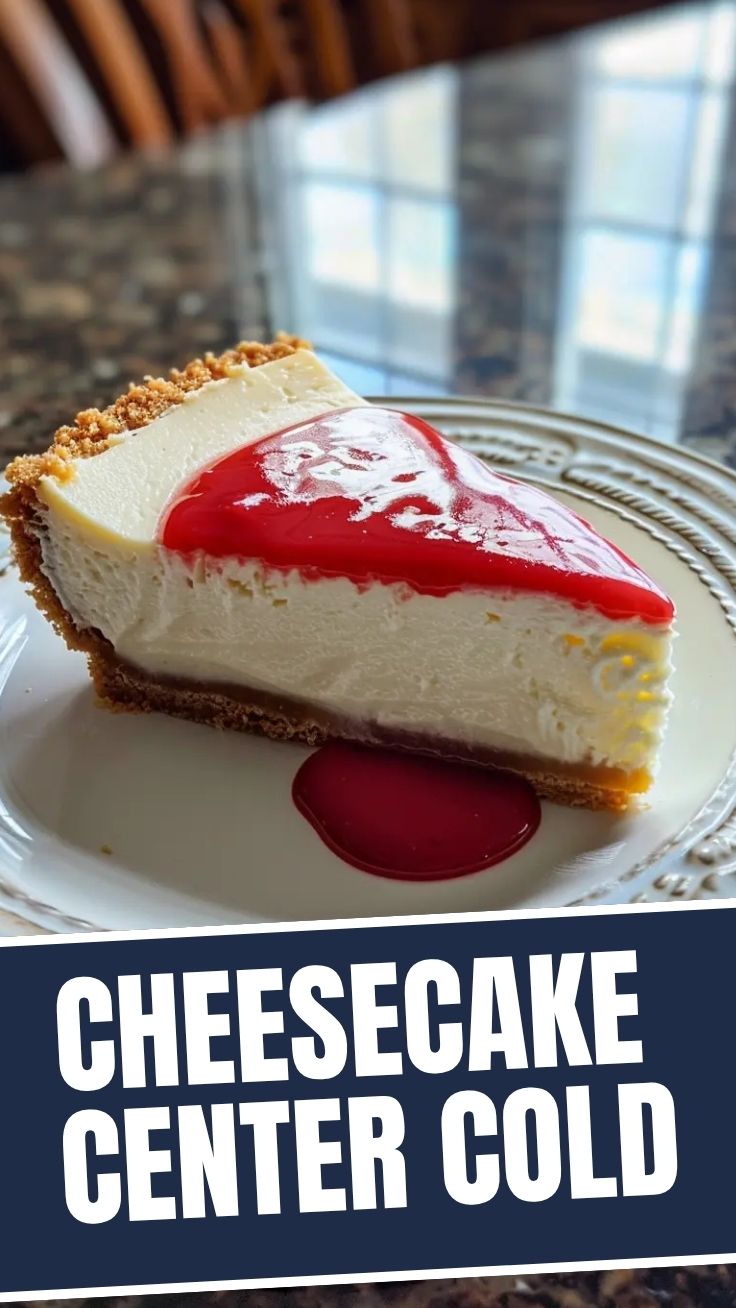
- Flavor Variations: Swirl in fruit purees (raspberry, blueberry), chocolate ganache, or caramel sauce before baking for delicious variations. Add a hint of almond extract or orange zest for a different aromatic profile.
- Crust Alternatives: Experiment with oreo cookie crumbs, shortbread, or even gluten-free cookie crumbs for dietary needs.
- Dairy-Free: There are excellent plant-based cream cheese and sour cream alternatives available to make a delicious vegan version. Adjust baking time if using different ingredients, as textures can vary.
- Crustless Option: For a lighter take, skip the crust entirely and bake the filling in a buttered and floured springform pan.
Common Mistakes to Avoid
- Overmixing the Filling: Incorporating too much air can cause the cheesecake to puff up and then crack as it cools. Mix only until just combined.
- Opening the Oven Door Too Often: This can lead to drastic temperature changes, resulting in cracks. Resist the urge to peek!
- Skipping the Water Bath or Slow Cooling: These steps are crucial for even baking, moisture retention, and preventing cracks.
- Serving Warm: A warm cheesecake isn’t set. It needs ample chilling time to firm up and achieve its signature dense, yet creamy texture.
Storage & Meal Prep Tips
Store leftover New York Cheesecake in an airtight container in the refrigerator for up to 5 days. For longer storage, slices can be individually wrapped in plastic wrap and then foil, then frozen for up to 2-3 months. Thaw frozen cheesecake in the refrigerator overnight before serving. Reheating is not recommended as it will alter the texture; serve chilled.
Conclusion
Mastering the perfect New York Cheesecake at home is a truly rewarding culinary journey. From the careful blending of ingredients to the patient cooling process, each step contributes to that unforgettable, creamy texture and rich flavor we all adore. By following these detailed instructions, you’re not just baking a dessert; you’re crafting an experience. Don’t be shy – dive into the world of homemade Cheesecake recipes, and prepare to delight your taste buds and those of your loved ones. We encourage you to try this recipe, share your magnificent creations in the comments below, and explore other delicious desserts on our site!
FAQs
1. Why did my cheesecake crack?
The most common reasons are overmixing (too much air), baking at too high a temperature, or drastic temperature changes during cooling. Ensure you use a water bath, don’t overmix, and cool it slowly in the oven with the door ajar.
2. Can I make this cheesecake without a springform pan?
While a springform pan is ideal for easy removal, you can use a regular round cake pan if lined well with parchment paper, leaving an overhang to lift the cheesecake out once cooled.
3. How do I know when my cheesecake is done baking?
The edges should be set, but the center (about 2-3 inches in diameter) should still jiggle slightly like firm Jell-O when gently shaken. It will continue to set as it cools.
4. What if I don’t have time for an overnight chill?
While an overnight chill is best, a minimum of 6 hours in the refrigerator is essential for the cheesecake to properly set and firm up into its characteristic dense, creamy texture.
5. Can I substitute low-fat cream cheese or sour cream?
It’s highly discouraged. Full-fat dairy is crucial for the signature rich taste, creamy texture, and structural integrity of a classic New York Cheesecake. Low-fat alternatives can result in a drier, less flavorful cheesecake with a rubbery texture.