Master the Art of Homemade Brownies: A Comprehensive Guide to Fudgy Perfection
Are you ready to transform your kitchen into a haven of rich, chocolatey aromas? There’s something undeniably magical about freshly baked Brownies, those humble yet extraordinary squares of pure indulgence. While store-bought options can satisfy a craving, nothing compares to the deep, fudgy satisfaction of homemade chocolate brownies. Beyond the incredible taste, baking at home allows you to control the quality of ingredients, personalize flavors, and enjoy the therapeutic process of creation. This guide will walk you through every step, ensuring your next batch of homemade Brownies transcends mere dessert and becomes a culinary triumph.
Ingredients & Kitchen Tools
To embark on your journey to perfect Brownies, gather the following:
- Unsalted Butter (1 cup / 226g): Essential for a rich, tender crumb. Use unsalted to control the sodium content.
- Granulated Sugar (2 cups / 400g): Provides sweetness and contributes to that characteristic chewy texture.
- Large Eggs (4): Binds the ingredients and adds richness. Room temperature eggs emulsify better.
- Vanilla Extract (2 teaspoons): Enhances the chocolate flavor. Pure vanilla is always best.
- All-Purpose Flour (1 cup / 125g): The structure of your brownies. Don’t overmix!
- Unsweetened Cocoa Powder (¾ cup / 75g): The star of the show! Use high-quality Dutch-processed cocoa for a richer, darker color and less bitterness.
- Salt (½ teaspoon): Balances sweetness and amplifies chocolate flavor.
- Baking Powder (½ teaspoon): A small amount helps with a slightly cakey texture without being too airy.
- Chocolate Chips or Chunks (1 cup / 170g, optional): For extra gooey pockets of melted chocolate. Semisweet or dark chocolate works best.
Kitchen Tools:
- 9×13 inch baking pan: A standard size for most brownie recipes.
- Parchment paper: Lines the pan for easy removal and cleanup.
- Large mixing bowls (2): For wet and dry ingredients.
- Whisk: For combining dry ingredients and light mixing.
- Rubber spatula: For folding and scraping bowls.
- Saucepan: For melting butter (or a microwave-safe bowl).
- Oven thermometer (optional but recommended): Ensures accurate oven temperature.
- Wire rack: For cooling the brownies completely.
Prep Time & Cooking Schedule
- Prep Time: 15 minutes
- Cook Time: 25-30 minutes
- Cooling Time: 1-2 hours (crucial for fudgy texture!)
These times are estimates. Your oven might bake slightly differently. The cooling time is non-negotiable for achieving perfectly fudgy, cuttable squares. Rushing this step will result in crumbly, messy Brownies.
Step-by-Step Instructions
1. Preheat & Prepare: Preheat your oven to 350°F (175°C). Line a 9×13 inch baking pan with parchment paper, leaving an overhang on the sides for easy lifting. Lightly grease the parchment paper.
2. Melt Butter: In a medium saucepan over low heat, or in a microwave-safe bowl, melt the unsalted butter until just melted. Remove from heat.
3. Combine Wet Ingredients: Add the granulated sugar to the melted butter and whisk until combined. Allow the mixture to cool for a few minutes. Whisk in the eggs one at a time, incorporating each fully before adding the next. Stir in the vanilla extract. This wet mixture forms the base of your incredibly moist chocolate brownies.
4. Combine Dry Ingredients: In a separate large bowl, whisk together the all-purpose flour, unsweetened cocoa powder, salt, and baking powder.
5. Combine Wet and Dry: Gradually add the dry ingredients to the wet ingredients, mixing with a rubber spatula until just combined. Be careful not to overmix, as this can lead to tough brownies. A few streaks of flour are okay. If using, fold in the chocolate chips or chunks.
6. Bake: Pour the batter into the prepared baking pan and spread evenly. Bake for 25-30 minutes. The brownies are done when a toothpick inserted into the center comes out with moist crumbs, but not wet batter. Overbaking will result in dry Brownies.
7. Cool Completely: This is the most important step for fudgy Brownies! Let the brownies cool completely in the pan on a wire rack for at least 1-2 hours before lifting them out using the parchment paper overhang and cutting into squares.
Nutritional Benefits & Advantages
While Brownies are undoubtedly a treat, they offer some surprising benefits. Dark cocoa powder, a primary ingredient, is rich in antioxidants, which can contribute to heart health. Furthermore, baking at home allows you to control sugar levels or introduce alternative flours. The act of baking itself can be a stress reliever and a creative outlet, offering a mental health boost alongside the delicious outcome.
Tips, Variations & Cooking Advice
Fudgier Brownies*: For an extra fudgy texture, slightly underbake them. Aim for a toothpick that comes out with moist crumbs, but not raw batter.
- Cakey Brownies: If you prefer a more cake-like brownie, increase the baking powder to 1 teaspoon.
- Flavor Boosts: Add a pinch of espresso powder to the batter for a deeper chocolate flavor without tasting like coffee. Swirl in caramel or peanut butter for a decadent twist.
- Nutty Perfection: Fold in ½ cup of chopped walnuts or pecans for added texture and flavor.
- Gluten-Free Option: Substitute the all-purpose flour with a 1:1 gluten-free baking blend (ensure it contains xanthan gum).
- Dairy-Free Option: Use plant-based butter and ensure your chocolate chips are dairy-free.
Common Mistakes to Avoid
- Overmixing: Overmixing the batter develops the gluten in the flour, leading to tough, dry brownies instead of fudgy ones.
- Overbaking: This is the most common culprit for dry, crumbly Brownies. Always err on the side of slightly underbaking.
- Cutting Too Soon: Patience is key! Cutting warm Brownies will result in a messy, crumbling disaster. Allow them to cool completely.
- Incorrect Pan Size: Using a pan that’s too small will result in very thick brownies that may not cook evenly, while a pan that’s too large will yield thin, dry ones.
Storage & Meal Prep Tips
Store cooled Brownies in an airtight container at room temperature for up to 3-4 days. You can also refrigerate them for up to a week; chilling often enhances their fudgy texture. For longer storage, wrap individual brownies tightly in plastic wrap and then in foil, and freeze for up to 3 months. Thaw at room temperature or warm briefly in the microwave.
Conclusion
Crafting the perfect batch of homemade Brownies is a rewarding experience, leading to a treat that’s far superior to any store-bought alternative. By following these detailed instructions and embracing the nuances of baking, you’ll consistently create rich, fudgy, and absolutely irresistible chocolate brownies. Don’t hesitate to experiment with variations and make this recipe your own. We encourage you to try this recipe, share your delicious creations in the comments below, and explore our other tempting dessert recipes!
FAQs
Q1: Why are my brownies dry?
A1: Most likely due to overbaking. Keep a close eye on them and remove them from the oven when a toothpick inserted in the center comes out with moist crumbs, not wet batter.
Q2: Can I use semi-sweet chocolate instead of cocoa powder?
A2: While you can, the recipe needs specific adjustments for the fat and sugar content. It’s best to stick to cocoa powder for this recipe’s intended fudgy texture unless you’re an experienced baker.
Q3: How do I get that shiny, crackly top?
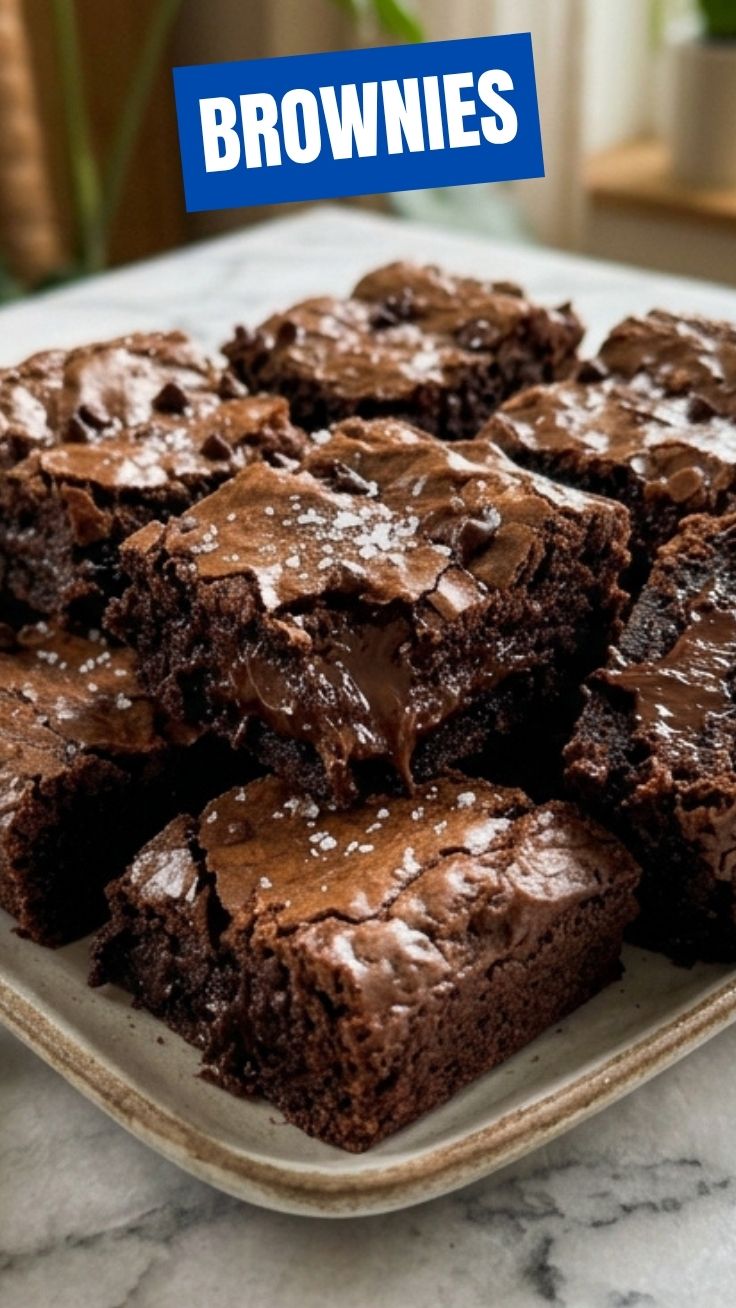
A3: The shine usually comes from vigorously whisking the sugar and eggs until they are well combined and slightly aerated, and then baking at the correct temperature. Not overmixing the flour also helps.
Q4: Can I add nuts or other mix-ins to the batter?
A4: Absolutely! Fold in up to 1 cup of chopped nuts (walnuts, pecans), chocolate chips, white chocolate chunks, or even a swirl of caramel or peanut butter during step 5.
Q5: My brownies are still gooey in the middle even after the recommended baking time. What should I do?
A5: Ovens can vary. Continue baking in 3-5 minute increments until the toothpick test yields moist crumbs. If the edges are browning too quickly, loosely tent the pan with foil.