Sure, here’s the blog post following your instructions:
Mastering the Art of Perfect Chocolate Chip Cookies at Home
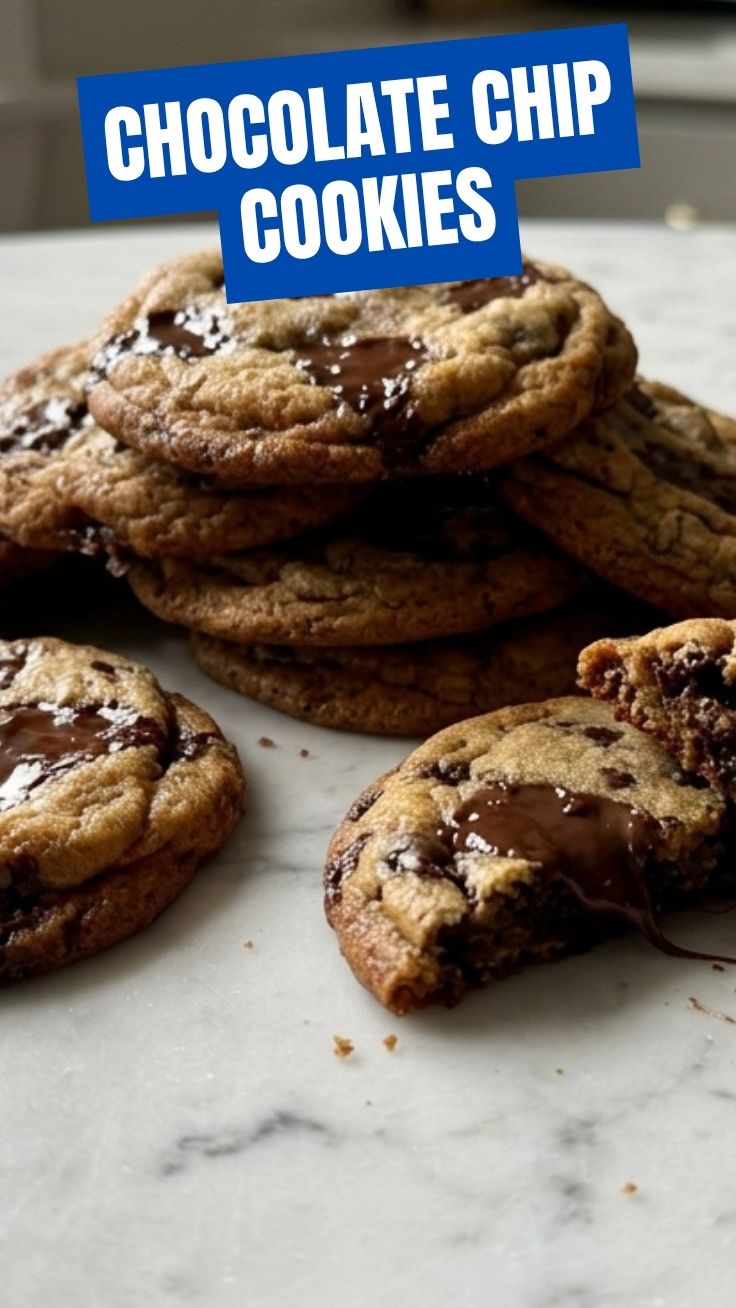
Who doesn’t crave a warm, gooey, perfectly golden Chocolate Chip Cookies straight from the oven? That irresistible aroma, the melting chocolate chips, the tender bite—it’s pure culinary magic. While store-bought options exist, there’s an unparalleled satisfaction and superior flavor profile that comes from crafting these delightful treats in your own kitchen. Mastering this classic isn’t just about following a recipe; it’s about understanding the nuances that transform simple ingredients into extraordinary memories. This guide will walk you through every step, ensuring your homemade cookies rival any bakery. Get ready to elevate your home baking recipes game and impress everyone with your newfound skills.
Ingredients & Kitchen Tools
Crafting the perfect batch requires precise measurements and the right equipment. Here’s what you’ll need:
- All-Purpose Flour (2 ¼ cups): The structural backbone of your cookies. Avoid compacting when measuring.
- Baking Soda (1 teaspoon): The leavening agent that helps cookies rise and spread.
- Salt (1 teaspoon): Balances sweetness and enhances flavor. Don’t skip it!
- Unsalted Butter (1 cup, 2 sticks, softened): Provides richness and tenderness. Softened means pliable, not melted.
- Granulated Sugar (¾ cup): Contributes to crispness and sweetness.
- Packed Light Brown Sugar (¾ cup): Adds moisture, chewiness, and a subtle caramel note.
- Large Eggs (2, room temperature): Binds ingredients and adds moisture. Room temperature eggs emulsify better.
- Vanilla Extract (2 teaspoons): Essential for that classic cookie flavor. Use good quality extract.
- Semi-Sweet Chocolate Chips (2 cups): The star of the show! Feel free to use milk or dark chocolate as a substitute.
- Optional – Flaky Sea Salt (for sprinkling): Enhances chocolate flavor and adds a gourmet touch.
Kitchen Tools:
- Large Mixing Bowl: For combining wet and dry ingredients.
- Electric Mixer (stand or hand-held): Highly recommended for creaming butter and sugars.
- Measuring Cups & Spoons: Accuracy is key in baking.
- Rubber Spatula: For scraping down bowls and folding ingredients.
- Baking Sheets: Essential for baking cookies. Light-colored sheets prevent over-browning.
- Parchment Paper or Silicone Baking Mats: Prevents sticking and ensures even baking.
- Wire Cooling Rack: For cooling cookies evenly.
- Cookie Scoop (1.5-2 inch): Ensures uniform cookie size for even baking.
Prep Time & Cooking Schedule
- Prep Time: 15-20 minutes
- Chill Time: 30 minutes (minimum) to 24 hours (for best results)
- Cook Time: 10-12 minutes per batch
- Total Time: Approximately 1 hour (with minimal chill) or longer with extended chilling.
Allowing your dough to chill is crucial for flavor development and preventing excessive spreading. Plan your baking session accordingly; a longer chill time (up to 24 hours) truly enhances the flavor and texture of your cookies.
Step-by-Step Instructions
1. Whisk Dry Ingredients: In a medium bowl, whisk together the flour, baking soda, and salt. Set aside.
2. Cream Butter and Sugars: In a large mixing bowl, using an electric mixer, beat the softened unsalted butter with the granulated sugar and packed light brown sugar on medium speed until light and fluffy, about 2-3 minutes. This creaming process incorporates air, contributing to the cookie’s texture.
3. Add Eggs and Vanilla: Beat in the eggs one at a time, mixing well after each addition. Stir in the vanilla extract until just combined.
4. Combine Wet and Dry: Gradually add the dry ingredients to the wet ingredients, mixing on low speed until just combined. Be careful not to overmix; overmixing can lead to tough cookies.
5. Fold in Chocolate Chips: Gently fold in the semi-sweet chocolate chips with a rubber spatula until evenly distributed.
6. Chill the Dough: Cover the bowl with plastic wrap and refrigerate for at least 30 minutes, or preferably for 1-2 hours, up to 24 hours. Chilling allows the flavors to meld and prevents the cookies from spreading too much, ensuring a perfect Chocolate Chip Cookies shape.
7. Preheat Oven & Prepare Baking Sheets: Preheat your oven to 375°F (190°C). Line baking sheets with parchment paper or silicone mats.
8. Scoop and Bake: Scoop even balls of dough (about 1.5-2 tablespoons each) onto the prepared baking sheets, leaving about 2 inches between them. If desired, sprinkle a pinch of flaky sea salt on top of each dough ball.
9. Bake: Bake for 10-12 minutes, or until the edges are golden brown and the centers are still slightly soft. Do not overbake! This is key for a chewy interior.
10. Cool: Let the cookies cool on the baking sheets for 5 minutes before transferring them to a wire rack to cool completely. This helps them set and prevents breakage. Enjoy your perfectly crafted baking recipes!
Nutritional Benefits & Advantages
While cookies are often seen as an indulgence, homemade Chocolate Chip Cookies offer certain advantages. You control the ingredients, allowing you to choose high-quality butter, natural vanilla, and specify the type of chocolate. Dark chocolate, for instance, provides antioxidants. Including oats or whole wheat flour variations can boost fiber content. Moreover, the psychological benefits of baking—the stress relief and joy of creating something delicious—are invaluable.
Tips, Variations & Cooking Advice
- Brown Butter: For a richer, nuttier flavor, brown your butter before creaming. Allow it to cool slightly before proceeding.
- Chocolate Variety: Experiment with different types of chocolate chips (milk, dark, white), chunks, or even chopped chocolate bars for diverse textures and flavors.
- Add-ins: Stir in chopped nuts (walnuts, pecans), dried cranberries, or a pinch of cinnamon for extra complexity.
- Sea Salt Finish: A sprinkle of flaky sea salt on top before baking enhances the chocolate flavor and provides a delightful contrast.
- Don’t Overbake: The secret to chewy cookies is to pull them from the oven when the edges are set and golden, but the centers still look slightly underdone. They will continue to cook on the hot baking sheet.
- Portion Control: Use a cookie scoop to ensure uniform size, which leads to even baking and consistent results.
Common Mistakes to Avoid
- Overmixing the Dough: This develops gluten, leading to tough, dense cookies. Mix until just combined.
- Not Chilling the Dough: Skipping the chill time results in flat, overly spread cookies.
- Using Melted Butter: This changes the texture significantly. Always use softened, not melted, butter for creaming.
- Overbaking: Causes dry, crispy cookies. Monitor closely and pull them out early if unsure.
- Crowding the Baking Sheet: Leads to uneven baking and cookies sticking together. Give them space.
Storage & Meal Prep Tips
- Storing Baked Cookies: Store cooled cookies in an airtight container at room temperature for up to 3-4 days. For optimal freshness, place a slice of bread in the container to help keep them soft.
- Freezing Baked Cookies: Once completely cooled, place cookies in a single layer on a baking sheet to flash freeze for about 30 minutes. Then transfer them to a freezer-safe bag or container for up to 3 months. Thaw at room temperature or warm briefly for a fresh-baked feel.
- Freezing Cookie Dough: Scoop dough balls onto a parchment-lined baking sheet and flash freeze until solid. Transfer to a freezer-safe bag or container and freeze for up to 3 months. When ready to bake, place frozen dough balls directly on a baking sheet and bake as usual, adding 1-2 minutes to the baking time.
Conclusion
There’s nothing quite like the simple pleasure of a homemade Chocolate Chip Cookies. With this comprehensive guide, you’re now equipped with the knowledge and techniques to bake perfect, chewy, and utterly delicious cookies every single time. From understanding ingredient roles to mastering the magic of chilling, you’ve unlocked the secrets to elevating your home baking recipes endeavors. Don’t be afraid to experiment with variations and personalize your batches. Now, go forth and bake! Share your results in the comments below, or tell us your favorite cookie-making tips. Happy baking!
FAQs
1. Can I use cold butter in this recipe?
No, using cold butter will not cream properly with the sugars, resulting in a different texture. Ensure your butter is softened for best results.
2. Why did my cookies spread too much?
Common reasons include butter being too warm or melted, not chilling the dough, overcrowding the baking sheet, or using too much baking soda.
3. Can I make this recipe gluten-free?
Yes, you can substitute the all-purpose flour with a 1:1 gluten-free baking flour blend that contains xanthan gum.
4. How do I troubleshoot if my cookies are too hard?
This usually means they were overbaked. Next time, reduce baking time by a minute or two and pull them out when the edges are set but the centers still look slightly soft.
5. What’s the best way to get uniformly sized cookies?
Using a cookie scoop (about 1.5 to 2 tablespoons) is the quickest and most efficient way to ensure consistent cookie size, leading to even baking.