Craving Irresistible Heat? Unlock the Secret to Perfect Buffalo Wings at Home!
Are you ready to elevate your snack game from ordinary to extraordinary? There’s something undeniably satisfying about a plate of perfectly crisp, saucy buffalo wings, and the good news is, making them at home is not just achievable, but incredibly rewarding. Forget soggy takeout versions or overpriced restaurant fare. Crafting your own Buffalo Wings allows for complete control over every element – from the fiery kick of the Buffalo Sauce to the golden crispness of the skin. This comprehensive guide will walk you through each step, ensuring your homemade rendition is a resounding success, packed with flavor and that signature tangy heat.
Ingredients & Kitchen Tools
Chicken Wings: 2-3 lbs whole chicken wings or drumettes and flats, separated. Ensure they are fresh and pat dry thoroughly for maximum crispiness.*
Baking Powder (aluminum-free): 1 tablespoon. Essential for achieving that coveted crispy skin without deep frying.*
Salt: 1 teaspoon. Enhances flavor and aids in drying the skin.*
Black Pepper: ½ teaspoon. Adds a subtle spice note.*
Garlic Powder: ½ teaspoon. For aromatic depth.*
Paprika (optional): ½ teaspoon. Contributes a warm color and mild flavor.*
Unsalted Butter: ½ cup (1 stick). Forms the rich base of the sauce.*
Frank’s RedHot Original Hot Sauce: ½ cup. The classic and essential ingredient for authentic Buffalo Sauce.*
White Vinegar: 1 tablespoon. Adds a crucial tanginess to balance the heat.*
Worcestershire Sauce: 1 teaspoon. Provides umami depth.*
Cayenne Pepper (optional): ¼ teaspoon. For an extra spicy kick.*
Baking Sheet: Large, rimmed. To catch any drips and ensure even baking.*
Wire Rack: Fits inside the baking sheet. Allows air circulation for crispy wings.*
Large Mixing Bowls: Two. One for seasoning, one for saucing.*
- Whisk: For combining sauce ingredients.
- Tongs: For easy handling of wings.
Prep Time & Cooking Schedule
- Prep Time: 15 minutes
- Chilling Time: 1-2 hours (optional, but highly recommended for extra crispy skin)
- Cook Time: 40-50 minutes
- Resting Time: 5 minutes
Planning is key to perfect wings! The optional chilling time after seasoning is a game-changer as it further air-dries the chicken skin, leading to an incredibly crisp texture. Factor this into your schedule, especially if you’re preparing these for a game day or gathering.
Step-by-Step Instructions
1. Prepare the Wings: Thoroughly pat the chicken wings dry with paper towels. This is a crucial step for achieving crispy skin. In a large bowl, combine the baking powder, salt, black pepper, garlic powder, and paprika (if using). Add the dried wings to the bowl and toss until evenly coated. Arrange the seasoned wings in a single layer on a wire rack set over a baking sheet, ensuring no pieces are touching. For extra crispiness, refrigerate uncovered for 1-2 hours.
2. Preheat Oven & Bake: Preheat your oven to 400°F (200°C). Bake the wings for 20 minutes, then flip them over and bake for another 20-30 minutes, or until golden brown and crispy. The internal temperature should reach 165°F (74°C).
3. Prepare the Buffalo Sauce: While the wings are baking, melt the unsalted butter in a medium saucepan over low heat. Once melted, stir in the Frank’s RedHot Original Hot Sauce, white vinegar, Worcestershire sauce, and cayenne pepper (if using). Whisk until thoroughly combined and heated through. Remove from heat.
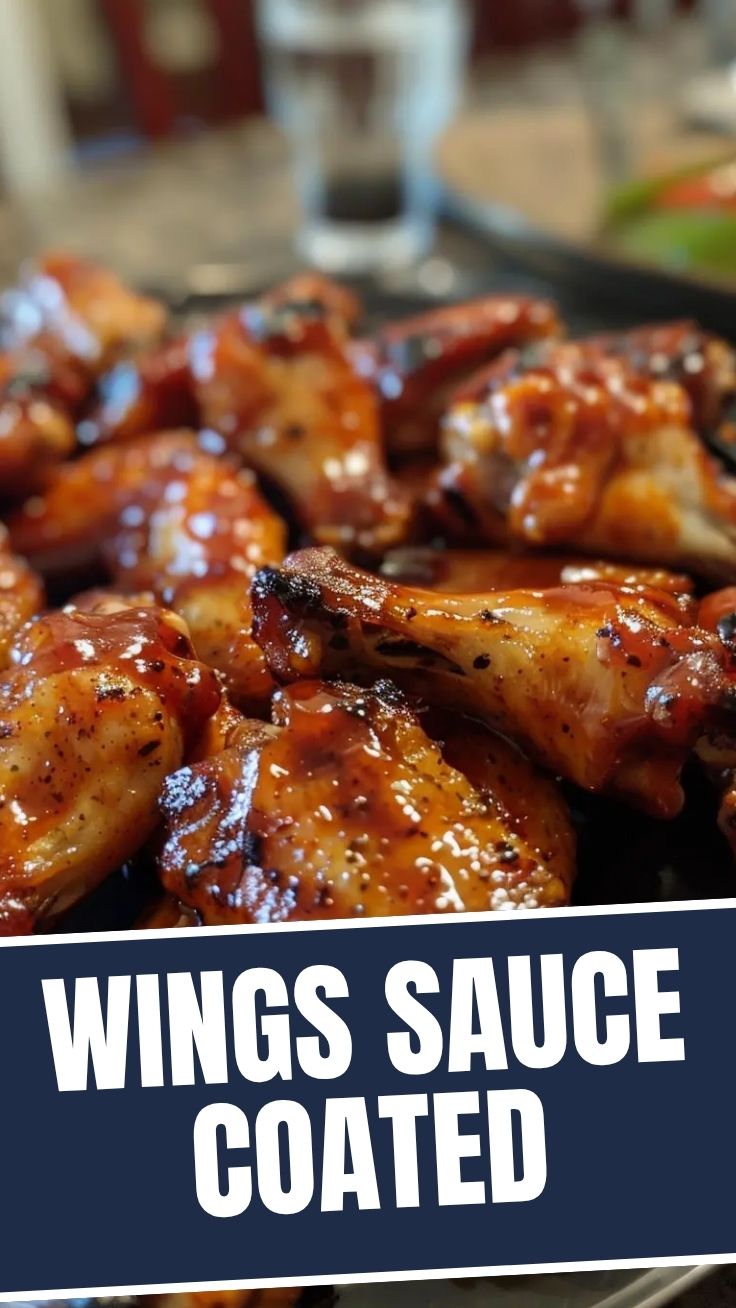
4. Sauce the Buffalo Wings: Once the wings are cooked and crispy, transfer them to a large clean mixing bowl. Pour the freshly made Buffalo Sauce over the wings and toss gently with tongs until each wing is completely coated. Serve immediately with your favorite dipping sauces and celery sticks.
Nutritional Benefits & Advantages
Chicken wings, when prepared thoughtfully, can be part of a balanced diet. Chicken is a good source of lean protein, essential for muscle repair and growth. While buffalo wings can be higher in fat due to the skin and butter in the sauce, baking rather than deep-frying significantly reduces the fat content. The Buffalo Sauce itself, particularly when made with quality ingredients like Frank’s RedHot, provides capsaicin from the chili peppers, which has been linked to boosting metabolism and anti-inflammatory properties.
Tips, Variations & Cooking Advice
- Extra Crispy: For the ultimate crispy skin, increase the oven temperature to 425°F (220°C) for the last 10 minutes of cooking.
- Air Fryer Method: Cook wings in a single layer in a preheated air fryer at 375°F (190°C) for 20-25 minutes, shaking the basket halfway through, until crispy. Then toss in sauce.
- Flavor Variations: Explore different hot sauces beyond Frank’s for varying heat levels and flavor profiles. Add a touch of honey or maple syrup to the Buffalo Sauce for a sweet and spicy kick.
- Dietary Adaptations: For a gluten-free option, ensure your hot sauce and Worcestershire sauce are certified gluten-free. For a dairy-free version, use a plant-based butter alternative.
- Spice Level: Adjust the cayenne pepper in the sauce to your desired heat. For milder wings, reduce or omit it entirely.
Common Mistakes to Avoid
Not Drying the Wings: This is the most common mistake. Wet wings will steam, not crisp. Pat them very* dry.
- Overcrowding the Baking Sheet: Too many wings on one sheet will steam them. Use two sheets if necessary, ensuring ample space between each wing.
- Forgetting Baking Powder: Without it, your baked wings won’t achieve that desirable crispy texture without deep-frying.
- Saucing Too Early: Wait until the wings are fully cooked and crispy before tossing them in the sauce to prevent them from becoming soggy.
- Overcooking the Sauce: Simmering the Buffalo Sauce for too long can cause it to break or become too thick. Just heat it through until combined.
Storage & Meal Prep Tips
Leftover Buffalo Wings can be stored in an airtight container in the refrigerator for up to 3-4 days. To reheat, the best method is to place them back on a wire rack in a preheated oven (375°F/190°C) for 10-15 minutes until heated through and re-crisped. An air fryer also works wonderfully for reheating. Avoid the microwave, as it often makes them rubbery. For meal prep, you can bake large batches of plain wings, then saucing them just before serving or reheating to maintain maximum crispness.
Conclusion
Mastering homemade Buffalo Wings is a culinary triumph that will impress friends, family, and most importantly, your taste buds. By following these detailed steps, you can achieve that perfect balance of crispy skin, tender meat, and the iconic tangy heat of a truly exceptional Buffalo Sauce. So, dive in, experiment with spice levels, and get ready to enjoy the ultimate comfort food, made right in your own kitchen! We encourage you to try this recipe and share your results – happy cooking!
FAQs
Q: Can I use frozen wings?
A: Yes, but thaw them completely in the refrigerator overnight and pat them very, very dry before seasoning and baking.
Q: What’s the best way to get really crispy wings without deep frying?
A: The combination of baking powder, thorough drying of the skin, and baking on a wire rack at a relatively high temperature are key. The optional chilling time also helps.
Q: My Buffalo Sauce separated. What went wrong?
A: This usually happens if the butter and hot sauce are heated too quickly or at too high a temperature. Ensure you’re melting the butter over low heat and gently whisking in the other ingredients without boiling.
Q: What are good dipping sauces to serve with these wings?
A: Classic choices include blue cheese dressing and ranch dressing. You can also offer a side of extra hot sauce for those who crave more heat.
Q: Can I make the Buffalo Sauce ahead of time?
A: Absolutely! The Buffalo Sauce can be made a few days in advance and stored in an airtight container in the refrigerator. Gently reheat it on the stovetop over low heat before tossing with the freshly baked wings.