The Quintessential Comfort Dessert: Mastering the Perfect Apple Crisp
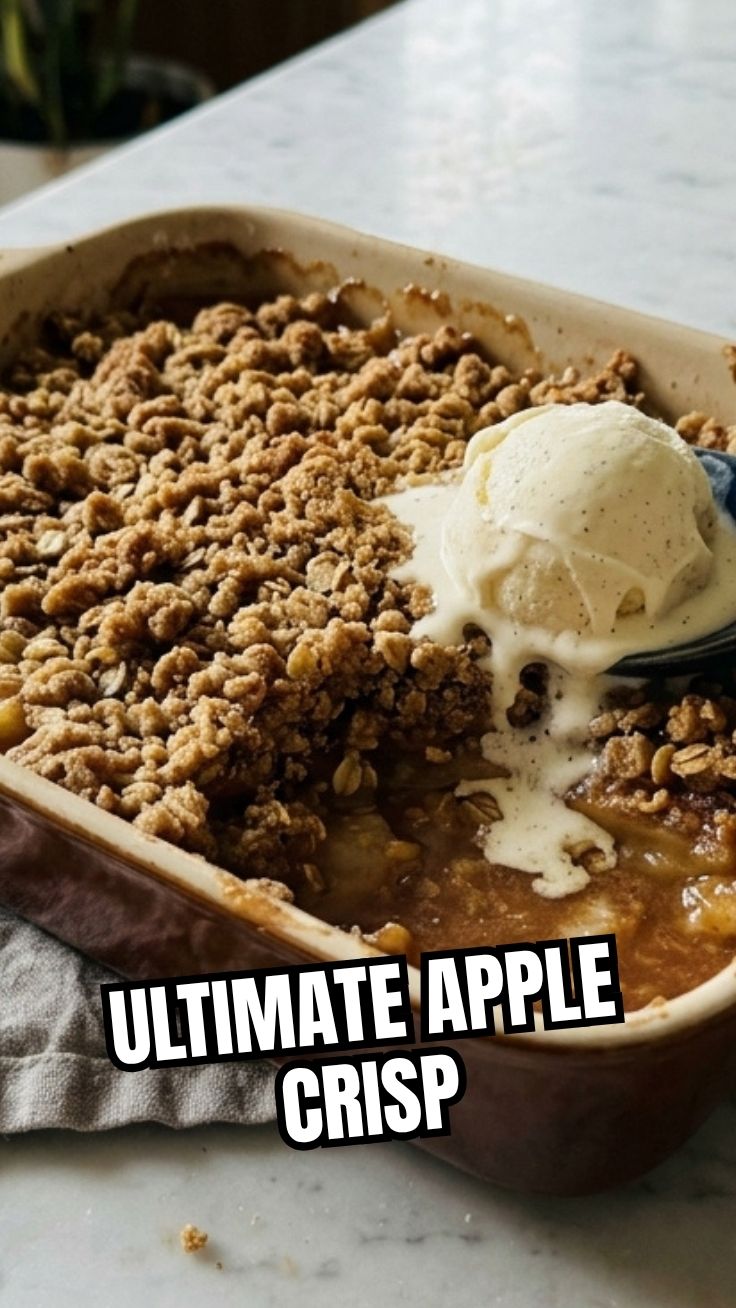
Ever wondered what makes a homemade dessert truly unforgettable? It’s the aroma of warm spices, the bubbling fruit, and that irresistible crumbly topping. Today, we’re diving deep into crafting the ultimate Apple Crisp – a classic that embodies comfort and joy. Preparing this beloved dessert at home isn’t just about saving money; it’s about controlling the quality of your ingredients, customizing flavors to your exact preference, and experiencing the simple pleasure of baking. While many adore Apple Pie, the crisp offers a delightful alternative, often simpler to assemble with equally satisfying results.
Ingredients & Kitchen Tools
Gathering your mise en place is the first step to culinary success.
- For the Filling:
* 6-8 Medium Apples (e.g., Granny Smith, Honeycrisp, Fuji): A mix of tart and sweet varieties works best for balanced flavor and texture.
* 1/2 Cup Granulated Sugar: Sweetens the apples. Adjust to your apple variety and preference.
* 2 Tablespoons All-Purpose Flour (or Cornstarch): Thickens the apple juices into a luscious sauce.
* 1 Teaspoon Ground Cinnamon: The quintessential apple spice.
* 1/4 Teaspoon Ground Nutmeg: Adds warmth and depth.
* 1 Tablespoon Lemon Juice: Prevents browning and brightens flavors.
* Pinch of Salt: Enhances all the other flavors.
- For the Crumb Topping:
* 1 Cup All-Purpose Flour: Provides the structure for the crumble.
* 1/2 Cup Packed Light Brown Sugar: Adds moistness and a rich, caramel-like sweetness.
* 1/4 Cup Granulated Sugar: For additional sweetness and crispness.
* 1/2 Teaspoon Ground Cinnamon: Complements the apple filling.
* 1/4 Teaspoon Salt: Balances the sweetness.
* 1/2 Cup (1 Stick) Unsalted Butter, cold and cubed: Creates the perfect crumbly texture.
* 1/2 Cup Rolled Oats (optional): Adds chewiness and rustic texture.
- Kitchen Tools:
* 9×13 Inch Baking Dish or 8×8/9×9 Square Dish: The vessel for your crisp.
* Large Mixing Bowls: For tossing apples and mixing topping.
* Vegetable Peeler & Corer: For efficient apple prep.
* Sharp Knife: For slicing apples.
* Pastry Blender or Your Fingertips: For cutting butter into the flour mixture.
* Measuring Cups & Spoons: For accurate ingredient quantities.
Prep Time & Cooking Schedule
- Prep Time: 20-30 minutes (mostly for peeling and slicing apples)
- Cook Time: 45-55 minutes
- Resting Time: 15-20 minutes (crucial for the filling to set and flavors to meld)
Plan to bake this delightful dessert about an hour before serving to allow for proper cooling. This cooling period ensures the apple filling thickens beautifully and prevents a runny crisp, giving you time to prepare coffee or ice cream!
Step-by-Step Instructions
1. Preheat & Prepare: Preheat your oven to 375°F (190°C). Lightly butter or grease your baking dish.
2. Apple Preparation: Peel, core, and slice your apples into roughly 1/4 to 1/2-inch thick pieces. In a large bowl, combine the sliced apples with granulated sugar, flour (or cornstarch), cinnamon, nutmeg, lemon juice, and a pinch of salt. Toss gently until the apples are evenly coated. This ensures every bite of your Apple Crisp is bursting with flavor.
3. Assemble the Filling: Pour the apple mixture into your prepared baking dish, spreading it into an even layer.
4. Craft the Crumb Topping: In a separate medium bowl, whisk together the flour, brown sugar, granulated sugar, cinnamon, and salt. Add the cold, cubed butter. Using a pastry blender or your fingertips, cut the butter into the dry ingredients until the mixture resembles coarse crumbs with some pea-sized pieces remaining. If using, stir in the rolled oats. This crumbly topping is what sets it apart from a traditional Apple Pie.
5. Top & Bake: Sprinkle the crumb topping evenly over the apple filling.
6. Bake to Perfection: Bake for 45-55 minutes, or until the topping is golden brown and the apple filling is bubbling around the edges. If the topping browns too quickly, you can loosely tent it with foil.
7. Cool & Serve: Let the crisp cool for at least 15-20 minutes before serving. This allows the filling to set and prevents it from being too runny.
Nutritional Benefits & Advantages
Apples are a fantastic source of dietary fiber, promoting digestive health and helping you feel full. They’re also rich in vitamin C, an important antioxidant. The oats in the topping (if used) add more fiber and beneficial complex carbohydrates. While it’s a dessert, this Apple Crisp offers a wholesome option compared to many processed treats, especially when you control the sugar content.
Tips Variations & Cooking Advice
- Spice it up: Add a pinch of ground ginger or cardamom to the filling for an exotic twist.
- Nutty Crunch: Incorporate chopped pecans or walnuts into the topping for added texture and flavor.
- Gluten-Free: Substitute the all-purpose flour in both the filling and topping with a 1:1 gluten-free baking blend. Ensure your oats are certified gluten-free.
- Dairy-Free: Use plant-based butter (vegan butter sticks work best) in the topping.
- Berries Galore: Mix in a cup of fresh or frozen berries (raspberries, blueberries) with the apples for a mixed fruit crisp.
Common Mistakes to Avoid
- Under-baking: A common culprit for a runny crisp. Ensure the apples are tender when pierced with a fork and the sauce is visibly bubbling.
- Over-mixing the topping: This can lead to a tough, less crumbly topping. Mix just until combined and you have those lovely crumbly bits.
- Skipping the lemon juice: Not only does it prevent browning, but it also brightens the apple flavor, preventing the taste from being flat.
- Serving immediately: While tempting, allowing it to rest is crucial for the filling to thicken and achieve that perfect consistency.
Storage & Meal Prep Tips
Leftover Apple Crisp can be stored in an airtight container in the refrigerator for up to 3-4 days. To reheat, you can microwave individual portions, or for a crispier topping, reheat in a conventional oven at 300°F (150°C) for 15-20 minutes. It also freezes well for up to 3 months; thaw overnight in the refrigerator before reheating.
Conclusion
There’s nothing quite like the comforting aroma and taste of a freshly baked Apple Crisp. This guide has provided you with all the insights to create a dessert that will undoubtedly impress. Whether you’re a long-time lover of apple desserts or embarking on your first baking adventure, this crisp offers a delightful and simplified alternative to a classic like Apple Pie. We encourage you to try this recipe and share your creations in the comments below! What are your favorite apple varieties to use?
FAQs
Q: Can I use sugar substitutes in this recipe?
A: Yes, you can substitute granulated sugar with a 1:1 sugar alternative, but be mindful that the texture and caramelization might vary slightly. Brown sugar is harder to substitute effectively for the topping’s texture.
Q: My crisp topping isn’t getting crispy, what did I do wrong?
A: This usually means the butter wasn’t cold enough or there wasn’t enough fat-to-flour ratio. Ensure your butter is very cold and avoid over-mixing. Also, check your oven temperature.
Q: What are the best apples for apple crisp?
A: A mix of tart (Granny Smith, Braeburn) and sweet (Honeycrisp, Fuji, Gala) apples creates the most balanced and flavorful crisp. The firm texture of these apples also holds up well during baking.
Q: Can I make this in advance?
A: You can prepare the apple filling and store it covered in the refrigerator for up to 24 hours. The topping can also be made ahead and stored in the fridge. Assemble and bake just before serving for the best results.
Q: How do I prevent a soggy bottom crust in my crisp?
A: While crisps don’t have a bottom crust in the traditional sense like pie, to prevent the apple filling from being watery, ensure you use flour or cornstarch to thicken the juices. Also, allowing the crisp to cool completely after baking helps the filling set properly.