The Ultimate Homemade Pumpkin Pie: A Slice of Sweet Perfection
Ever wonder what truly sets a homemade Pumpkin Pie apart from its store-bought counterparts? The answer lies in the rich, authentic flavors, the tender, flaky crust, and the pure satisfaction of creating a beloved dessert from scratch. As the leaves begin to turn and the air grows crisp, there’s no better time to embrace the warmth and comfort of a freshly baked pie. This comprehensive guide will walk you through crafting the perfect pumpkin pie, ensuring your holiday table (or any ordinary day needing a touch of magic) is graced with a dessert that will earn rave reviews. We’ll delve into every detail, from selecting the finest ingredients to mastering the perfect bake, making sure your homemade creation is a quintessential addition to any Thanksgiving spread.
Ingredients & Kitchen Tools
Crafting an exquisite pumpkin pie requires a thoughtful selection of ingredients and the right tools.
Ingredients:
- For the Crust:
* 2 ½ cups (300g) all-purpose flour: Provides the structure for a tender, flaky crust.
* 1 teaspoon salt: Enhances the flavor of the crust.
* 1 cup (226g) unsalted butter, very cold and cubed: Essential for flakiness; cold butter prevents gluten development.
* ½ cup (120ml) ice water, plus more if needed: Binds the dough without overworking it.
- For the Filling:
* 1 (15-ounce/425g) can pumpkin puree: Ensure it’s 100% pumpkin, not pumpkin pie filling.
* 1 cup (200g) granulated sugar: For sweetness.
* ½ cup (100g) packed light brown sugar: Adds depth of flavor and moisture.
* 1 teaspoon ground cinnamon: Classic warm spice.
* ½ teaspoon ground ginger: Adds a subtle zing.
* ¼ teaspoon ground cloves: Provides a rich, aromatic note.
* ¼ teaspoon ground nutmeg: Another essential warm spice.
* ½ teaspoon salt: Balances the sweetness and enhances spice flavors.
* 3 large eggs, lightly beaten: Binds the filling and adds richness.
* 1 ½ cups (360ml) heavy cream: For a smooth, creamy texture.
Kitchen Tools:
- 9-inch pie plate: The standard size for most pumpkin pies.
- Large mixing bowls: For combining ingredients.
- Whisk: For blending the filling smoothly.
- Rolling pin: For rolling out the pie crust.
- Parchment paper or plastic wrap: For chilling dough.
- Measuring cups and spoons: For precise ingredient amounts.
- Pie weights or dried beans: Optional, for blind baking the crust.
Prep Time & Cooking Schedule
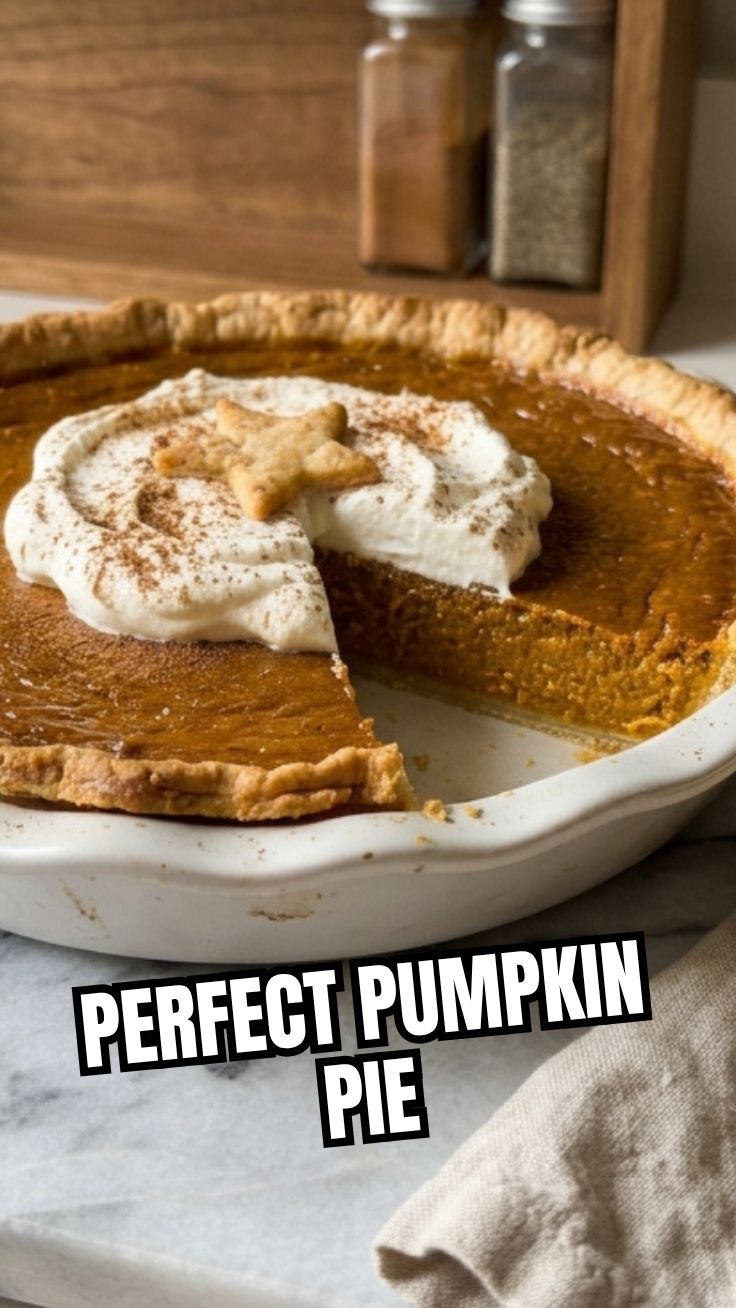
Planning is key for a stress-free baking experience, especially when preparing a dessert as beloved as homemade pumpkin pie.
- Prep Time: 45 minutes (includes crust preparation and chilling time).
- Active Cook Time: 1 hour 10 minutes (35 minutes for baking the crust, 35 minutes for the filling).
- Resting Time: 2-3 hours (essential for the pie to set properly).
Schedule Overview:
Begin by preparing the pie crust at least 2 hours in advance, or even the day before, to allow ample chilling time. This prevents shrinkage and ensures flakiness. The filling comes together quickly, so you can prepare it just before pouring into the pre-baked crust. Factor in the vital resting time after baking; a warm pie will not slice cleanly.
Step-by-Step Instructions
Follow these detailed steps for a flawless Pumpkin Pie experience that will impress every guest at your Thanksgiving table.
1. Prepare the Pie Crust: In a large bowl, whisk together flour and salt. Cut in the cold, cubed butter using a pastry blender or your fingertips until the mixture resembles coarse crumbs with some pea-sized pieces of butter remaining. Gradually add ice water, one tablespoon at a time, mixing until the dough just comes together. Form into a disc, wrap in plastic, and chill for at least 30 minutes (or up to 2 days).
2. Blind Bake the Crust: Preheat oven to 400°F (200°C). On a lightly floured surface, roll out the chilled dough into a 12-inch circle. Carefully transfer to your 9-inch pie plate. Trim edges, leaving about a ½ inch overhang, then crimp as desired. Line the crust with parchment paper and fill with pie weights or dried beans. Bake for 15 minutes. Remove weights and parchment, then prick the bottom of the crust with a fork. Bake for another 20 minutes until lightly golden. Remove from oven and reduce temperature to 350°F (175°C).
3. Make the Filling: In a large bowl, whisk together pumpkin puree, granulated sugar, brown sugar, cinnamon, ginger, cloves, nutmeg, and salt until well combined and smooth.
4. Add Wet Ingredients: Gradually whisk in the lightly beaten eggs until fully incorporated. Then, slowly whisk in the heavy cream until the mixture is completely smooth and lump-free.
5. Assemble and Bake: Pour the pumpkin filling into the warm, blind-baked pie crust. Carefully transfer the pie to the preheated oven. Bake for 30-35 minutes, or until the edges are set but the center still has a slight jiggle.
6. Cool and Serve: Transfer the baked pie to a wire rack and allow it to cool completely for at least 2-3 hours before slicing and serving. This resting period is crucial for the filling to set properly.
Nutritional Benefits & Advantages
Homemade pumpkin pie isn’t just a treat for the taste buds; it also offers several nutritional advantages compared to many other desserts. Pumpkin itself is a nutritional powerhouse, packed with Vitamin A, an essential antioxidant that supports vision and immune function. It’s also a good source of fiber, aiding digestion, and potassium, important for heart health. By making it from scratch, you control the ingredients, allowing you to choose quality fats and reduce excessive sugar, if desired, unlike many store-bought versions that may contain artificial additives and high-fructose corn syrup.
Tips, Variations & Cooking Advice
- Spiced Up: For an extra kick, add a pinch of black pepper or a touch of cardamom to the filling.
- Crust Variations: Experiment with a graham cracker crust or a ginger snap crust for a different flavor profile. For a gluten-free option, use a gluten-free pie crust mix.
- Creaminess Boost: For an even richer, creamier filling, swap out a quarter cup of heavy cream for full-fat evaporated milk.
- Garnish: Serve with a dollop of freshly whipped cream, a sprinkle of cinnamon, or a drizzle of caramel sauce.
- Dietary Adaptations: For a dairy-free version, use full-fat coconut milk (from a can, chilled overnight) instead of heavy cream and a dairy-free butter substitute for the crust. Ensure your pumpkin puree is plain and unflavored.
Common Mistakes to Avoid
- Overworking the Pie Dough: This leads to a tough, bready crust instead of a flaky one. Handle the dough as little as possible.
- Not Chilling the Dough Enough: Insufficient chilling allows the butter to melt too quickly in the oven, resulting in a less flaky crust and potential shrinkage.
- Overbaking the Pie: Overbaked pumpkin pie will crack and have a dry, crumbly texture. Bake until the edges are set but the center still jiggles slightly. It will continue to set as it cools.
- Using the Wrong Pumpkin: Always use 100% pure pumpkin puree, not pumpkin pie filling, which is already sweetened and spiced.
- Slicing While Warm: The filling needs time to set completely. Slicing a warm pie will result in a messy, unset slice. Patience is key!
Storage & Meal Prep Tips
Leftover pumpkin pie should be stored in the refrigerator, covered loosely with plastic wrap or foil. It will stay fresh for up to 3-4 days. For longer storage, you can freeze individual slices or the whole pie (if unbaked, wrapped tightly in foil and plastic wrap, it can last for up to 2 months). Thaw frozen pie overnight in the refrigerator. To reheat a slice, warm gently in the microwave for 30-60 seconds or in a low oven (300°F/150°C) for 10-15 minutes until just warmed through, to maintain the texture of the crust.
Conclusion
Creating a homemade Pumpkin Pie is a truly rewarding experience, transforming simple ingredients into an unforgettable dessert that embodies warmth and tradition, especially during Thanksgiving. By following these detailed instructions and incorporating our expert tips, you’re well on your way to baking a pie that tastes as good as it looks. So, roll up your sleeves, embrace the delightful aromas, and prepare to savor every perfect slice. We encourage you to try this recipe and share your culinary successes!
FAQs
Q1: Can I make the pie crust ahead of time?
A1: Absolutely! You can prepare the pie dough up to 2 days in advance and store it, wrapped tightly, in the refrigerator. You can also freeze it for up to 3 months.
Q2: My pumpkin pie filling cracked after baking. What went wrong?
A2: Cracking is usually a sign of overbaking. The filling cooks too much and contracts, leading to cracks. Ensure you remove the pie from the oven when the edges are set, but the center still has a slight jiggle. Rapid cooling can also contribute, so always let it cool slowly on a wire rack.
Q3: Can I use fresh pumpkin instead of canned puree?
A3: Yes, you can! You’ll need to roast, peel, and process the fresh pumpkin until smooth. Ensure the puree is thick and not watery to avoid a runny filling.
Q4: How can I prevent the pie crust from getting soggy?
A4: Blind baking the crust (as detailed in the instructions) is crucial for preventing a soggy bottom. You can also brush the blind-baked crust with a lightly beaten egg white and bake for an additional 2-3 minutes before adding the filling, creating a barrier.
Q5: What are some alternative spices I can use?
A5: While the traditional spices are wonderful, you could add a pinch of allspice or even a very small amount of white pepper for a subtle complexity. Some people enjoy a touch of cardamom for an exotic twist.