Bake Your Way to Bliss: The Ultimate Guide to Perfect Chocolate Brownies
Ever wondered what makes a truly exceptional brownie? Is it the deep, dark chocolate flavor, the satisfying chew, or that irresistible melt-in-your-mouth texture? Crafting the perfect batch of Chocolate Brownies at home isn’t just about following a recipe; it’s about a culinary journey that promises rich rewards. Forget store-bought imitations; mastering homemade brownies unlocks a world of personalized indulgence, where you control every ingredient and every nuance of flavor. And when you achieve that elusive, fudgy chocolate brownies consistency, you’ll understand why countless bakers are on a quest for perfection. This guide will arm you with the knowledge and techniques to create brownies that are not just good, but legendary.
Ingredients & Kitchen Tools
To embark on your brownie-making adventure, gather these essential items:
- Unsalted Butter (1 cup / 226g): Essential for rich flavor and tender texture. Using unsalted allows you to control the total salt content.
- Granulated Sugar (1 ¾ cups / 350g): Provides sweetness and contributes to the crust’s crackle.
- Light Brown Sugar (½ cup / 100g): Adds moisture, depth of flavor, and a chewier texture.
- Large Eggs (4, at room temperature): Binds the ingredients, adds richness, and helps with structure. Room temperature eggs emulsify better.
- Vanilla Extract (2 teaspoons): Enhances the chocolate flavor. Use good quality vanilla!
- All-Purpose Flour (1 cup / 125g): Provides structure. Avoid overmixing.
- Unsweetened Cocoa Powder (¾ cup / 75g): The star of the show. Dutch-processed cocoa yields a darker, less acidic brownie.
- Salt (½ teaspoon): Balances sweetness and enhances flavor.
- Chocolate Chips or Chunks (1 cup / 170g, optional): For extra gooey pockets of chocolate. Semi-sweet or dark are recommended.
- 9×13 inch baking pan: Ideally metal for even heat distribution.
- Parchment paper: Lines the pan for easy removal and cleanup.
- Mixing bowls (large and medium): For combining wet and dry ingredients.
- Whisk: For dry ingredients and sometimes for wet.
- Spatula: For folding and scraping.
- Saucepan (medium): For melting butter and chocolate (if using this method).
- Oven thermometer (optional but recommended): Ensures accurate oven temperature.
Prep Time & Cooking Schedule
- Prep Time: 15-20 minutes
- Cook Time: 25-30 minutes
- Cooling Time: 1-2 hours (crucial for setting properly and easy cutting)
Plan your baking session to allow ample cooling time. While the aroma of freshly baked brownies is undeniably tempting, cutting them warm often results in a crumbly, messy experience. Patience is a virtue here!
Step-by-Step Instructions
1. Preheat & Prepare: Preheat your oven to 350°F (175°C). Line a 9×13 inch baking pan with parchment paper, leaving an overhang on the sides for easy lifting later. This is key for pristine brownie removal.
2. Melt the Stars: In a medium saucepan or microwave-safe bowl, melt the butter. Once melted, add the granulated sugar and brown sugar. Whisk continuously until the sugars are mostly dissolved and the mixture is warm but not hot to the touch. This step helps create that signature crinkly top.
3. Egg-cellent Emulsion: Remove from heat and let cool slightly for a minute or two. Crack the eggs into the sugar mixture one at a time, whisking vigorously after each addition until fully incorporated. Stir in the vanilla extract. The mixture should become glossy and slightly thickened. This vigorous whisking creates the ideal texture for your Chocolate Brownies.
4. Dry Mix: In a separate medium bowl, whisk together the all-purpose flour, unsweetened cocoa powder, and salt. Ensure there are no lumps in the cocoa powder.
5. Combine & Fold: Gradually add the dry ingredients to the wet ingredients, folding gently with a spatula until just combined. Be careful not to overmix, as this can develop the gluten in the flour, leading to tough brownies. If using, fold in the chocolate chips or chunks now. The aim is a harmonious blend that sets the stage for perfect fudgy chocolate brownies.
6. Bake to Perfection: Pour the batter evenly into the prepared baking pan. Bake for 25-30 minutes, or until a toothpick inserted into the center comes out with moist crumbs, but not wet batter. Overbaking will result in dry, cakey brownies, so keep a close eye on them!
7. Cool Down: Remove from the oven and let cool completely in the pan on a wire rack. This cooling period is non-negotiable for achieving that dense, fudgy texture and clean cuts.
Nutritional Benefits & Advantages
Beyond their undeniable deliciousness, these Chocolate Brownies offer some surprising advantages. Dark cocoa powder, a primary ingredient, is rich in antioxidants, which can help combat free radicals in the body. While brownies are certainly a treat, making them at home allows you to control the quality of ingredients, opting for higher-quality chocolates and real butter. You can also monitor sugar levels if preferred, though adjusting too much can affect texture.
Tips, Variations & Cooking Advice
- Espresso Powder: Add 1 teaspoon of espresso powder to the cocoa mixture to enhance the chocolate flavor without making it taste like coffee.
- Nutty Brownies: Fold in ½ – 1 cup of chopped walnuts or pecans for added crunch and flavor.
- Salted Caramel: Drizzle homemade or store-bought salted caramel over the brownies after baking for a gourmet touch.
- Dairy-Free: Substitute butter with a high-quality plant-based butter alternative and ensure your chocolate chips are dairy-free.
- Gluten-Free: Use a 1:1 gluten-free baking flour blend. Note that the texture might be slightly different.
- Don’t Overbake: This is the most crucial tip for fudgy brownies. When in doubt, err on the side of underbaking.
Common Mistakes to Avoid
- Overmixing the Batter: Leads to tough, cake-like brownies instead of the desired fudgy texture. Mix until just combined.
- Overbaking: Results in dry, crumbly brownies. Watch for the moist crumb toothpick test!
- Cutting Warm Brownies: This will lead to messy, broken pieces. Patience, my friend!
- Substituting Key Ingredients Drastically: While variations are fun, drastically changing sugar ratios or fat content can alter the final texture significantly.
Storage & Meal Prep Tips
Once completely cooled, store your Chocolate Brownies in an airtight container at room temperature for up to 3-4 days. They actually taste even better the next day as the flavors meld and the texture sets. For longer storage, wrap individual brownies tightly in plastic wrap and then foil, and freeze for up to 2-3 months. Thaw at room temperature or warm briefly in the microwave for a fresh-baked experience.
Conclusion
There you have it – the definitive guide to baking the most divine batch of Chocolate Brownies. By following these steps and embracing a few key techniques, you’re not just making dessert; you’re crafting an experience. The journey to achieving those perfect fudgy chocolate brownies is well worth the effort, promising a delectable reward that will impress friends, family, and most importantly, your taste buds. Don’t hesitate – gather your ingredients and start baking today! Share your results in the comments below; we’d love to hear about your baking triumphs!
FAQs
Q1: Why are my brownies dry and cakey?
A1: Most likely, you overbaked them. Ensure you remove them from the oven when a toothpick inserted near the center comes out with moist crumbs, not completely clean.
Q2: Can I use milk chocolate instead of dark or semi-sweet?
A2: While you can, it will result in a much sweeter brownie with less intense chocolate flavor. For classic brownies, stick to semi-sweet or dark chocolate.
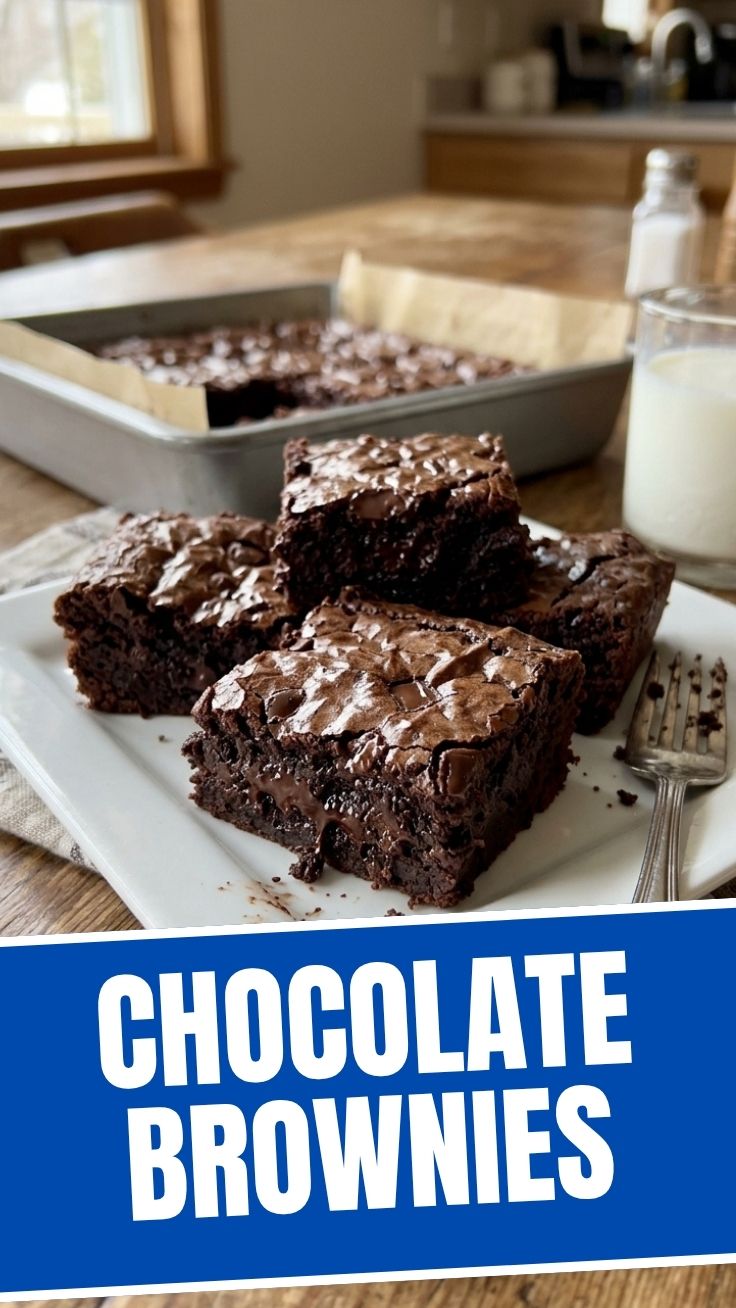
Q3: How do I get that shiny, crinkly top?
A3: The key is to dissolve the sugar adequately in the warm butter before adding the eggs. Also, light whisking of the eggs into the warm (but not hot) sugar mixture contributes significantly.
Q4: My brownies stuck to the pan, what went wrong?
A4: You likely didn’t line your pan with parchment paper or grease it sufficiently. Always use parchment paper with an overhang for effortless removal.
Q5: Can I reduce the sugar in the recipe?
A5: While possible, sugar contributes to both sweetness and texture development (especially the crinkly top and fudginess). Significant reductions might alter the desired outcome. Start with a small reduction if you choose to experiment.