The Ultimate Guide to Crafting the Perfect Banana Pudding: A Homestyle Delight
Have you ever craved a dessert that embodies comfort, nostalgia, and pure deliciousness? Look no further than the humble yet utterly divine banana pudding. For many, this layered masterpiece evokes cherished memories of family gatherings and Sunday dinners. Preparing this delightful treat at home isn’t just about making a pudding; it’s about creating an experience, a moment of joy that transcends the everyday. Today, we’re diving deep into the art of making the perfect Southern Banana Pudding, a dish that will undoubtedly become a staple in your dessert repertoire. We’ll explore every facet, ensuring you master this beloved confection, whether you’re aiming for a rich, creamy texture or a light, airy finish. Understanding the nuances of this recipe will not only elevate your baking skills but also introduce you to the timeless appeal of a truly Classic Banana Pudding, adaptable to various dietary preferences without sacrificing flavor.
Ingredients & Kitchen Tools
Crafting the perfect banana pudding requires a careful selection of ingredients and a few fundamental kitchen tools.
- Ripe Bananas (4-5 medium): Look for bananas that are yellow with a few brown spots, indicating optimal sweetness and texture. Clarification: Overripe bananas can make the pudding mushy; underripe ones lack flavor.
- Vanilla Wafers (1 box, 12 oz): The classic choice for a delicate crunch and buttery flavor. Substitution: Graham crackers or shortbread cookies can be used for a different texture.
- Whole Milk (4 cups): Essential for a creamy, rich custard base. Substitution: Skim milk works, but the pudding will be less rich. Non-dairy milk can be used, but the custard’s consistency might vary.
- Granulated Sugar (1 cup): Sweetens the custard to perfection. Substitution: Adjust to taste, or use a sugar substitute for a sugar-free version.
- All-Purpose Flour (1/2 cup): Acts as a thickener for the custard. Substitution: Cornstarch can be used for a gluten-free option, but use half the amount.
- Large Eggs (4): Provide richness and help thicken the custard. Separating yolks and whites is often preferred for a smoother custard and meringue topping.
- Unsalted Butter (1/4 cup): Adds a luxurious mouthfeel to the custard.
- Vanilla Extract (2 tsp): Essential for that classic banana pudding flavor. Clarification: Use pure vanilla extract for the best taste.
- Salt (Pinch): Balances the sweetness and enhances other flavors.
- Mixing Bowls (2-3): For separating eggs, mixing ingredients.
- Whisk: For smooth custard preparation.
- Saucepan (medium): For cooking the custard.
- 9×13 inch Baking Dish: For assembling and baking.
Prep Time & Cooking Schedule
- Prep Time: 25 minutes
- Cook Time: 20-25 minutes (for custard) + 15 minutes (for baking with meringue)
- Chilling Time: Minimum 4 hours, preferably overnight
To ensure the flavors meld beautifully and the pudding sets perfectly, adequate chilling time is crucial. Plan to start this recipe several hours or even a day before you intend to serve it. This allows the wafers to soften and absorb the creamy custard, creating that signature melt-in-your-mouth texture.
Step-by-Step Instructions
1. Prepare the Custard Base: In a medium saucepan, whisk together granulated sugar, flour, and a pinch of salt until combined. Gradually whisk in the whole milk until smooth.
2. Temper the Eggs: In a separate bowl, lightly beat the egg yolks. Slowly drizzle about 1 cup of the warm milk mixture into the beaten yolks, whisking constantly to temper them. This prevents the eggs from scrambling.
3. Combine and Thicken: Pour the tempered egg mixture back into the saucepan with the remaining milk mixture. Cook over medium heat, stirring constantly with a whisk, until the custard thickens significantly and coats the back of a spoon (about 10-15 minutes). Do not boil.
4. Finish the Custard: Remove from heat and stir in the unsalted butter and vanilla extract until fully incorporated.
5. Assemble the Layers: In your 9×13 inch baking dish, spread a thin layer of custard at the bottom. Arrange a single layer of vanilla wafers over the custard, followed by a layer of sliced ripe bananas. Repeat these layers, ending with a generous top layer of custard. For a truly authentic Southern Banana Pudding, ensure each layer is evenly distributed.
6. Meringue Topping (Optional): In a clean, dry bowl, beat the egg whites on high speed until soft peaks form. Gradually add 2 tablespoons of sugar and continue beating until stiff, glossy peaks form. Spread the meringue over the top layer of custard, ensuring it touches the edges of the dish to prevent shrinking.
7. Bake (with Meringue): If adding meringue, bake in a preheated oven at 350°F (175°C) for 10-15 minutes, or until the meringue is golden brown.
8. Chill: Allow the pudding to cool completely at room temperature, then cover and refrigerate for at least 4 hours, or preferably overnight, for the best Classic Banana Pudding experience.
Nutritional Benefits & Advantages
Bananas are a great source of potassium, vitamin B6, and vitamin C, contributing to heart health and providing essential nutrients. While this dessert is undoubtedly indulgent, the fruit component adds natural sweetness and dietary fiber. For those looking to manage sugar intake, using a sugar substitute in the custard can still provide a delightful experience, allowing you to enjoy the flavor without excessive added sugars.
Tips, Variations & Cooking Advice
- No-Bake Version: Skip the meringue and simply chill the pudding for a simpler, no-bake option.
- Caramelized Bananas: For an extra layer of flavor, lightly caramelize your banana slices in butter and brown sugar before layering.
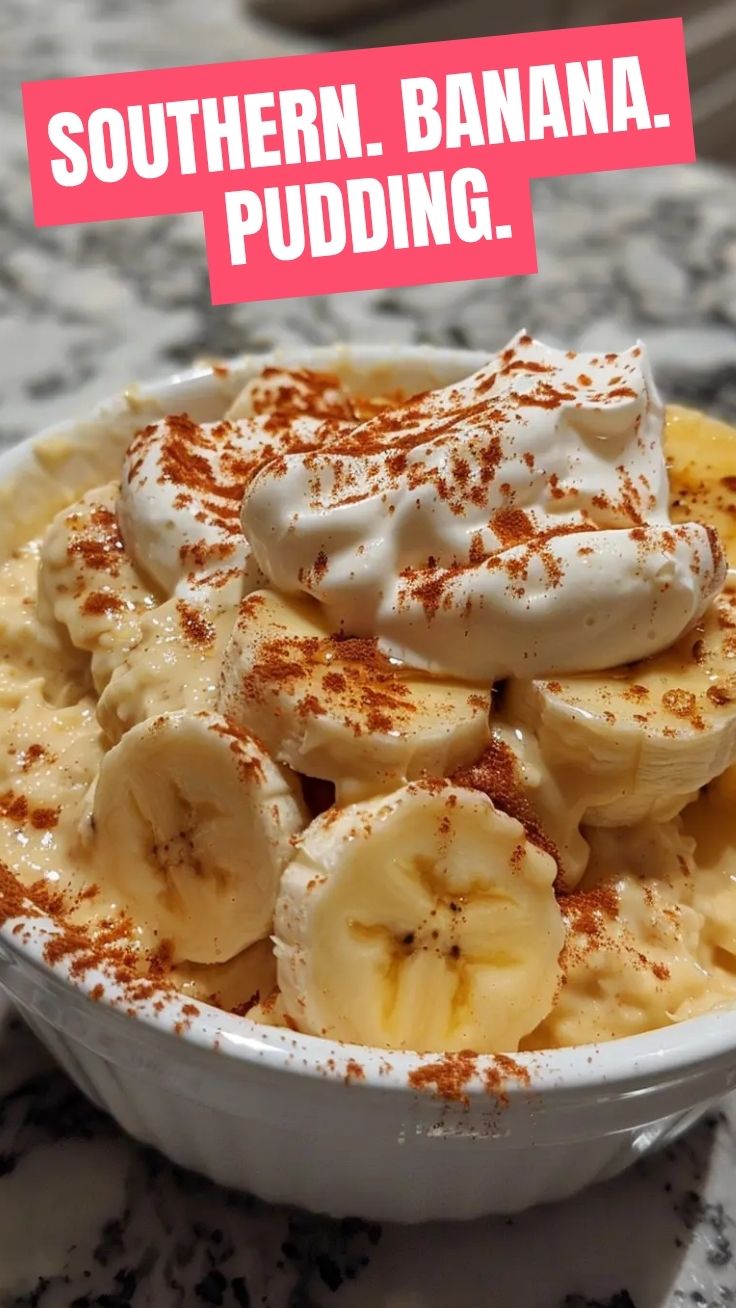
- Spiced Pudding: Add a pinch of cinnamon or nutmeg to your custard for a warmer, spicier note.
- Gluten-Free: Use gluten-free vanilla wafers or graham crackers, and substitute cornstarch for flour in the custard.
- Dairy-Free: Use full-fat coconut milk or a commercial dairy-free milk alternative and vegan butter.
- Portion Control: Serve in individual ramekins for easy portioning and a beautiful presentation.
Common Mistakes to Avoid
- Scrambled Eggs in Custard: This often happens if the egg yolks are not tempered properly or if the custard is cooked over too high heat. Always temper your eggs slowly and stir constantly.
- Runny Custard: Insufficient cooking time or not enough thickener can lead to a thin custard. Ensure it coats the back of a spoon.
- Watery Pudding: Overripe bananas can release too much moisture. Use bananas with some firmness.
- Soggy Wafers (too soon): While softening is desired, some prefer a slight crunch. Refrigerating immediately after assembly can help maintain a bit of texture.
Storage & Meal Prep Tips
Store leftover banana pudding in an airtight container in the refrigerator for up to 3-4 days. While it can be frozen for longer storage (up to 2 months), the texture of the bananas and wafers may become mushier upon thawing. For best results, enjoy it fresh after adequate chilling. Reheating is not recommended as it can compromise the texture of the pudding and bananas.
Conclusion
Creating a homemade banana pudding is a rewarding experience that brings a touch of warmth and sweetness to any occasion. Whether you opt for the traditional baked meringue or a simple chilled version, the rich, creamy custard, tender bananas, and softened wafers combine to create a dessert that is consistently delightful. Mastering this Southern Banana Pudding recipe means you’ll always have a crowd-pleasing dessert at your fingertips, one that celebrates simple ingredients and timeless flavor. We encourage you to try your hand at this truly magnificent dish and discover the joy of preparing a Classic Banana Pudding from scratch. Share your creations and let us know your favorite variations!
FAQs
Q1: Can I make banana pudding ahead of time?
A1: Absolutely! In fact, banana pudding benefits from being made ahead. Chilling it overnight allows the flavors to meld and the wafers to soften to perfection.
Q2: What kind of bananas are best for banana pudding?
A2: Ripe bananas with a few brown spots are ideal. They are sweet and soft, but still firm enough to hold their shape in the pudding. Avoid overly mushy bananas.
Q3: How do I prevent my meringue from weeping?
A3: To prevent weeping (when clear liquid forms under the meringue), ensure all your bowls and utensils are perfectly clean and grease-free. Also, ensure your sugar is fully dissolved, and the meringue is baked until golden.
Q4: Can I use instant pudding mix?
A4: While instant pudding mix can be used for a quicker version, the depth of flavor and creamy texture of a homemade custard cannot be replicated. We highly recommend going the extra mile for an authentic taste.
Q5: My custard is lumpy. What went wrong?
A5: Lumps often occur if the flour is not whisked smoothly into the milk before heating, or if the custard isn’t stirred constantly while cooking. Passing it through a fine-mesh sieve can sometimes rescue a lumpy custard.