Bake Your Way to Bliss: Irresistible Pumpkin Muffins from Scratch
Ever wondered what makes a house truly feel like home? For many, it’s the aroma of freshly baked goods wafting through the air. Imagine waking up to the comforting scent of warm spices and sweet pumpkin, knowing that a delightful breakfast awaits. Today, we’re diving into the wonderful world of homemade treats with an incredible recipe for Pumpkin Muffins. Forget those dry, store-bought versions – preparing these delectable morsels yourself not only guarantees a superior taste and texture but also fills your kitchen with an unparalleled warmth and satisfaction. There’s a unique joy in crafting something so delicious from simple ingredients, allowing you to control the quality and personalize every bite.
Ingredients & Kitchen Tools
Gather your culinary arsenal! Here’s what you’ll need for these marvelous muffins:
- 1 ½ cups All-Purpose Flour: The foundational structure for our muffins. You can substitute with a 1:1 gluten-free flour blend for a gluten-friendly option.
- 1 tsp Baking Soda: Our leavening agent, creating that perfect rise.
- ½ tsp Baking Powder: Another leavening power player, ensuring light and fluffy muffins.
- 1 tsp Ground Cinnamon: Essential warmth and spice.
- ½ tsp Ground Nutmeg: Adds depth and classic pumpkin pie spice notes.
- ¼ tsp Ground Cloves: A hint of intense, aromatic sweetness.
- ¼ tsp Ground Ginger: A zesty kick that complements the other spices.
- ½ tsp Salt: Balances the sweetness and enhances all the flavors.
- 1 cup Canned Pumpkin Puree: Make sure it’s 100% pumpkin, not pie filling. This is the star of our show!
- ½ cup Granulated Sugar: Provides sweetness and helps with browning.
- ½ cup Brown Sugar (packed): Adds molasses notes and moisture for a richer flavor profile.
- ½ cup Vegetable Oil: Keeps our muffins moist and tender. Melted butter can be used for a richer flavor.
- 2 Large Eggs: Binds our ingredients and adds structure.
- ¼ cup Milk: Adds moisture and helps thin the batter. Any milk (dairy or non-dairy) works.
- 1 tsp Vanilla Extract: A touch of aromatic sweetness that enhances all flavors.
- Optional: 1 cup Chocolate Chips or Chopped Nuts: For extra texture and flavor.
Kitchen Tools:
- Muffin Tin (12-cup): The vessel for our muffin magic.
- Paper Liners or Non-Stick Spray: Prevents sticking and makes cleanup easy.
- Two Large Mixing Bowls: One for dry, one for wet ingredients.
- Whisk: For combining dry ingredients and whisking wet ingredients.
- Rubber Spatula or Wooden Spoon: For gentle mixing.
- Measuring Cups & Spoons: Accuracy is key in baking.
- Oven Mitts: Safety first!
- Wire Cooling Rack: Essential for preventing soggy bottoms.
Prep Time & Cooking Schedule
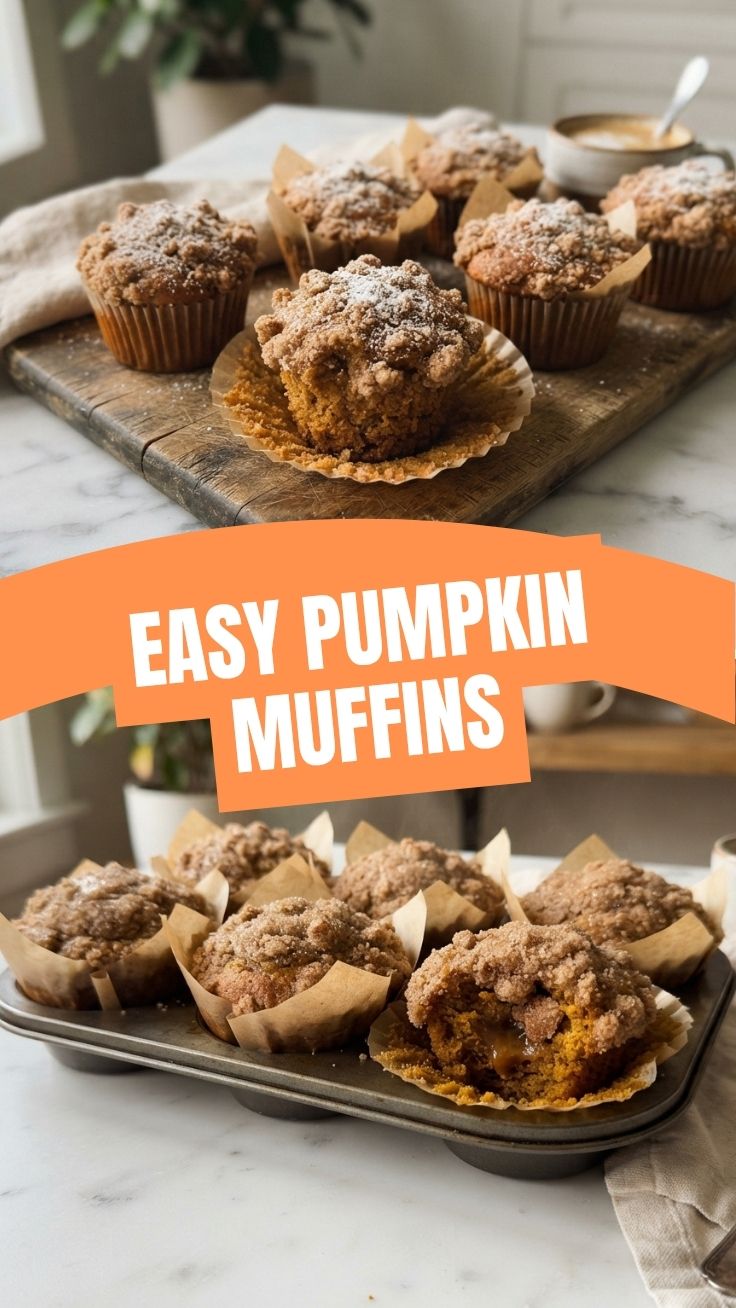
These delightful treats come together quickly, making them perfect for a spontaneous baking session or a planned brunch.
- Prep Time: 15 minutes. This includes gathering your ingredients, measuring them out, and preheating your oven.
- Cook Time: 20-25 minutes. Baking time will vary slightly depending on your oven.
- Cooling Time: 10-15 minutes on a wire rack. This is crucial for setting and preventing moisture buildup.
Plan for about 45-55 minutes from start to delicious finish. They are best enjoyed warm, right out of the oven!
Step-by-Step Instructions
Get ready to transform simple ingredients into warmly spiced perfection. Follow these steps carefully for the best results:
1. Preheat & Prep: Preheat your oven to 400°F (200°C). Line a 12-cup muffin tin with paper liners or generously grease it with non-stick spray. This prevents sticking and makes cleanup a breeze.
2. Combine Dry Ingredients: In a large bowl, whisk together the flour, baking soda, baking powder, cinnamon, nutmeg, cloves, ginger, and salt. Whisking ensures all leavening agents and spices are evenly distributed, leading to uniform rising.
3. Combine Wet Ingredients: In a separate, equally large bowl, whisk together the pumpkin puree, granulated sugar, brown sugar, vegetable oil, eggs, milk, and vanilla extract. Whisk until smooth and well combined. This ensures all the moist ingredients are fully incorporated before meeting the dry ones.
4. Combine Wet and Dry: Pour the wet ingredients into the dry ingredients. Stir gently with a rubber spatula or wooden spoon NOT a whisk, just until just combined. A few lumps are okay. Overmixing develops the gluten, leading to tougher muffins. If adding chocolate chips or nuts, fold them in now.
5. Fill Muffin Tin: Divide the batter evenly among the 12 muffin cups. You can use an ice cream scoop for easy and consistent portioning. Fill each cup about two-thirds full.
6. Bake: Bake for 20-25 minutes, or until a wooden skewer inserted into the center of an Pumpkin Muffins comes out clean. The tops should be golden brown and spring back when lightly touched.
7. Cool: Let the muffins cool in the muffin tin for 5 minutes before transferring them to a wire rack to cool completely. This prevents them from getting soggy on the bottom and allows them to set properly.
Nutritional Benefits & Advantages
Beyond their incredible taste, these muffins offer some delightful benefits! Pumpkin, the star ingredient, is a fantastic source of Vitamin A (in the form of beta-carotene), which is crucial for vision and immune function. It’s also rich in fiber, promoting digestive health and helping you feel fuller longer. While these are sweet treats, making them at home allows you to control the sugar content and use high-quality oils, avoiding processed additives often found in commercial baked goods. The spices like cinnamon, ginger, and cloves also come with their own anti-inflammatory and antioxidant properties, adding a little extra goodness to each bite.
Tips, Variations & Cooking Advice
- Spice it up: For an extra kick, add ½ teaspoon of allspice or a pinch of cardamom to your spice blend.
- Texture Play: Fold in chopped pecans, walnuts, dried cranberries, or even white chocolate chips for added flavor and texture.
- Healthier Twist: Reduce the granulated sugar by ¼ cup and use unsweetened applesauce for half of the oil for a slightly lighter version.
- Portion Control: Use a mini muffin tin for bite-sized treats; adjust baking time to 12-15 minutes.
- Moisture Boost: Before baking, sprinkle a little turbinado sugar on top of each muffin for a delightful crunchy crust.
- Dairy-Free: Simply use your favorite non-dairy milk (almond, soy, oat) and ensure your chocolate chips are dairy-free if using.
- Gluten-Free: As mentioned, a 1:1 gluten-free flour blend works beautifully here.
Common Mistakes to Avoid
Overmixing the Batter: This is the cardinal sin of muffin making! Overmixing develops gluten, leading to tough, chewy muffins. Mix only until the dry ingredients are just* incorporated.
- Overfilling Muffin Cups: Filling cups too high can cause muffins to overflow or bake unevenly. Aim for two-thirds full.
- Opening the Oven Door Too Early: Resist the urge! This can cause muffins to collapse. Wait until they’re mostly set.
- Not Greasing/Lining Properly: Skipping this step guarantees sticking, making it impossible to remove your beautiful muffins intact.
- Cooling in the Pan: Leaving muffins in the hot pan for too long can lead to soggy bottoms due to condensed steam. Always transfer to a wire rack after a few minutes.
Storage & Meal Prep Tips
These muffins are fantastic for meal prepping!
- Room Temperature: Store cooled muffins in an airtight container at room temperature for up to 3-4 days. Placing a paper towel at the bottom of the container can help absorb excess moisture.
- Refrigeration: While not strictly necessary, refrigerating can extend their freshness by a day or two, especially in warmer climates.
- Freezing: Pumpkin Muffins freeze beautifully! Once completely cool, place them in a single layer on a baking sheet to freeze solid, then transfer them to a freezer-safe bag or container. They’ll keep for up to 3 months. Thaw at room temperature or warm gently in the microwave or oven.
- Reheating: To revive their fresh-baked goodness, warm muffins in the microwave for 15-30 seconds or in a preheated oven at 300°F (150°C) for 5-7 minutes.
Conclusion
There you have it – a foolproof guide to baking the most delicious and comforting Pumpkin Muffins. With the warmth of fragrant spices and the natural sweetness of pumpkin, these muffins are more than just a treat; they’re a hug in a bite. We encourage you to try this recipe and experience the joy of homemade baking. Share your creations, experiment with variations, and let the comforting aromas fill your home. Happy baking!
FAQs
Q1: Can I use fresh pumpkin instead of canned?
A1: Yes, you can! Make sure to roast and puree the fresh pumpkin until it’s very smooth and has a consistency similar to canned puree. Drain any excess liquid to avoid a watery batter.
Q2: My muffins didn’t rise much, what did I do wrong?
A2: The most common culprits are old leavening agents (baking soda/powder – check expiry dates!) or overmixing the batter, which can inhibit the rise. Ensure your oven is preheated to the correct temperature as well.
Q3: Can I make these muffins vegan?
A3: Absolutely! Substitute the eggs with a flax egg (1 tbsp ground flaxseed mixed with 3 tbsp water, let sit for 5 minutes per egg) and use a non-dairy milk. Ensure your sugars are vegan if that’s a concern.
Q4: How can I prevent the muffins from sticking to the liners?
A4: Ensure your muffins are completely cooled before attempting to remove the liners. If they are still stubborn, a light spray of non-stick oil inside the paper liners before filling can help.
Q5: What’s the best way to get that classic muffin top?
A5: Baking at a slightly higher initial temperature (like 400°F) for the first few minutes, then reducing it, can help create that beautiful domed top. Also, filling the muffin cups about two-thirds full helps.