Unleashing Sweet Perfection: The Ultimate Homemade Peanut Butter Fudge Recipe
Ever wondered if you could recreate that melt-in-your-mouth, velvety smooth Peanut Butter Fudge experience right in your own kitchen? The answer is a resounding yes! Forget store-bought imitations; mastering homemade Peanut Butter Fudge isn’t just about saving money, it’s about crafting a personalized, deeply satisfying confection that speaks to your soul. This comprehensive guide will walk you through every step, ensuring you achieve confectionery triumph. We’re not just making fudge; we’re creating edible art. Whether you’re a seasoned baker or a curious novice, this recipe for incredible Fudge Recipes will become a cherished favorite.
Ingredients & Kitchen Tools
Gather your culinary arsenal! Precision is key for perfect fudge.
- Peanut Butter: 1 cup (250g) creamy peanut butter (avoid natural varieties as the oil separation can affect texture).
- Butter: ½ cup (115g) unsalted butter, cubed (adds richness and helps with setting).
- Powdered Sugar: 4 cups (480g) confectioners’ sugar, sifted (critical for smooth, lump-free fudge).
- Milk: ¼ cup (60ml) whole milk (contributes to the creamy consistency).
- Vanilla Extract: 1 teaspoon pure vanilla extract (enhances flavor depth).
- Salt: ¼ teaspoon fine sea salt (balances the sweetness).
- Saucepan: Heavy-bottomed saucepan (prevents scorching).
- Whisk/Spatula: Heat-proof spatula or whisk (for stirring).
- 8×8 inch Baking Pan: Lined with parchment paper (for easy removal).
- Measuring Cups & Spoons: Essential for accurate ingredient ratios.
Prep Time & Cooking Schedule
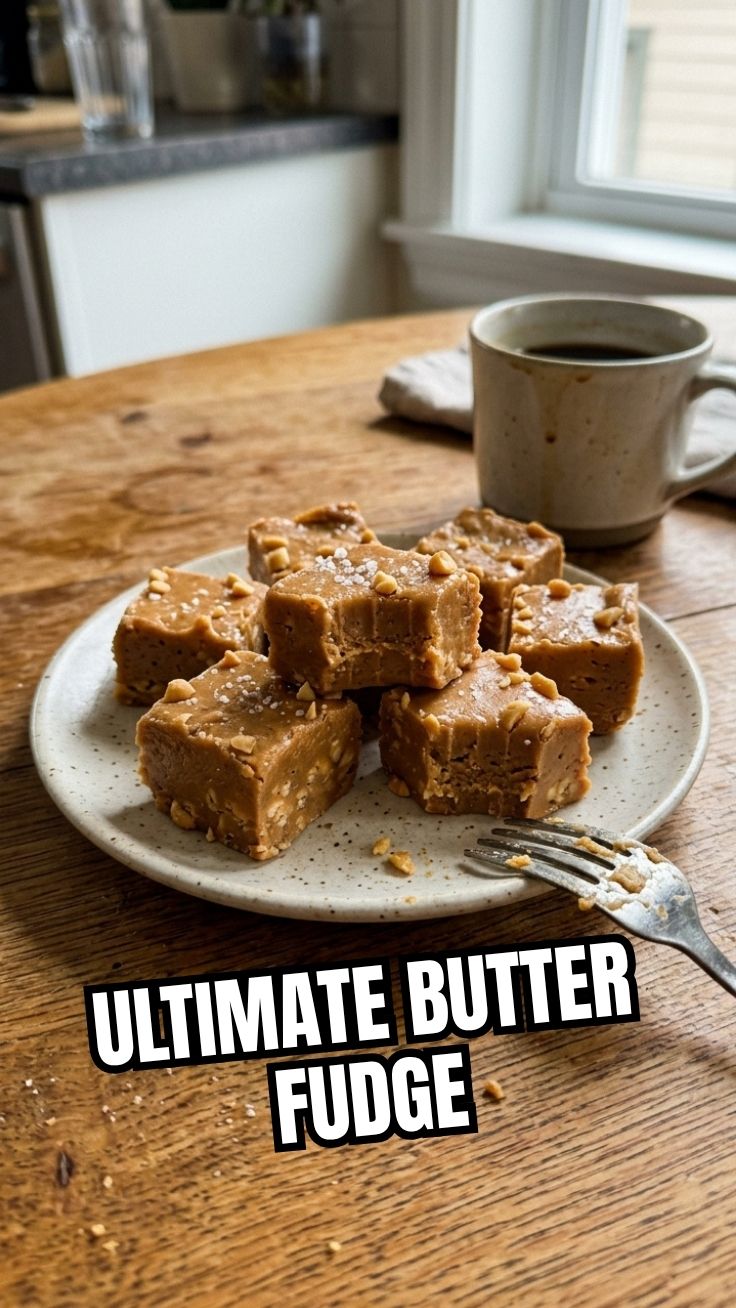
This recipe is surprisingly quick, but it does require some resting time.
- Prep time: 10 minutes (gathering ingredients, lining pan).
- Cook time: 5-7 minutes (actual stovetop cooking).
- Resting/Chilling time: 2 hours minimum (for proper setting and easy cutting).
Plan to start this recipe a few hours before you intend to serve it, allowing ample time for the fudge to firm up beautifully in the refrigerator.
Step-by-Step Instructions
Let’s transform simple ingredients into irresistible Peanut Butter Fudge!
1. Prepare your pan: Lightly grease an 8×8 inch baking pan and line it with parchment paper, leaving an overhang on two sides for easy lifting.
2. Melt the fats: In your heavy-bottomed saucepan, combine the butter and milk over medium heat. Stir constantly until the butter is completely melted and the mixture just begins to simmer around the edges.
3. Incorporate peanut butter: Remove the saucepan from the heat. Add the creamy peanut butter and stir vigorously until it’s fully incorporated and smooth. The residual heat will help it melt seamlessly.
4. Add dry ingredients: Gradually add the sifted powdered sugar, salt, and vanilla extract. Stir, stir, stir! This is where the magic happens. Continue stirring until the mixture is completely smooth and no lumps of sugar remain. The consistency should be thick and glossy. You’re well on your way to creating sublime Fudge Recipes.
5. Pour and chill: Quickly pour the hot fudge mixture into your prepared baking pan. Spread it evenly with a spatula.
6. Set: Place the pan in the refrigerator for at least 2 hours, or until the fudge is completely firm.
7. Cut and serve: Once chilled, use the parchment paper overhang to lift the fudge from the pan. Peel off the paper and cut the fudge into desired squares or rectangles. Enjoy your homemade delight!
Nutritional Benefits & Advantages
While undoubtedly a treat, our Peanut Butter Fudge does offer some surprising benefits. Peanut butter is a good source of healthy monounsaturated fats, protein, and dietary fiber, contributing to satiety. It also provides essential vitamins and minerals like Vitamin E, B vitamins, magnesium, and potassium. Homemade fudge allows you to control the quality of ingredients, opting for pure vanilla extract and real butter, free from artificial additives found in many commercial candies.
Tips Variations & Cooking Advice
- Chocolate Swirl: Melt ½ cup of semi-sweet chocolate chips and drizzle over the warm fudge before chilling. Swirl gently with a skewer.
- Nutty Crunch: Fold in ½ cup of chopped roasted peanuts or other nuts for added texture.
- Espresso Kick: Add ½ teaspoon of instant espresso powder to the butter and milk mixture for a subtle coffee note.
- Spiced Fudge: A pinch of cinnamon or nutmeg can add a warm, inviting flavor dimension.
- Dietary Adaptations: For a dairy-free version, use plant-based butter and milk alternatives. For a gluten-free option, ensure all your purchased ingredients are certified gluten-free.
Common Mistakes to Avoid
- Not Sifting Powdered Sugar: This is the most common culprit for lumpy fudge. Sift your sugar!
- Overcooking: Cooking the mixture too long on the stove can result in dry, crumbly fudge. Remove it as soon as the butter is melted and it starts to simmer.
- Not Chilling Long Enough: Patience is a virtue here. If you cut the fudge before it’s fully set, it will be messy and won’t hold its shape.
- Using Natural Peanut Butter: The oil separates in natural peanut butter, which can lead to an oily, grainy texture in your fudge. Stick to creamy, stabilized varieties.
Storage & Meal Prep Tips
Store your homemade Peanut Butter Fudge in an airtight container at room temperature for up to 1 week, or in the refrigerator for up to 2-3 weeks. If refrigerating, let it come to room temperature for 10-15 minutes before serving for the best texture. For longer storage, fudge can be frozen for up to 3 months. Wrap individual pieces tightly in plastic wrap, then place them in a freezer-safe bag or container. Thaw at room temperature.
Conclusion
There you have it – the ultimate guide to crafting irresistible, velvety smooth Peanut Butter Fudge right in your own kitchen. This simple yet sophisticated confection is a testament to the magic of homemade treats. By following these steps and tips, you’re not just making a dessert; you’re creating beautiful memories and mastering essential techniques in the vast world of Fudge Recipes. Don’t be shy; give this recipe a try, share your results with us, and let your inner confectioner shine!
FAQs
Q: Can I use crunchy peanut butter?
A: Yes, you can, but it will result in a chunkier texture. For classic smooth fudge, creamy is best.
Q: My fudge is too soft, what went wrong?
A: This usually means it didn’t chill long enough, or the ratio of liquid to sugar was slightly off. Ensure you’re measuring precisely and allowing ample chilling time.
Q: My fudge is crumbly/dry, how can I fix it?
A: This often happens if the mixture was cooked too long or at too high a temperature. Unfortunately, it’s hard to “fix” once made, but for your next batch, reduce cooking time and heat.
Q: How do I get clean cuts?
A: Use a sharp knife that has been run under hot water and wiped dry before each cut. This helps prevent sticking and creates neat squares.
Q: Can I make this in a larger batch?
A: Yes, you can double the recipe for a 9×13 inch pan. Just ensure your saucepan is large enough and you stir thoroughly to combine all ingredients.