Unleash Your Inner Chef: Master the Art of Wholesome Oatmeal with Our Ultimate Guide!
Ever wondered if your morning routine could be both effortlessly delicious and undeniably nutritious? The answer is a resounding yes, especially when it comes to crafting the perfect at-home oatmeal. Forget bland, watery bowls; we’re about to embark on a culinary journey that transforms humble oats into a comforting, customizable masterpiece. This isn’t just about breakfast; it’s about nourishing your body and soul with wholesome goodness, particularly when you choose robust steel-cut oats. Preparing this staple at home offers unparalleled control over ingredients, ensuring you avoid unwanted additives and tailor it precisely to your taste and dietary needs. Get ready to elevate your breakfast game!
Ingredients & Kitchen Tools
To embark on your oatmeal adventure, gather these essentials:
- 1 cup steel-cut oats: The star of our show, offering a chewier texture and nutty flavor compared to rolled oats.
- 3 cups water or milk (dairy or non-dairy): Your liquid base. Water results in a lighter texture, while milk adds creaminess and richness.
- Pinch of salt: Enhances the natural flavors of the oats. Don’t skip it!
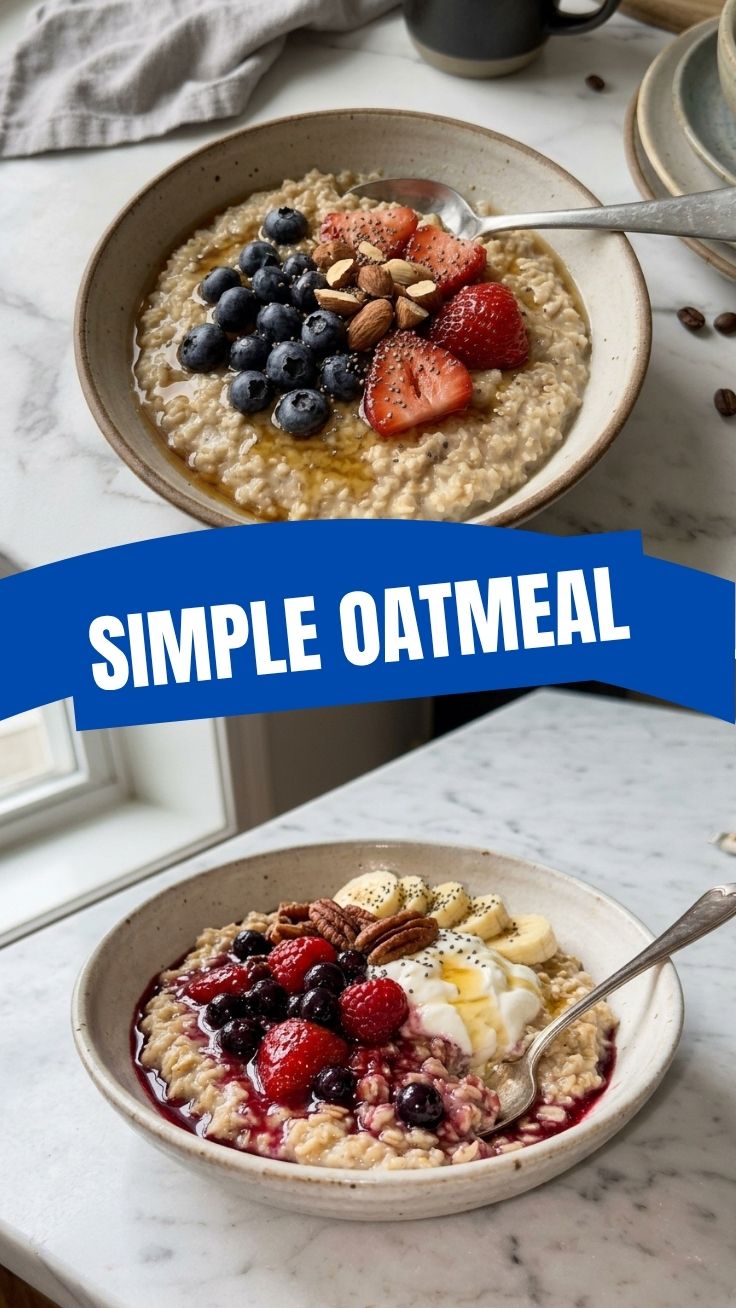
- Optional toppings: Fresh fruit, nuts (almonds, walnuts), seeds (chia, flax), honey, maple syrup, brown sugar, cinnamon, dried fruit (raisins, cranberries). These allow for endless customization.
- Medium saucepan with a lid: Essential for even cooking and heat retention.
- Wooden spoon or spatula: For stirring and preventing sticking.
- Measuring cups and spoons: For accurate ingredient proportions.
Prep Time & Cooking Schedule
- Prep Time: 5 minutes (primarily gathering ingredients and measuring)
- Cook Time: 20-30 minutes (for steel-cut oats)
- Resting Time: 5 minutes (optional, allows for further thickening)
Planning ahead is key when cooking steel-cut oats. While quick-cooking oats are ready in minutes, the robust nature of steel-cut varieties requires a longer, gentler simmer. This extended cooking time allows the oats to fully absorb the liquid, developing their signature chewy texture. Consider making a larger batch on a Sunday to enjoy warm, satisfying bowls throughout the week, significantly cutting down on busy morning prep.
Step-by-Step Instructions
1. Combine Ingredients: In your medium saucepan, combine the 1 cup of steel-cut oats, 3 cups of water or milk, and a pinch of salt.
2. Bring to a Boil: Bring the mixture to a rolling boil over medium-high heat. Stir occasionally to prevent sticking.
3. Reduce Heat & Simmer: Once boiling, reduce the heat to low, cover the saucepan, and let it simmer for 20-30 minutes. The exact timing depends on your desired consistency – closer to 20 minutes for a slightly firmer bite, 30 for a creamier porridge. During this time, the oats will gradually swell and absorb the liquid. Stir occasionally to ensure even cooking and prevent the bottom from scorching.
4. Check for Doneness: The oatmeal is ready when the liquid has been mostly absorbed and the oats are tender but still retain a pleasant chew.
5. Rest (Optional): Remove from heat and, if desired, let it rest for 5 minutes with the lid on. This allows for further thickening and a creamier finish.
6. Serve & Customize: Ladle into bowls and add your favorite toppings. Experiment with fresh berries, a drizzle of honey, a sprinkle of cinnamon, or a handful of chopped nuts for added flavor and texture.
Nutritional Benefits & Advantages
This wholesome oatmeal, especially when made with steel-cut oats, is a nutritional powerhouse. Oats are an excellent source of soluble fiber, specifically beta-glucan, which is known for its ability to lower cholesterol levels and promote gut health. This fiber also contributes to a feeling of fullness, aiding in weight management. Furthermore, oats provide essential vitamins and minerals like manganese, phosphorus, magnesium, iron, and B vitamins, contributing to energy production and overall well-being. Choosing plant-based milk adds further vitamins and often protein, making for a truly beneficial breakfast.
Tips, Variations & Cooking Advice
- Overnight Oats: For a no-cook, grab-and-go option, combine steel-cut oats with your liquid and desired toppings in a jar, refrigerate overnight, and enjoy cold or gently warmed.
- Savory Options: Don’t limit your oatmeal to sweet. Try adding a fried egg, sautéed mushrooms, a sprinkle of cheese, or a dash of hot sauce for a hearty savory meal.
- Spice It Up: Incorporate aromatic spices like cardamom, nutmeg, or ginger for a warmth and depth of flavor.
- Fruit Infusion: Cook your oats with apple slices or mashed banana from the start to infuse them with natural sweetness and flavor.
- Gluten-Free: Ensure you purchase certified gluten-free steel-cut oats if you have a gluten sensitivity, as some oats can be cross-contaminated during processing.
Common Mistakes to Avoid
- Using Too Much Heat: Cooking steel-cut oats over too high of heat can lead to a sticky, burnt bottom and unevenly cooked oats. Keep it low and slow.
- Not Stirring Enough: While simmering, give your oatmeal a stir every few minutes to prevent it from sticking to the bottom of the pot.
- Forgetting Salt: A pinch of salt is crucial for bringing out the natural flavors of the oats. Without it, your bowl can taste flat.
- Adding Toppings Too Early: While some fruits can be cooked with the oats, most fresh toppings are best added just before serving to maintain their texture and nutritional integrity.
Storage & Meal Prep Tips
Cooked oatmeal can be stored in an airtight container in the refrigerator for up to 5 days. It will thicken considerably as it cools, so when reheating, you might need to add a splash of water or milk to reach your desired consistency. Reheat gently on the stovetop or in the microwave. For longer storage, cooked steel-cut oats can be frozen in individual portions for up to 3 months. Thaw overnight in the refrigerator before reheating. This makes for an incredibly efficient meal prep strategy, ensuring a nutritious breakfast is always within reach.
Conclusion
Mastering the art of homemade oatmeal, especially with the hearty goodness of steel-cut oats, is a simple yet profoundly rewarding culinary skill. It’s more than just a recipe; it’s an investment in your health and well-being, offering endless possibilities for customization and flavor. By following these steps, you’ve unlocked the secret to a consistently perfect bowl that will keep you fueled and satisfied. We encourage you to try this recipe, experiment with your favorite toppings, and share your delightful creations! What’s your go-to oatmeal topping combination? Let us know in the comments below, and explore our other wholesome recipes for more delicious inspiration.
FAQs
Q1: Can I use quick oats instead of steel-cut oats for this recipe?
A1: While you can, the cooking time and liquid ratio will be different, and the final texture will be much softer. This recipe is specifically optimized for the chewy consistency of steel-cut oats.
Q2: My oatmeal turned out too thick/thin. How can I fix it?
A2: If it’s too thick, add a splash more hot water or milk until it reaches your desired consistency. If it’s too thin, continue to simmer for a few more minutes, uncovered, to allow more liquid to evaporate.
Q3: How can I make my oatmeal creamier without dairy milk?
A3: Use a creamy plant-based milk like oat milk or cashew milk. Adding a teaspoon of nut butter (almond, peanut) or some mashed banana during cooking can also enhance creaminess.
Q4: Can I sweeten my oatmeal without refined sugar?
A4: Absolutely! Natural sweeteners like honey, maple syrup, agave nectar, ripe mashed bananas, or even a sprinkle of dried fruit cooked with the oats can provide delicious sweetness.
Q5: What’s the best way to prevent my oatmeal from sticking to the bottom of the pan?
A5: Ensure you’re cooking on low heat, using a heavy-bottomed pot, and stirring frequently, especially towards the end of the cooking process. Adding a little extra liquid can also help.