Unlock the Secret to Irresistible Homemade Chocolate Peanut Butter Cups: A Sweet & Simple Guide!
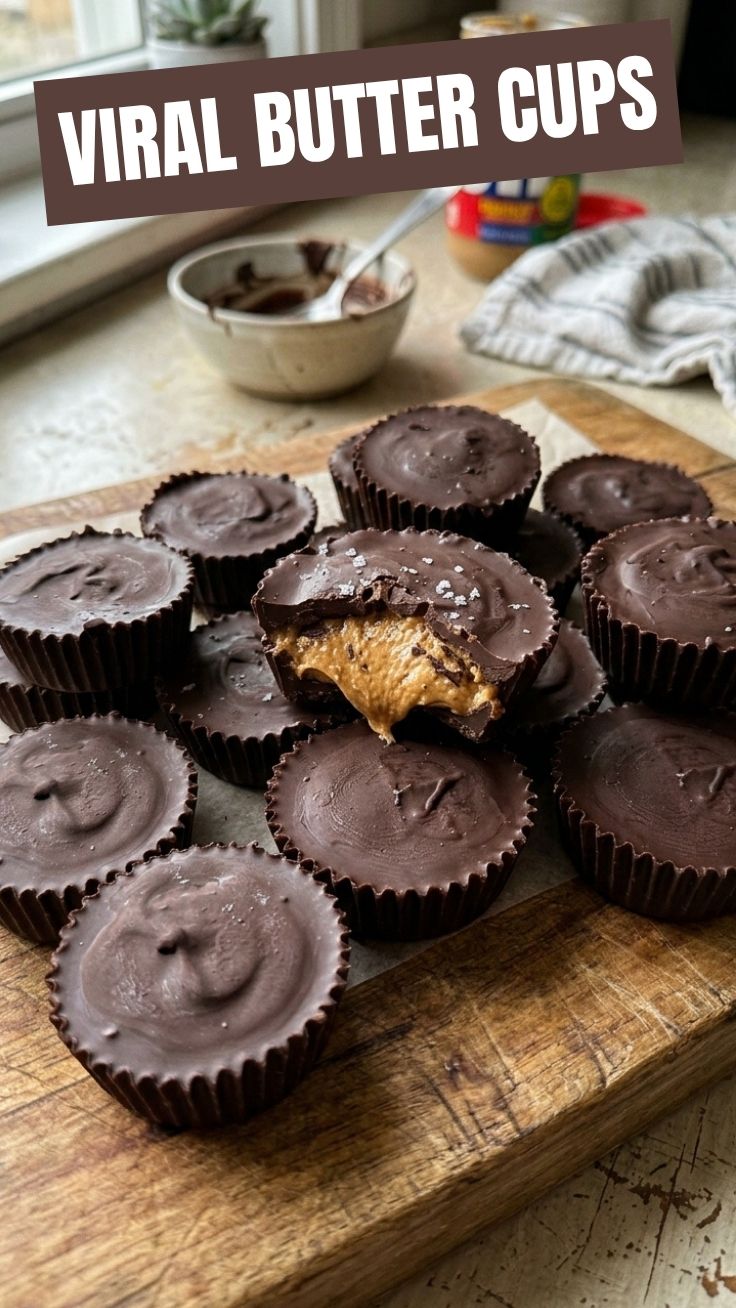
Are you tired of store-bought treats that lack that homemade touch and often contain questionable ingredients? Imagine biting into a rich, creamy, and perfectly balanced sweet and salty confection that you made yourself. This comprehensive guide will walk you through crafting your own delectable Chocolate Peanut Butter Cups, offering a healthier, more customizable, and ultimately more satisfying alternative to their commercial counterparts like Reese’s Peanut Butter Cups. Beyond the incredible flavor, mastering this recipe allows you to control the quality of your ingredients, making it an invaluable skill for any dessert enthusiast.
Ingredients & Kitchen Tools
Crafting these delightful treats requires a few simple ingredients and basic kitchen tools. We’ve included clarifications to ensure you have everything ready for success.
- 1 cup Peanut Butter (creamy or crunchy): The star of the show! Choose your preferred texture.
- 1/2 cup Powdered Sugar (confectioners’ sugar): Adds sweetness and helps create a smooth, firm peanut butter filling.
- 1/4 cup Unsalted Butter (melted): Binds the peanut butter mixture and adds richness.
- 1 tsp Vanilla Extract: Enhances the overall flavor profile.
- 1/4 tsp Salt: Balances the sweetness and amplifies the peanut butter flavor.
- 12 oz Semi-Sweet Chocolate Chips: Forms the chocolate shell. High-quality chips will yield the best results.
- 1 tbsp Coconut Oil (optional): Helps thin the melted chocolate for a smoother, glossier finish.
- Mini Muffin Liners or Silicone Molds: Essential for forming and easy release of your cups.
- Muffin Tin: Holds the liners/molds upright.
- Large Microwave-Safe Bowl or Double Boiler: For melting the chocolate.
- Small Mixing Bowl: For the peanut butter filling.
- Spatula or Spoon: For mixing and spreading.
- Measuring Cups and Spoons: For accurate ingredient portions.
Prep Time & Cooking Schedule
- Prep Time: 20 minutes (active preparation)
- Chill Time (Peanut Butter Filling): 30 minutes
- Chill Time (Finished Cups): 1-2 hours (or until firm)
This recipe involves several chilling stages, crucial for achieving the perfect texture. Plan for these breaks in your schedule to ensure the components set properly. The overall active time is relatively short, making this a great project for a weekend afternoon.
Step-by-Step Instructions
1. Prepare the Peanut Butter Filling: In a small mixing bowl, combine the peanut butter, powdered sugar, melted unsalted butter, vanilla extract, and salt. Mix thoroughly until well combined and smooth. The mixture should be thick enough to roll.
2. Chill the Peanut Butter Filling: Cover the bowl with plastic wrap and refrigerate for at least 30 minutes. This step is vital to firm up the peanut butter, making it easier to handle and ensuring it holds its shape within the Chocolate Peanut Butter Cups.
3. Prepare Molds: Line a muffin tin with mini muffin liners, or arrange silicone molds on a baking sheet.
4. Melt the Chocolate: In a large microwave-safe bowl, melt the semi-sweet chocolate chips in 30-second intervals, stirring after each, until smooth. Alternatively, use a double boiler. If using, stir in the coconut oil until fully incorporated.
5. First Chocolate Layer: Spoon about 1 teaspoon of melted chocolate into the bottom of each prepared liner/mold, spreading it evenly to cover the base. Transfer the muffin tin to the refrigerator for 5-10 minutes to allow the chocolate to set slightly.
6. Form Peanut Butter Discs: While the chocolate sets, remove the chilled peanut butter mixture from the refrigerator. Roll spoonfuls of the mixture into small balls, then flatten them into discs that are slightly smaller than the diameter of your cups. This step defines the core of your homemade Reese’s Peanut Butter Cups experience.
7. Add Peanut Butter Filling: Carefully place one peanut butter disc on top of the set chocolate layer in each liner/mold.
8. Second Chocolate Layer: Spoon another 1-2 teaspoons of melted chocolate over each peanut butter disc, ensuring the peanut butter is completely covered and the chocolate reaches the edges of the liner/mold. Gently tap the muffin tin on the counter a few times to release any air bubbles and create a smooth top.
9. Final Chill: Refrigerate the cups for 1-2 hours, or until the chocolate is completely firm.
10. Serve & Store: Once firm, carefully peel away the liners or pop the cups out of the silicone molds. Enjoy!
Nutritional Benefits & Advantages
Homemade Chocolate Peanut Butter Cups offer several advantages. Peanut butter is a good source of protein, healthy fats, and fiber, contributing to satiety. Darker chocolate (if chosen) provides antioxidants. By making them yourself, you control sugar levels and avoid artificial preservatives and hydrogenated oils often found in commercial versions. This allows for a more wholesome and transparent treat.
Tips, Variations & Cooking Advice
- Flavor Boost: Add a pinch of sea salt flakes to the top of the melted chocolate before chilling for a sophisticated sweet and salty kick.
- Chocolate Choice: Experiment with milk chocolate, dark chocolate (70% cocoa or higher for a less sweet, more intense flavor), or even white chocolate.
- Nut Butter Alternatives: Almond butter or cashew butter can be substituted for peanut butter for different flavor profiles or allergy considerations.
- Dietary Adaptations: For a gluten-free version, ensure all ingredients are certified gluten-free. For dairy-free, use vegan chocolate chips, dairy-free butter substitute, and ensure your powdered sugar is cornstarch-free (some contain dairy).
- Mini vs. Standard: Adjust the amount of filling and chocolate if using standard-sized muffin liners.
Common Mistakes to Avoid
- Over-Melting Chocolate: High heat can seize chocolate, making it thick and grainy. Melt gently, stirring frequently.
- Not Chilling Long Enough: Rushing the chilling process will result in messy, soft cups that don’t hold their shape. Patience is key.
- Too Much Peanut Butter Filling: Overfilling can make it difficult to fully encase the peanut butter in chocolate. Aim for discs slightly smaller than your molds.
- Skipping the Salt: A pinch of salt perfectly balances the sweetness and enhances the peanut butter flavor; don’t omit it!
Storage & Meal Prep Tips
Store your homemade Chocolate Peanut Butter Cups in an airtight container in the refrigerator for up to 2 weeks. They can also be frozen for up to 2-3 months. If freezing, separate layers with parchment paper to prevent sticking. Thaw briefly at room temperature or in the refrigerator before enjoying. These are fantastic for meal prep as a pre-portioned sweet treat for the week.
Conclusion
There’s truly nothing quite like the satisfaction of creating your own delicious treats from scratch. These homemade Chocolate Peanut Butter Cups are a testament to that, offering a customizable, healthier, and incredibly tasty alternative to store-bought options. Whether you’re aiming for that classic Reese’s Peanut Butter Cups experience or exploring new flavor combinations, this recipe provides a solid foundation. Give it a try, experiment with your favorite ingredients, and share your delightful creations with friends and family!
FAQs
Q1: Can I use different types of chocolate?
A1: Absolutely! Milk, dark, or white chocolate chips all work. Adjust sweetness levels based on your preference.
Q2: My chocolate is too thick after melting. What should I do?
A2: If your chocolate is too thick, try adding a tiny bit of coconut oil (1/2 teaspoon at a time) or a neutral oil like canola or vegetable oil. Stir until desired consistency is reached.
Q3: How can I make these healthier?
A3: Use natural, unsweetened peanut butter, reduce the amount of powdered sugar, and opt for dark chocolate with a high cocoa content.
Q4: Can I freeze the peanut butter filling before assembling?
A4: Yes, you can freeze the rolled peanut butter discs on a parchment-lined tray for about 15-20 minutes before encasing them in chocolate. This helps them hold their shape even better.
Q5: My peanut butter filling is too crumbly. What went wrong?
A5: This usually means there isn’t enough moisture or binding agent. Add a tiny bit more melted butter (1/2 teaspoon at a time) and mix well until it reaches a pliable consistency.