The Ultimate Homemade Beef Burger: Beyond the Grill, Into Your Kitchen
Are you tired of bland, mass-produced fast-food burgers? Do you crave that juicy, flavorful Beef Burger experience that only a homemade creation can offer? There’s an undeniable satisfaction in crafting your own gourmet burger from scratch – controlling every ingredient, perfecting every nuance, and elevating a simple meal into an unforgettable culinary event. This post isn’t just about sharing a burger recipe; it’s about empowering you to become a burger maestro in your own kitchen, creating a dish that truly reflects your taste and skill.
Ingredients & Kitchen Tools
Here’s what you’ll need to conjure up burger perfection:
- 1.5 lbs 80/20 Ground Chuck: This fat-to-lean ratio is ideal for juicy burgers, ensuring moisture and flavor.
- 1 small Yellow Onion, finely minced: Adds a subtle sweetness and depth.
- 2 cloves Garlic, minced: Essential aromatic for robust flavor.
- 1 tbsp Worcestershire Sauce: A secret weapon for umami richness.
- 1 tsp Smoked Paprika: Imparts a lovely smoky flavor without needing a grill.
- 1/2 tsp Black Pepper, freshly ground: For a piquant kick.
- 1/2 tsp Salt: Enhances all flavors. Adjust to taste.
- 4-6 Burger Buns (Brioche or Potato recommended): The foundation of your burger, choose soft and sturdy.
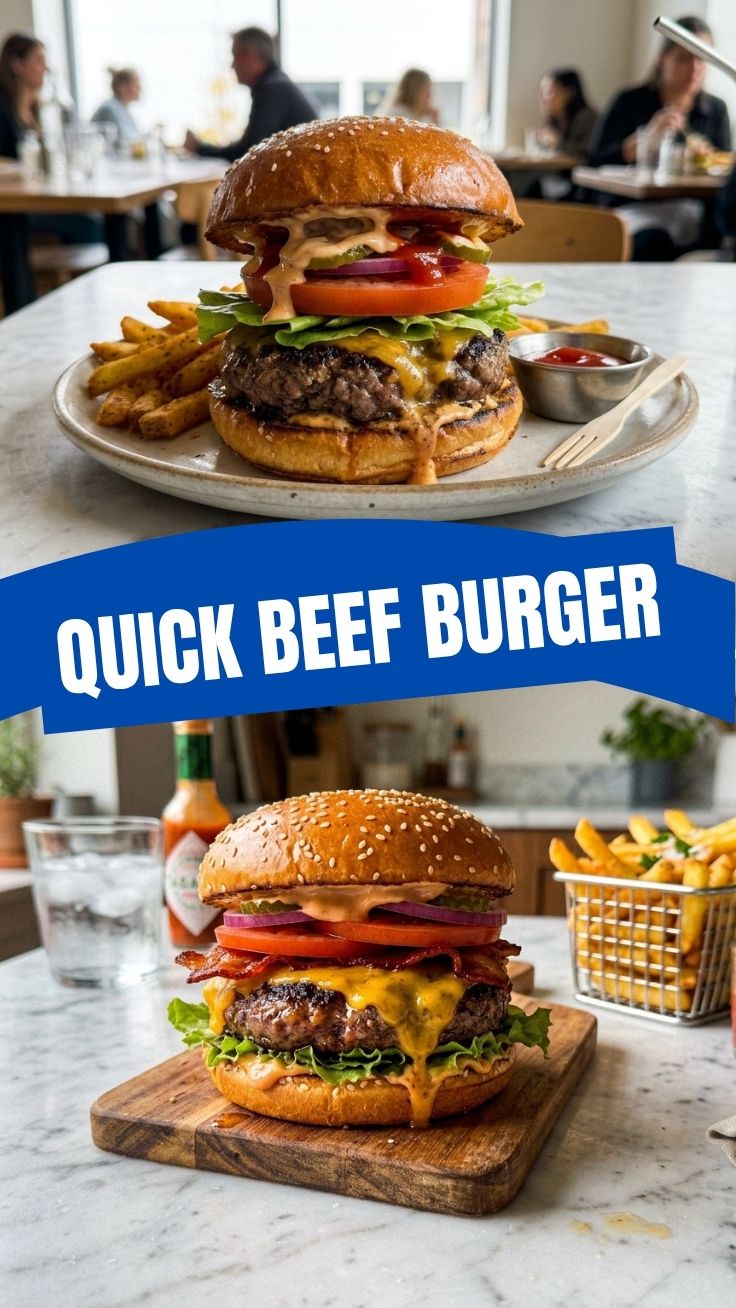
- Optional Toppings: Sliced cheese (cheddar, provolone, Swiss), crispy bacon, lettuce, tomato, pickles, red onion slices, jalapeños, your favorite sauces (ketchup, mustard, mayo, BBQ).
- For Searing: 1 tbsp high-smoke point oil (e.g., canola, grapeseed, avocado).
Kitchen Tools:
- Large Mixing Bowl: For combining ingredients.
- Heavy-Bottomed Skillet or Cast Iron Pan: Essential for achieving a beautiful crust.
- Spatula: For flipping.
- Meat Thermometer (optional but recommended): For precise doneness.
- Burger Press (optional): For perfectly shaped patties.
Prep Time & Cooking Schedule
- Prep Time: 15 minutes
- Chilling Time (Patties): 30 minutes (minimum, highly recommended for patty integrity)
- Cook Time: 8-12 minutes (depending on desired doneness)
- Resting Time: 5 minutes
Planning ahead by chilling your patties significantly improves their structure and prevents crumbling during cooking. This also allows the flavors to meld beautifully.
Step-by-Step Instructions
1. Prepare the Mixture: In a large mixing bowl, gently combine the ground chuck, minced onion, minced garlic, Worcestershire sauce, smoked paprika, black pepper, and salt. Be careful not to overmix, as this can lead to a tough burger.
2. Form the Patties: Divide the mixture into 4-6 equal portions. Form each portion into a patty about 3/4 to 1 inch thick, making sure they are slightly wider than your burger buns, as they will shrink during cooking. Create a small dimple in the center of each patty with your thumb – this prevents the burger from bulging in the middle. Place the formed patties on a plate, cover, and refrigerate for at least 30 minutes. This chilling step is crucial for achieving the perfect Beef Burger.
3. Preheat Pan & Sear: Heat the oil in a heavy-bottomed skillet or cast iron pan over medium-high heat until shimmering and almost smoking. Carefully place the chilled patties into the hot pan. For a perfectly crusted burger recipe, avoid overcrowding the pan; cook in batches if necessary.
4. Cook to Desired Doneness: Cook for 3-5 minutes per side, depending on your desired doneness.
* Rare: 125°F (52°C)
* Medium-Rare: 130-135°F (54-57°C)
* Medium: 140-145°F (60-63°C)
* Medium-Well: 150-155°F (66-68°C)
* Well-Done: 160°F+ (71°C+)
If adding cheese, place it on the patty during the last minute of cooking, covering the pan briefly to help it melt.*
5. Rest the Burgers: Transfer the cooked patties to a plate and let them rest for 5 minutes. This allows the juices to redistribute, ensuring a tender and moist burger.
6. Assemble and Serve: While the burgers are resting, lightly toast your buns in the same pan or a toaster. Assemble your burgers with your favorite toppings and sauces.
Nutritional Benefits & Advantages
Crafting your own Beef Burger at home offers several advantages. You control the quality of the meat, avoiding fillers and unnecessary additives often found in commercially prepared versions. Ground chuck is a good source of protein, iron, and B vitamins, vital for energy and muscle health. By adding fresh vegetables as toppings, you boost fiber and micronutrient intake, making your burger a more balanced meal.
Tips, Variations & Cooking Advice
- Flavor Boosts: For an extra layer of flavor, mix in a tablespoon of finely chopped fresh herbs like parsley or chives.
- Cheese Integration: For an “inside-out” cheeseburger, create a small indentation in each patty, place a cube of cheese inside, and then seal it.
- Spice It Up: Add a pinch of cayenne pepper or a dash of hot sauce to the meat mixture for a spicy kick.
- Gluten-Free: Serve on gluten-free buns or as a “lettuce wrap” for a low-carb option.
- Alternative Cooking Methods: While pan-searing provides a fantastic crust, you can also grill these patties over medium-high heat for 4-6 minutes per side.
- Portion Control: For smaller appetites, make slider-sized patties.
Common Mistakes to Avoid
- Overmixing the Meat: This is the most common mistake, resulting in tough, dense burgers. Mix just until combined.
- Skipping the Chill: Chilling patties helps them hold their shape and stay juicy. Don’t skip it!
- Pressing Patties While Cooking: Never press down on the burgers with your spatula while they cook. This squishes out all the delicious juices.
- Underseasoning: Don’t be shy with salt and pepper; they are crucial for flavor development.
- Flipping Too Often: Flip only once to achieve a great sear on both sides.
Storage & Meal Prep Tips
Cooked Beef Burger patties can be stored in an airtight container in the refrigerator for up to 3-4 days. For longer storage, freeze cooked patties individually wrapped in plastic wrap and then placed in a freezer-safe bag for up to 2-3 months. Reheat gently in a skillet over medium-low heat or in the oven at 300°F (150°C) until warmed through, being careful not to overcook and dry them out. To maintain texture, avoid reheating in the microwave for extended periods.
Conclusion
Mastering the homemade Beef Burger is a culinary triumph that will elevate your weeknight meals and impress any guest. By following this guide, you’ve unlocked the secrets to a juicy, flavorful, and perfectly seared burger recipe that will leave fast-food options in the dust. We encourage you to try this recipe, experiment with your favorite toppings, and truly make it your own. Share your burger creations with us in the comments below – we’d love to see your masterpieces!
FAQs
Q1: Can I use leaner ground beef?
A1: While 80/20 is recommended for juiciness, you can use 85/15. You might want to add a tablespoon of olive oil or butter to the mixture to compensate for less fat and prevent dryness.
Q2: How do I prevent my burgers from falling apart?
A2: The key is to avoid overmixing, ensure the patties are well-chilled before cooking, and don’t press them during searing.
Q3: What’s the best way to melt cheese on my burger?
A3: Place the cheese on top of the patty during the last minute of cooking. You can then cover the pan with a lid for about 30 seconds to help the cheese melt evenly and become gooey.
Q4: Can I freeze uncooked burger patties?
A4: Yes, absolutely! Form the patties, place parchment paper between each, and then stack them in a freezer-safe bag or container. They can be frozen for up to 3 months. Thaw in the refrigerator overnight before cooking.
Q5: What’s the secret to a great crust without a grill?
A5: A heavy-bottomed pan, especially cast iron, heated to medium-high heat with a high-smoke point oil is crucial. The high heat creates a Maillard reaction, resulting in that delicious browned crust.