Imagine biting into a soft, chewy cookie, its sweet, creamy frosting melting in your mouth. Isn’t that an experience we all crave? While store-bought treats have their place, there’s an unparalleled joy and satisfaction in creating these delightful confections from scratch. Today, we’re diving into the wonderful world of Sugar Cookies with Frosting, a classic that brings comfort and joy to every occasion. Learning how to master this Sugar Cookie Recipe at home not only ensures you control the quality of your ingredients but also allows for endless customization, transforming a simple dessert into a personalized masterpiece.
Ingredients & Kitchen Tools
Gathering your culinary arsenal is the first step to creating perfect frosted sugar cookies.
Ingredients:
- All-Purpose Flour (3 cups): The structural backbone of our cookies. Sifting ensures a light, airy texture.
- Unsalted Butter (1 cup, softened): Provides rich flavor and tenderness. Softened butter creams easily with sugar.
- Granulated Sugar (1 cup): Sweetens the cookies and contributes to their crisp-tender texture.
- Large Egg (1): Binds ingredients together and adds richness.
- Vanilla Extract (1 tsp): A fundamental flavor enhancer, providing warmth and aroma.
- Baking Powder (1 tsp): A leavening agent that helps the cookies rise slightly, preventing a dense texture.
- Salt (1/2 tsp): Balances the sweetness and enhances all other flavors.
- Powdered Sugar (4 cups, for frosting): The base for our smooth, delectable frosting. Ensures a silky consistency.
- Milk (1/4 cup, for frosting): Adds creaminess and adjusts frosting consistency. Any fat percentage works.
- Meringue Powder (2 tbsp, optional for frosting): Helps stabilize the frosting, giving it a firmer set and a professional finish, especially for intricate decorations.
- Food Coloring (optional): For vibrant, festive frosting colors. Gel food coloring provides the best results without thinning the frosting.
Kitchen Tools:
- Stand Mixer with Paddle Attachment: Ideal for creaming butter and sugar, and mixing dough thoroughly.
- Large Mixing Bowls: For combining wet and dry ingredients, and preparing frosting.
- Measuring Cups & Spoons: Essential for accurate ingredient proportions.
- Rubber Spatula: For scraping down bowls and folding ingredients gently.
- Rolling Pin: To evenly flatten the cookie dough.
- Cookie Cutters: For shaping your cookies. Get creative with different designs!
- Baking Sheets: For baking cookies. Non-stick or lined with parchment paper.
- Parchment Paper or Silicone Baking Mats: Prevents sticking and ensures even baking.
- Wire Cooling Rack: Allows air circulation for even cooling, preventing soggy bottoms.
- Piping Bags & Tips (optional): For professional-looking frosting decorations.
- Offset Spatula: Great for smoothly spreading frosting.
Prep Time & Cooking Schedule
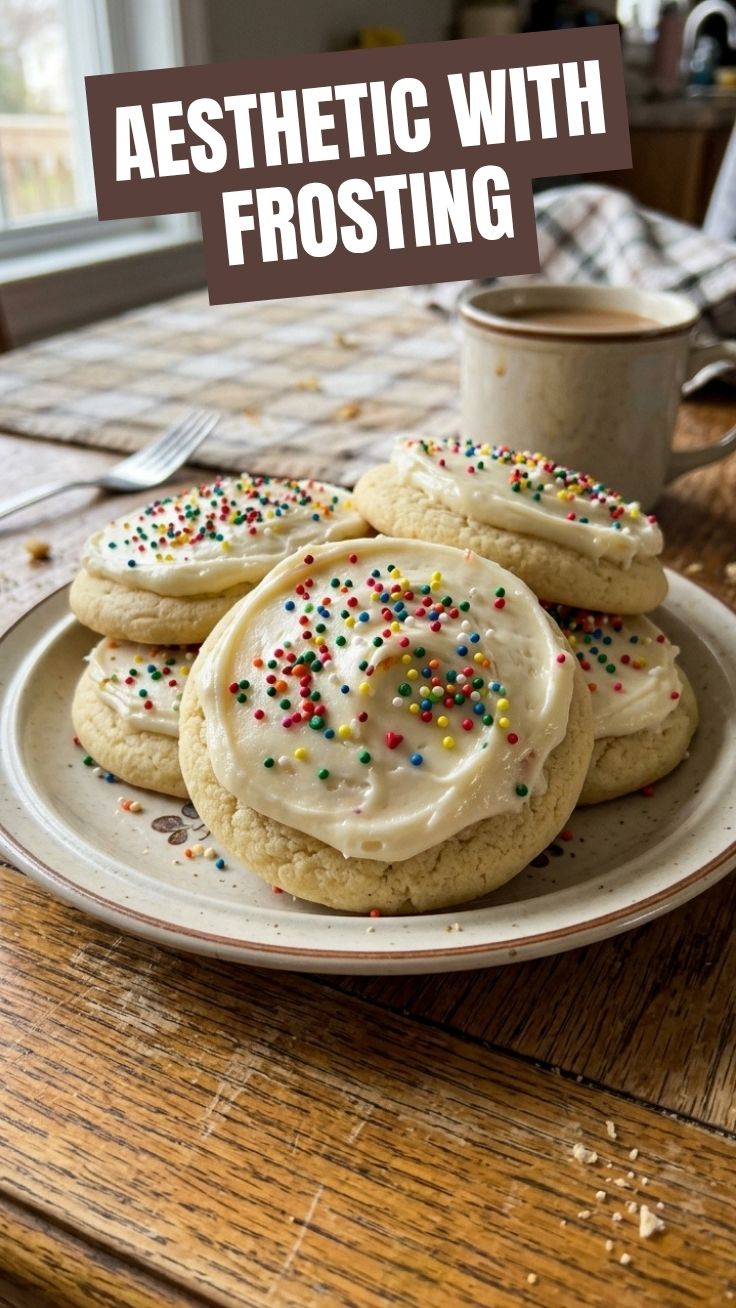
Planning your baking session ensures a smooth and enjoyable experience. This recipe involves chilling, which is crucial for perfect cookie texture.
- Prep Time: 30 minutes (active mixing and rolling)
- Chill Time: 1-2 hours (minimum, for dough setting)
- Cook Time: 8-10 minutes per batch
- Cooling Time: 15-20 minutes (before frosting)
- Frosting Time: 30-45 minutes (depending on complexity)
Total Time: Approximately 2.5 – 3 hours (not including extensive decorating)
Tip: You can prepare the dough a day in advance and store it in the refrigerator. This allows for convenient baking whenever the craving strikes!
Step-by-Step Instructions
Embark on your journey to creating beautiful and delicious Sugar Cookies with Frosting following these detailed steps. This Sugar Cookie Recipe is foolproof when you pay attention to the details.
1. Cream Butter and Sugar: In a large mixing bowl or stand mixer, beat the softened butter and granulated sugar together on medium speed until light and fluffy, about 2-3 minutes. This incorporates air, making cookies tender.
2. Add Wet Ingredients: Beat in the egg and vanilla extract until well combined, scraping down the sides of the bowl as needed.
3. Combine Dry Ingredients: In a separate medium bowl, whisk together the flour, baking powder, and salt.
4. Gradually Add Dry to Wet: With the mixer on low speed, gradually add the dry ingredients to the wet ingredients, mixing until just combined. Do not overmix, as this can lead to tough cookies. The dough will be firm.
5. Chill the Dough: Divide the dough in half, flatten each half into a disk, wrap tightly in plastic wrap, and refrigerate for at least 1-2 hours. Chilling prevents spreading and makes the dough easier to roll.
6. Preheat Oven & Prep Sheets: Preheat your oven to 375°F (190°C). Line baking sheets with parchment paper or silicone mats.
7. Roll and Cut: On a lightly floured surface, roll one disk of chilled dough to about 1/4 inch thickness. Use your favorite cookie cutters to cut out shapes.
8. Bake: Carefully transfer the cut-out cookies to the prepared baking sheets, leaving about 1 inch between them. Bake for 8-10 minutes, or until the edges are lightly golden. Do not overbake.
9. Cool: Let cookies cool on the baking sheets for 5 minutes before transferring them to a wire rack to cool completely.
10. Prepare Frosting: While cookies cool, whisk powdered sugar and meringue powder (if using) in a bowl. Gradually add milk and vanilla extract, beating until smooth and thick. Add more milk sparingly if needed for desired consistency, or more powdered sugar if too thin. Divide and color frosting as desired.
11. Frost and Decorate: Once cookies are completely cool, frost as desired using an offset spatula or piping bags.
12. Set: Allow frosting to set before stacking or storing. This can take several hours, especially if using meringue powder.
Nutritional Benefits & Advantages
While often seen as an indulgence, homemade cookies offer certain advantages. التحكم في المكونات (ingredient control) is paramount. You can choose high-quality butter, organic eggs, and adjust sugar levels if desired. This recipe provides carbohydrates for energy, and the dairy in the frosting offers some calcium. Furthermore, the act of baking itself can be therapeutic, reducing stress and fostering creativity. Sharing these homemade treats can also strengthen social bonds and bring smiles to faces, which are invaluable benefits in themselves!
Tips, Variations & Cooking Advice
- Flavor Boost: Add a pinch of nutmeg or cardamom to the dough for a unique twist. Lemon zest in the dough or frosting adds brightness.
- Gluten-Free: Substitute all-purpose flour with a 1:1 gluten-free baking blend for a celiac-friendly option.
- Dairy-Free: Use a dairy-free butter alternative and a plant-based milk (almond, soy, oat).
- Royal Icing: For hard-setting, intricate decorations, consider using royal icing instead of a simple buttercream.
- Freezing Dough: Unbaked cookie dough can be frozen for up to 3 months. Wrap tightly in plastic wrap and then foil. Thaw in the refrigerator overnight before rolling and baking.
- Decorating Fun: Involve kids in the decorating process! Provide different colored frostings and sprinkles for a fun family activity.
Common Mistakes to Avoid
Overmixing the Dough: Leads to excess gluten development, resulting in tough, dry cookies. Mix just* until the flour disappears.
- Not Chilling the Dough: Warm dough spreads excessively during baking, losing its shape. Don’t skip the chill time!
- Over-flouring the Surface: While necessary, too much flour can make the cookies dry and crumbly. Use a light hand.
- Overbaking: Cookies can go from perfectly golden to hard and dry very quickly. Watch for lightly golden edges; the centers might still look slightly soft.
Frosting Warm Cookies: The frosting will melt and slide right off, creating a sticky mess. Ensure cookies are completely* cool.
- Thin Frosting: If your frosting is too runny, it won’t hold its shape or cling to the cookie. Gradually add more sifted powdered sugar until you reach your desired consistency.
Storage & Meal Prep Tips
Storage: Store frosted sugar cookies in an airtight container at room temperature for up to 3-5 days. If using a frosting with fresh cream cheese or other perishable ingredients, store in the refrigerator. Layer cookies with parchment paper to prevent sticking.
Freezing Frosted Cookies: For longer storage, flash freeze frosted cookies on a baking sheet until firm, then transfer to an airtight freezer-safe container or bag. They can be frozen for up to 2-3 weeks. Thaw at room temperature.
Meal Prep: You can prepare the cookie dough up to 2-3 days in advance and keep it refrigerated. This allows you to bake fresh cookies whenever you desire without much fuss.
Conclusion
Baking Sugar Cookies with Frosting from scratch is a rewarding experience that fills your home with warmth and delicious aromas. This Sugar Cookie Recipe, while straightforward, allows for immense creativity and personal touches, making each batch uniquely yours. So, gather your ingredients, follow these steps, and delight in the sheer pleasure of homemade goodness. We encourage you to try this recipe, experiment with different flavors and decorations, and share your delightful creations with friends and family!
FAQs
Q1: Can I make the cookie dough ahead of time?
A1: Yes, absolutely! You can prepare the dough up to 2-3 days in advance and store it tightly wrapped in the refrigerator. This actually helps with flavor development and makes it easier to handle.
Q2: My cookies spread too much. What went wrong?
A2: This usually happens if your butter was too soft, your dough wasn’t chilled long enough, or your oven temperature isn’t accurate. Ensure your butter is softened but not melted, chill the dough for at least 1-2 hours, and consider using an oven thermometer.
Q3: How do I get a smooth frosting consistency?
A3: Sift your powdered sugar before mixing to avoid lumps. Gradually add milk, a teaspoon at a time, until you reach your desired smoothness. For a super smooth finish, you can even pass it through a fine-mesh sieve after mixing.
Q4: Can I use different extracts in the cookies or frosting?
A4: Definitely! While vanilla is classic, feel free to experiment with almond, lemon, or even peppermint extract for seasonal variations. Start with a small amount and adjust to your taste.