Ditch the Oven, Embrace the Delicious: Your Ultimate Guide to Decadent No-Bake Cheesecake!
Ever dreamt of a luxurious dessert that comes together with minimal fuss, no oven required, and still manages to impress everyone at the table? Imagine a dessert that’s impossibly creamy, refreshingly cool, and requires zero baking time. Today, we’re diving deep into the magical world of no-bake cheesecakes, and specifically, how to master the art of preparing a phenomenal No Bake Cheesecake right in your own kitchen! Preparing this delightful treat at home isn’t just about saving time; it’s about crafting a personalized dessert experience, controlling the quality of your ingredients, and enjoying the immense satisfaction of creating a showstopper with surprising ease. Get ready to elevate your dessert game without breaking a sweat, as we embark on a journey to create a truly irresistible and Easy Cheesecake that will become your new go-to.
Ingredients & Kitchen Tools
To embark on your no-bake cheesecake adventure, gather these essential items:
- For the Crust:
* 200g (about 1 ½ cups) digestive biscuits (Graham crackers work beautifully too): Provides a classic, buttery foundation.
* 100g (½ cup) unsalted butter, melted: Binds the crumbs together for a sturdy crust.
- For the Filling:
* 500g (2 blocks) full-fat cream cheese, softened: Crucial for that signature creamy texture and tangy flavor. Ensure it’s at room temperature for smooth mixing.
* 150g (¾ cup) granulated sugar: Sweetens the filling perfectly. Adjust to your preference.
* 1 tsp vanilla extract: Enhances the sweetness and adds aromatic depth.
* 250ml (1 cup) heavy cream (double cream), chilled: Whipped to stiff peaks, this provides lightness and stability to the filling.
* Juice of 1 lemon (optional, but recommended): A splash of citrus brightens the flavor and cuts through the richness.
- For Topping (Optional):
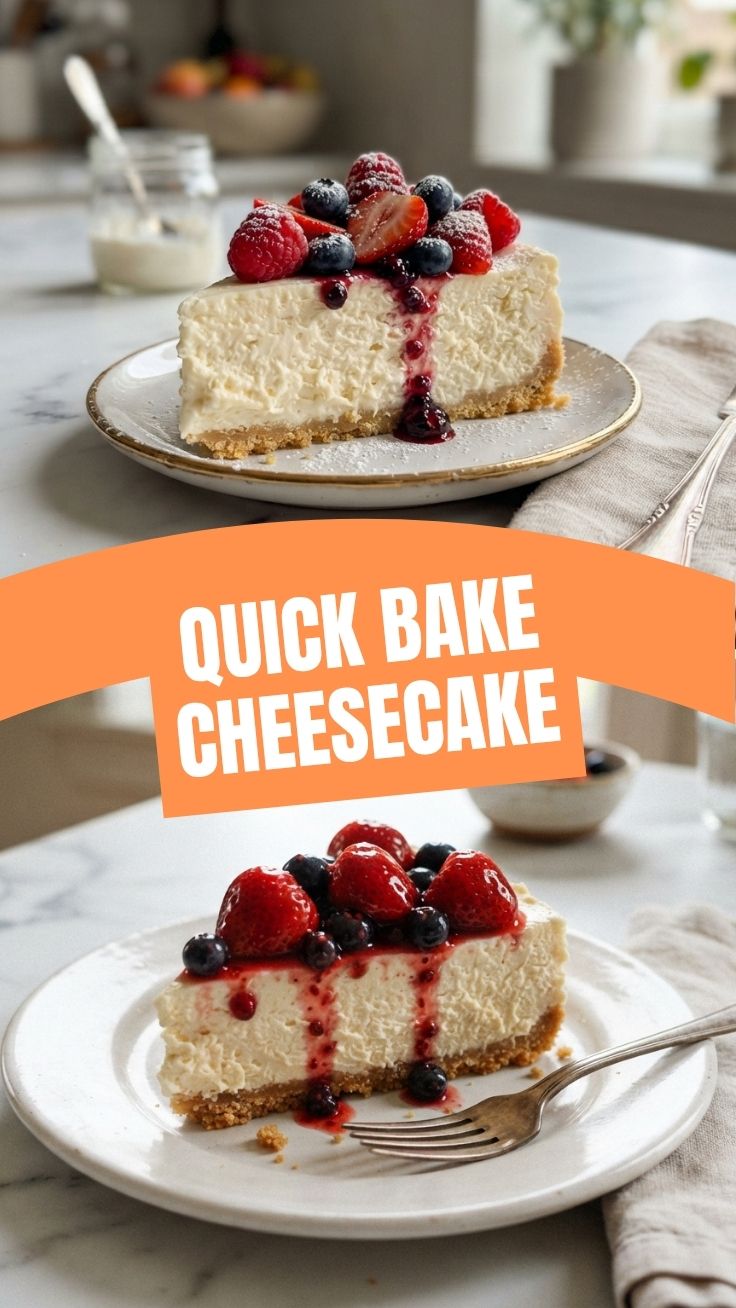
* Fresh berries (strawberries, raspberries, blueberries): Add color, freshness, and a delightful tartness.
* Fruit sauce or compote: A vibrant and flavorful accompaniment.
* Chocolate shavings: For an elegant touch.
- Kitchen Tools:
* 9-inch springform pan: Essential for easy release and presentation.
* Food processor or Ziploc bag and rolling pin: For crushing biscuits uniformly.
* Large mixing bowls (2): One for the crust, one for the filling.
* Electric mixer (handheld or stand mixer): For whipping cream and combining ingredients smoothly.
* Spatula: For scraping bowls and folding.
* Measuring cups and spoons: For accurate ingredient measurement.
Prep Time & Cooking Schedule
The beauty of a no-bake dessert lies in its minimal hands-on time, but don’t underestimate the importance of chilling!
- Prep Time: 20-25 minutes (This includes crushing biscuits, melting butter, and mixing the filling.)
- Resting Time: Minimum 4-6 hours in the refrigerator, preferably overnight. This crucial step allows the cheesecake to set properly, resulting in that firm, sliceable texture we all crave. Patience is key here; rushing the chilling process will lead to a soft, unset cheesecake. Plan ahead to ensure your dessert is perfectly firm when you’re ready to serve.
Step-by-Step Instructions
1. Prepare the Crust:
* Crush the digestive biscuits into fine crumbs using a food processor. If you don’t have one, place them in a Ziploc bag and crush with a rolling pin.
* Melt the unsalted butter and pour it over the biscuit crumbs. Mix thoroughly until all crumbs are coated. It should resemble wet sand.
* Press the mixture firmly and evenly into the bottom of a 9-inch springform pan. You can use the back of a spoon or your knuckles to create a compact base.
* Place the crust in the refrigerator while you prepare the filling.
2. Make the Creamy Filling:
* In a large mixing bowl, using an electric mixer, beat the softened full-fat cream cheese until smooth and creamy, about 2-3 minutes. Scrape down the sides of the bowl as needed.
* Add the granulated sugar and vanilla extract to the cream cheese. Beat until well combined and fluffy, ensuring no sugar crystals remain.
* In a separate, chilled bowl, whip the heavy cream until stiff peaks form. Be careful not to over-whip, as it can turn grainy.
* Gently fold the whipped cream into the cream cheese mixture using a spatula. Be gentle to maintain the airiness of the whipped cream.
* Stir in the optional lemon juice for a brighter flavor. This step significantly enhances the overall profile of your No Bake Cheesecake.
3. Assemble and Chill:
* Pour the creamy filling over the chilled biscuit crust in the springform pan.
* Gently spread the filling evenly with a spatula, ensuring a smooth top.
* Cover the springform pan loosely with plastic wrap and refrigerate for a minimum of 4-6 hours, or ideally, overnight. This extensive chilling period is crucial for achieving a perfectly set and Easy Cheesecake that holds its shape beautifully.
4. Decorate and Serve:
* Once fully chilled, carefully remove the cheesecake from the springform pan. You can run a thin knife around the edge before releasing the sides for a clean finish.
* Decorate with your chosen toppings – fresh berries, a drizzle of fruit sauce, or chocolate shavings. Slice and serve!
Nutritional Benefits & Advantages
Beyond its undeniable deliciousness, a No Bake Cheesecake offers certain advantages. Full-fat cream cheese provides an excellent source of calcium and healthy fats (in moderation), contributing to bone health and satiety. When topped with fresh berries, you’re boosting your intake of antioxidants and essential vitamins like Vitamin C. Moreover, preparing your cheesecake at home gives you complete control over sugar content and ingredient quality, allowing you to opt for natural sweeteners or organic dairy, if desired.
Tips, Variations & Cooking Advice
- Flavor Variations: Experiment with different extracts like almond or peppermint. Swirl in melted chocolate, cookie butter, or fruit purées into the filling for exciting twists.
- Crust Alternatives: Gluten-free digestive biscuits, crushed shortbread cookies, or even pretzel crumbs (for a sweet and salty kick) make excellent crusts.
- Dietary Adaptations: For a dairy-free version, use vegan cream cheese alternatives and coconut cream (chilled overnight) instead of heavy cream. Ensure all other ingredients are dairy-free.
- Portion Control: For individual servings, prepare in small ramekins or dessert glasses.
- Temperature Control: Always ensure your cream cheese is at room temperature for a lump-free, silky smooth filling. Chilled heavy cream is essential for whipping to stiff peaks.
Common Mistakes to Avoid
- Under-Chilling: The most common mistake! An under-chilled cheesecake will be runny and difficult to slice. Always allow ample time for it to set.
- Over-Whipping Cream: Whipped cream that’s over-whipped can become grainy and separate. Stop as soon as stiff peaks form.
- Using Cold Cream Cheese: Cold cream cheese will result in a lumpy filling. Always bring it to room temperature.
- Not Pressing the Crust Firmly: A loose crust can crumble when sliced. Ensure it’s tightly compacted.
Storage & Meal Prep Tips
Your No Bake Cheesecake is an excellent make-ahead dessert!
- Refrigeration: Store leftover cheesecake in an airtight container in the refrigerator for up to 3-4 days. It’s best eaten within 2-3 days for optimal freshness.
- Freezing: Slice the set cheesecake and wrap individual slices tightly in plastic wrap, then aluminum foil. Store in an airtight container in the freezer for up to 1 month. Thaw in the refrigerator overnight before serving. Do not refreeze thawed cheesecake.
Conclusion
There you have it – the ultimate guide to creating a truly spectacular No Bake Cheesecake. This recipe proves that you don’t need an oven to achieve dessert perfection. With its velvety smooth texture, rich flavor, and effortless preparation, this Easy Cheesecake is guaranteed to become a new favorite in your culinary repertoire. We encourage you to try this recipe and delight your taste buds (and your guests!) with its irresistible charm. Don’t forget to share your beautiful creations with us in the comments below!
FAQs
Q1: Can I use low-fat cream cheese?
A: While you can, full-fat cream cheese is highly recommended for the best texture and richness. Low-fat versions may result in a less creamy and sometimes more watery filling.
Q2: How do I prevent the crust from crumbling?
A: Ensure you use enough melted butter to bind the biscuit crumbs properly, and press the mixture firmly and evenly into the pan. Chilling the crust before adding the filling also helps.
Q3: Can I make this cheesecake ahead of time for a party?
A: Absolutely! This cheesecake is perfect for making a day or even two in advance. In fact, an overnight chill significantly improves its firmness and flavor.
Q4: What are some good topping ideas?
A: Beyond berries, consider a drizzle of caramel sauce, a sprinkle of toasted nuts, a light dusting of cocoa powder, or a homemade fruit compote.
Q5: My cheesecake didn’t set. What went wrong?
A: The most common reason is insufficient chilling time. Make sure you allow at least 6 hours, ideally overnight. Also, ensure your cream cheese was full-fat and your heavy cream was whipped to stiff peaks.