Unveiling the Perfect Cheesecake: Your Guide to a Masterpiece
Ever wondered how to create that silky-smooth, divinely rich Cheesecake that rivals any bakery? The secret lies not just in the recipe, but in understanding the delicate balance of ingredients, especially the star, Cream Cheese. Mastering a homemade cheesecake is an incredibly rewarding culinary journey. It’s an opportunity to control every ingredient, ensuring premium quality and tailoring the sweetness and texture to your exact preference. Forget store-bought imitations; preparing this iconic dessert at home allows for a truly personalized experience, resulting in a show-stopping finish that will impress everyone at your table. This comprehensive guide will walk you through every step, transforming you into a cheesecake connoisseur.
Ingredients & Kitchen Tools
To embark on your cheesecake adventure, gather these essentials:
- For the Crust:
* 1 ½ cups Graham cracker crumbs: Adds a delightful buttery, slightly spiced base.
* ¼ cup granulated sugar: Enhances sweetness and helps bind the crumbs.
* 6 tablespoons unsalted butter, melted: Binds the crust and offers a rich flavor.
- For the Filling:
* 32 ounces (four 8-ounce blocks) full-fat Cream Cheese, softened: The undisputed star, providing the signature tangy and creamy texture. Ensure it’s at room temperature for smooth blending.
* 1 ½ cups granulated sugar: Sweetens the filling. Adjust to your desired level.
* 1 teaspoon vanilla extract: Enhances the overall flavor profile.
* ¼ cup all-purpose flour: Helps stabilize the filling and prevents cracking.
* 4 large eggs, at room temperature: Binds the filling and contributes to its rich texture.
* ½ cup sour cream: Adds a subtle tang and moisture, preventing dryness.
- For the Topping (Optional):
* 1 cup sour cream: For a traditional tangy topping.
* 2 tablespoons granulated sugar: Sweetens the sour cream topping.
* ½ teaspoon vanilla extract: Enhances the topping’s flavor.
- Kitchen Tools & Utensils:
* 9-inch springform pan: Essential for easy removal of the cheesecake.
* Large mixing bowls: For separate preparation of crust and filling.
* Electric mixer (stand or hand-held): For efficient blending of the filling.
* Rubber spatula: For scraping down bowls and folding ingredients.
* Measuring cups and spoons: For precise ingredient measurements.
* Aluminum foil: For wrapping the springform pan if using a water bath.
Prep Time & Cooking Schedule
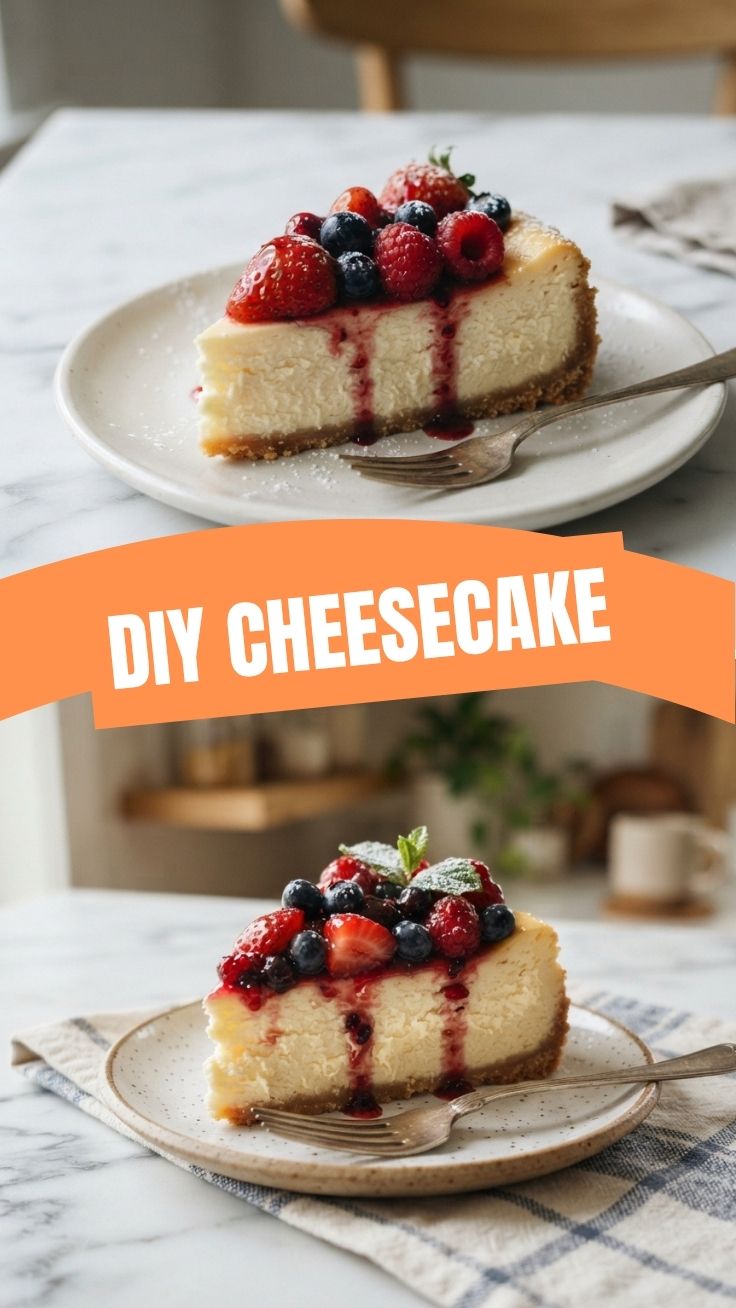
- Prep Time: 30 minutes
- Cook Time: 60-75 minutes
- Cooling Time: 1-2 hours at room temperature
- Chill Time: At least 6-8 hours, preferably overnight
This delicious Cheesecake requires patience, particularly during the cooling and chilling phases. The extended chill time is crucial for the filling to firm up properly and for the flavors to meld, resulting in that iconic smooth texture. Plan to start your cheesecake the day before you intend to serve it for optimal results.
Step-by-Step Instructions
1. Prepare the Crust: Preheat your oven to 350°F (175°C). In a medium bowl, combine graham cracker crumbs, sugar, and melted butter. Press the mixture firmly into the bottom of a 9-inch springform pan. Bake for 8-10 minutes until lightly golden. Let cool.
2. Prepare for Water Bath (Optional but Recommended): If using a water bath (reduces cracking), wrap the bottom and sides of your springform pan tightly with several layers of heavy-duty aluminum foil to prevent water from seeping in.
3. Make the Filling: In a large bowl, using an electric mixer on medium speed, beat the softened Cream Cheese until smooth and creamy, ensuring no lumps remain. Gradually add the granulated sugar, beating until well combined. Scrape down the sides of the bowl.
4. Incorporate Dry and Wet Ingredients: Beat in the vanilla extract, then gradually add the flour, mixing until just combined. Add the eggs one at a time, beating on low speed after each addition until just incorporated. Do not overmix. Gently fold in the sour cream until uniform. Overmixing can introduce too much air, leading to cracks in your ultimate Cheesecake.
5. Assemble and Bake: Pour the finished filling over the cooled crust in the springform pan. If using a water bath, place the springform pan in a larger roasting pan. Carefully pour hot water into the roasting pan until it reaches about halfway up the sides of the springform pan.
6. Bake: Bake for 60-75 minutes, or until the edges are set and lightly golden, but the center still jiggles slightly when gently shaken. This slight jiggle indicates a perfectly cooked cheesecake that will firm up upon cooling.
7. Cooling Process: Turn off the oven, crack the oven door open slightly, and leave the cheesecake inside for 1 hour. This gradual cooling prevents drastic temperature changes and reduces cracking. Remove from the oven and the water bath (if applicable). Let cool completely on a wire rack at room temperature for another 1-2 hours.
8. Chill: Once cooled, cover the cheesecake with plastic wrap and refrigerate for at least 6-8 hours, or preferably overnight.
9. Prepare Topping (Optional): If using, whisk together sour cream, sugar, and vanilla extract until smooth. Spread evenly over the chilled cheesecake, then return to the refrigerator for at least 30 minutes to set.
Nutritional Benefits & Advantages
While a treat, homemade Cheesecake offers some advantages. Using full-fat dairy provides essential calcium and healthy fats. The protein from the eggs contributes to satiety. Furthermore, by making it yourself, you control the quality of ingredients, opting for less processed items and potentially reducing added sugars compared to many store-bought varieties.
Tips, Variations & Cooking Advice
- Flavor Profiles: Experiment with citrus zests (lemon, lime, orange) in the filling. For a chocolate version, melt ½ cup of chocolate and fold it into the batter.
- Crust Alternatives: Instead of graham crackers, try crushed Oreos, shortbread cookies, or even gingersnaps for unique flavor combinations.
- Gluten-Free Option: Use gluten-free graham crackers for the crust.
- Water Bath Benefits: While optional, a water bath creates a moist, even cooking environment, significantly reducing the chances of cracks and ensuring a truly silky texture.
- Don’t Overmix: Overmixing introduces air bubbles that can cause the cheesecake to puff up in the oven and then fall and crack as it cools.
Common Mistakes to Avoid
- Using Cold Ingredients: Cold Cream Cheese and eggs will result in a lumpy batter. Always bring them to room temperature.
- Overbaking: An overbaked cheesecake will be dry and prone to cracking. Look for that slight jiggle in the center.
- Opening the Oven Door Too Early: Drastic temperature changes are a surefire way to cause cracks. Let it cool slowly in the oven.
- Skipping the Chill Time: This step is crucial for the cheesecake to set properly, ensuring a firm, sliceable dessert.
Storage & Meal Prep Tips
Store leftover Cheesecake tightly covered in the refrigerator for up to 5-7 days. For longer storage, individual slices or the whole cheesecake can be frozen for up to 1-2 months. Wrap it tightly in plastic wrap, then a layer of aluminum foil to prevent freezer burn. Thaw in the refrigerator overnight before serving.
Conclusion
Crafting a perfect Cheesecake that boasts a velvety texture and rich flavor is a culinary achievement within your reach. By embracing the nuances of the ingredients, especially the handling of the Cream Cheese, and meticulously following these steps, you’ll create a dessert that will undoubtedly become a household favorite. Don’t be afraid to experiment with flavor variations after you’ve mastered the classic. We encourage you to try this recipe, share your magnificent creations with us, and explore the endless possibilities of homemade desserts on our blog!
FAQs
Q: Why did my cheesecake crack?
A: Common reasons include overbaking, sudden temperature changes during cooling, or overmixing the batter. Ensure ingredients are at room temperature and follow the slow cooling process.
Q: Can I use low-fat Cream Cheese?
A: While possible, full-fat Cream Cheese is highly recommended for the best texture and flavor. Low-fat versions may result in a less creamy and denser cheesecake.
Q: How do I know when the cheesecake is done?
A: The edges should appear set and slightly puffed, while the center (a 2-3 inch diameter) should still jiggle slightly when gently shaken. It will continue to cook and set as it cools.
Q: Can I make this cheesecake ahead of time?
A: Absolutely! In fact, cheesecake benefits from being made a day in advance as it allows the flavors to deepen and the texture to fully set.
Q: What if I don’t have a springform pan?
A: While a springform pan is ideal for easy removal, you can use a regular 9-inch round cake pan lined with parchment paper, leaving an overhang on the sides to lift the cheesecake out.