Unlock Your Inner Chocolatier: The Ultimate Guide to Perfect Fudgy Brownies
Ever wonder what makes a brownie truly perfect? That delicate balance of crackly top, fudgy center, and intense chocolate flavor that transports you back to childhood? While store-bought versions can be tempting, nothing beats the satisfaction and sheer deliciousness of homemade Brownies. Not only do you control the quality of ingredients, but the aroma wafting through your kitchen is an experience in itself. This comprehensive guide will walk you through crafting the ultimate fudgy brownie, transforming you into a dessert hero. We’ll also explore why mastering these Easy Brownie Recipes is a gateway to endless baking joy and a fantastic way to impress friends and family.
Ingredients & Kitchen Tools
Gather your culinary arsenal for brownie perfection:
- Unsalted Butter (1 cup, 2 sticks): The foundation of richness. Unsalted allows you to control the salt content.
- Granulated Sugar (2 cups): For sweetness and that essential crackly crust.
- Large Eggs (4): Binds ingredients, provides structure, and contributes to the fudgy texture.
- Vanilla Extract (2 teaspoons): Enhances chocolate flavor and adds aromatic depth. Pure extract is always best.
- All-Purpose Flour (1 cup): Just enough to hold everything together without making them cakey.
- Unsweetened Cocoa Powder (¾ cup): The key to intense chocolate flavor. Dutch-processed offers a darker color and mellower taste.
- Salt (½ teaspoon): Balances sweetness and deepens chocolate notes. Don’t skip it!
- Chocolate Chips or Chunks (1 cup, optional): For extra gooey pockets of chocolate goodness. Semisweet or dark chocolate is recommended.
- 9×13 inch Baking Pan: A standard size for a generous batch.
- Parchment Paper: Essential for easy removal and cleanup.
- Large Mixing Bowls (2): For wet and dry ingredients.
- Whisk: To combine dry ingredients.
- Rubber Spatula: For folding and scraping.
- Saucepan (Medium): For melting butter and chocolate (if using baking chocolate).
- Oven Mitts: For safe handling of hot pans.
- Wire Rack: For cooling your masterpiece evenly.
Prep Time & Cooking Schedule
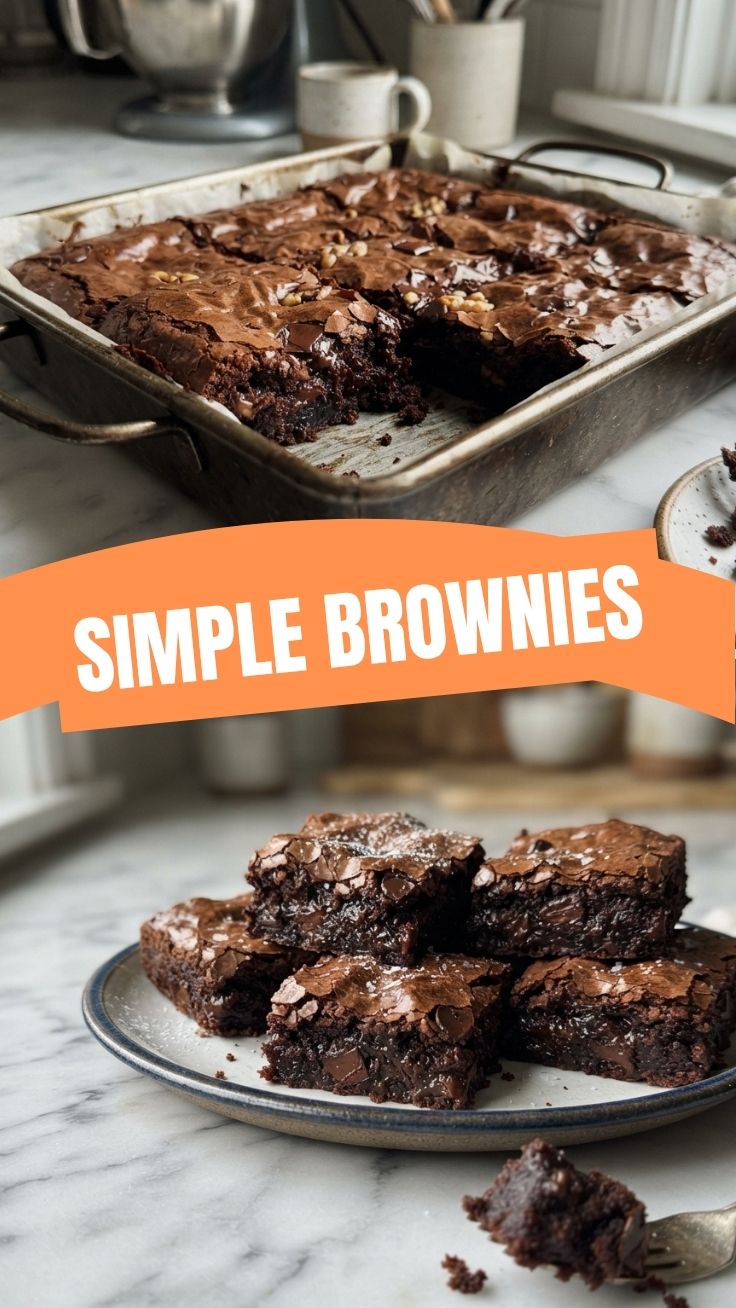
This recipe is surprisingly quick, making it perfect for a last-minute dessert or an impromptu baking session.
- Prep Time: 15 minutes. This includes gathering ingredients and preheating the oven.
- Cook Time: 25-30 minutes. Baking time varies based on your oven and desired fudginess.
- Cooling Time: At least 30 minutes, ideally 1-2 hours. This is crucial for achieving that perfect fudgy texture and clean cuts. Patience is a virtue here!
Step-by-Step Instructions
1. Preheat & Prepare: Preheat your oven to 350°F (175°C). Line a 9×13 inch baking pan with parchment paper, leaving an overhang on the sides to create “handles” for easy removal. Lightly grease the parchment paper for extra non-stick insurance.
2. Melt Butter: In a medium saucepan or microwave-safe bowl, melt the unsalted butter. Ensure it’s fully melted but not boiling.
3. Combine Wet Ingredients: In a large mixing bowl, combine the melted butter and granulated sugar. Whisk thoroughly for about 1-2 minutes until well combined and slightly cooled. This helps dissolve the sugar, contributing to a smoother texture.
4. Add Eggs & Vanilla: Crack the eggs into the butter-sugar mixture, one at a time, incorporating each fully before adding the next. Stir in the vanilla extract. The mixture should become glossy and slightly thickened. This careful integration is key to developing that quintessential rich flavor in your Brownies.
5. Whisk Dry Ingredients: In a separate medium bowl, whisk together the all-purpose flour, unsweetened cocoa powder, and salt. Ensure there are no lumps.
6. Combine Wet & Dry: Gradually add the dry ingredients to the wet ingredients, mixing with a rubber spatula until just combined. Be careful not to overmix, as this can lead to tough brownies. Overmixing develops gluten, which is great for bread, but not for fudgy desserts. If using, gently fold in the chocolate chips or chunks.
7. Bake: Pour the batter evenly into your prepared baking pan. Bake for 25-30 minutes, or until a toothpick inserted into the center comes out with moist crumbs, but not wet batter. Remember, a slightly underbaked brownie leads to a fudgier result. These Easy Brownie Recipes often rely on visual and tactile cues for perfect doneness.
8. Cool: Remove from the oven and let cool completely in the pan on a wire rack. This is arguably the most important step for achieving that ideal fudgy texture. Resist the urge to cut them warm!
Nutritional Benefits & Advantages
While indulging in chocolatey goodness, it’s worth noting some advantages. Cocoa powder, especially unsweetened dark cocoa, is rich in antioxidants called flavonoids, which have been linked to improved heart health. Eggs provide protein and essential vitamins, and butter, in moderation, offers healthy fats. Opting for homemade versions allows you to control sugar levels and avoid artificial ingredients often found in pre-packaged treats.
Tips Variations & Cooking Advice
- Gooey Factor: For extra gooey brownies, reduce the baking time by 2-3 minutes.
- Espresso Powder: Add 1 teaspoon of instant espresso powder to the dry ingredients to subtly enhance the chocolate flavor without making it taste like coffee.
- Nutty Delights: Fold in 1 cup of chopped walnuts or pecans with the chocolate chips for added crunch and flavor.
- Flavor Boosts: Swirl in a few spoonfuls of peanut butter or cream cheese into the batter before baking for unique flavor profiles.
- Dietary Adjustments:
* Gluten-Free: Substitute the all-purpose flour with a 1:1 gluten-free baking blend.
* Dairy-Free: Use plant-based butter and ensure your chocolate chips are dairy-free.
- Brownie Edges: If you love chewy edges, bake in a metal pan. For softer edges, a glass or ceramic pan works well.
Common Mistakes to Avoid
- Overmixing: This is the arch-nemesis of fudgy brownies. Mix only until the flour streaks disappear.
- Overbaking: A dry brownie is a sad brownie. Err on the side of slightly underbaked for maximum fudginess.
- Cutting Warm: As tempting as it is, cutting warm brownies results in a crumbly mess. Patience, young padawan!
- Skimping on Quality Ingredients: Good quality cocoa powder and chocolate make a noticeable difference in flavor.
- Forgetting Salt: Salt is crucial for balancing sweetness and enhancing chocolate.
Storage & Meal Prep Tips
- Room Temperature: Cooled Brownies can be stored in an airtight container at room temperature for up to 3-4 days. Store them in a single layer if possible, or separate layers with parchment paper.
- Refrigeration: While not strictly necessary, refrigerating brownies can extend their freshness and firm up their texture, making them even chewier. They will last up to a week in the fridge. Bring them to room temperature before serving for the best texture.
- Freezing: Brownies freeze beautifully! Cut them into individual squares, wrap them tightly in plastic wrap, and then place them in a freezer-safe bag or container for up to 3 months. Thaw at room temperature for a few hours or gently warm in the microwave.
Conclusion
Crafting perfect fudgy Brownies at home is a rewarding experience, yielding an irresistible dessert that rivals any bakery. By following these detailed steps and incorporating our expert tips, you’ll consistently achieve that coveted crackly top and intensely rich, gooey interior. Remember, the beauty of baking lies in the journey, and mastering these Easy Brownie Recipes is a fantastic stepping stone to further culinary adventures. So, preheat your oven, gather your ingredients, and get ready to bake some magic! Did you try this recipe? Share your results in the comments below – we’d love to see your delicious creations!
FAQs
1. Can I use milk chocolate instead of semisweet or dark chocolate chips?
* While you can, milk chocolate will result in a sweeter, less intense chocolate flavor and a softer texture. For classic fudgy brownies, semisweet or dark chocolate is recommended.
2. My brownies are too dry. What went wrong?
* The most common culprit is overbaking. Keep a close eye on the baking time and remember that residual heat will continue to cook them after they come out of the oven. Your oven temperature might also be slightly off.
3. How can I get that perfect shiny, crackly top?
* Vigorously mixing the sugar and melted butter (and sometimes the eggs) to dissolve the sugar, along with a high sugar-to-flour ratio, contributes to the shiny crust. Ensuring your oven is at the correct temperature also helps.
4. Can I add nuts or other mix-ins to the batter?
* Absolutely! Nuts like walnuts or pecans, dried fruits, or even white chocolate chips make excellent additions. Fold them in gently at the end of the mixing process.
5. How do I adjust this recipe for a smaller pan?
* For an 8×8 inch pan, halve all the ingredients. The baking time will likely be similar or slightly reduced, so start checking for doneness after 20 minutes.