Bake the Best Oatmeal Cookies: Your Ultimate Guide to Chewy Perfection
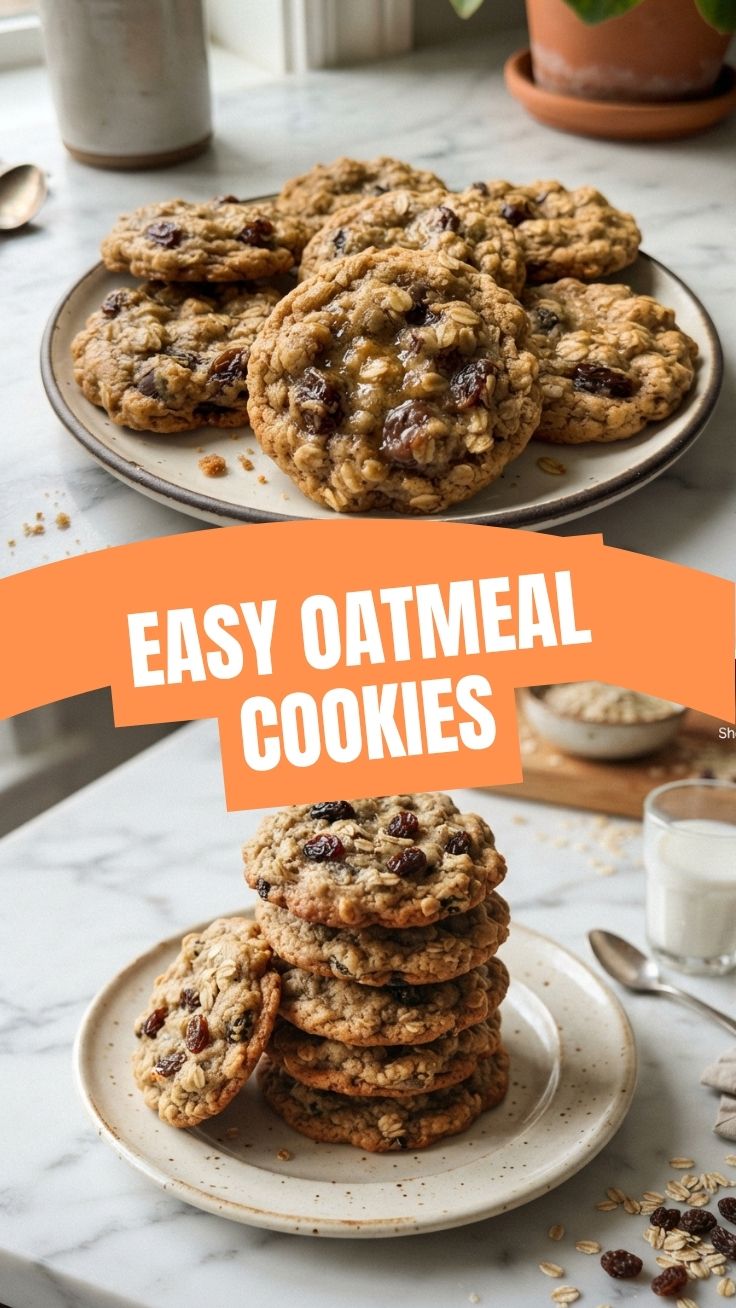
Have you ever craved that warm, comforting, and perfectly chewy Oatmeal Cookies straight from the oven? There’s something undeniably special about homemade baked goods, and when it comes to classic treats, these stand out. Preparing them at home isn’t just about saving money; it’s about infusing love into every bite, controlling the quality of your ingredients, and customizing them to your exact preferences. Forget store-bought cookies that often fall short on flavor and texture. Today, we’re diving deep into crafting the ultimate batch of oatmeal cookies, including those delightful oatmeal raisin cookies, ensuring every crumb is a testament to your culinary prowess. This comprehensive guide will walk you through every step, from selecting the finest ingredients to achieving that ideal balance of crisp edges and a soft, chewy center.
Ingredients & Kitchen Tools
Gathering your mise en place before you start is key to a smooth baking experience.
- 1 cup (2 sticks) Unsalted Butter, softened: Essential for rich flavor and tender texture. Using unsalted allows you to control the salt content.
- 1 cup Packed Light Brown Sugar: Provides moisture and a deep, caramel-like sweetness.
- ½ cup Granulated Sugar: Contributes to crispness and overall sweetness.
- 2 large Eggs: Binds ingredients together and adds richness.
- 1 teaspoon Vanilla Extract: Enhances all the other flavors. Don’t skimp on quality!
- 1 ½ cups All-Purpose Flour: The structural base of your cookies.
- 1 teaspoon Baking Soda: A leavening agent that helps the cookies rise and spread.
- ½ teaspoon Salt: Balances sweetness and amplifies other flavors.
- 3 cups Old-Fashioned Rolled Oats: The star ingredient, providing that signature chewy texture. Avoid instant oats for this recipe.
- Optional Mix-ins (for oatmeal raisin cookies): 1 cup raisins, chocolate chips, chopped nuts, or dried cranberries.
- Mixing Bowls: At least two – one large for wet ingredients, one medium for dry.
- Electric Mixer (stand or hand-held): For creaming butter and sugar efficiently. A whisk can work, but it’s more effort.
- Rubber Spatula: For scraping down bowls and folding ingredients.
- Measuring Cups and Spoons: Accurate measurements are crucial in baking.
- Baking Sheets: Heavy-duty ones prevent burning.
- Parchment Paper or Silicone Baking Mats: For non-stick baking and easy cleanup.
- Wire Cooling Rack: Essential for preventing soggy bottoms by allowing air circulation.
Prep Time & Cooking Schedule
- Prep time: 15 minutes
- Chill time (optional but recommended): 30 minutes to 2 hours
- Cook time: 10-12 minutes per batch
- Yields: Approximately 3 dozen cookies
Allowing the dough to chill is a secret weapon for thicker, chewier Oatmeal Cookies that spread less. If you’re short on time, you can skip it, but for optimal results, a quick chill makes a difference. Plan to bake in batches to avoid overcrowding your baking sheets.
Step-by-Step Instructions
1. Preheat Oven & Prep Pans: Preheat your oven to 375°F (190°C). Line several baking sheets with parchment paper or silicone baking mats.
2. Cream Wet Ingredients: In a large mixing bowl, using an electric mixer, cream together the softened butter, brown sugar, and granulated sugar until light and fluffy (about 2-3 minutes). This incorporates air, which is vital for texture.
3. Add Eggs & Vanilla: Beat in the eggs one at a time, ensuring each is fully incorporated before adding the next. Stir in the vanilla extract until just combined. Don’t overmix at this stage.
4. Combine Dry Ingredients: In a separate medium bowl, whisk together the all-purpose flour, baking soda, and salt.
5. Gradually Add Dry to Wet: With the mixer on low speed, gradually add the dry ingredients to the wet ingredients, mixing until just combined. Be careful not to overmix the dough once flour is added, as this can lead to tough cookies.
6. Fold in Oats & Mix-ins: Stir in the old-fashioned rolled oats until evenly distributed. If you’re making luscious oatmeal raisin cookies, this is the time to fold in your raisins or other preferred mix-ins.
7. Chill Dough (Optional but Recommended): For better texture, cover the bowl with plastic wrap and refrigerate for at least 30 minutes, or up to 2 hours. This helps prevent excessive spreading.
8. Scoop & Bake: Drop rounded tablespoons of dough onto your prepared baking sheets, leaving about 2 inches between each cookie. Bake for 10-12 minutes, or until the edges are golden brown and the centers are still slightly soft.
9. Cool: Let the cookies cool on the baking sheets for 5 minutes before transferring them to a wire rack to cool completely. This prevents them from breaking apart.
Nutritional Benefits & Advantages
Oats are a nutritional powerhouse! These cookies, particularly those made with wholesome ingredients, offer more than just a sweet treat. Old-fashioned rolled oats are an excellent source of dietary fiber, which aids digestion, helps regulate blood sugar, and contributes to a feeling of fullness, potentially assisting with weight management. They also provide essential vitamins and minerals like manganese, phosphorus, magnesium, and zinc. Incorporating raisins into your oatmeal raisin cookies adds a boost of antioxidants and more fiber. While still a dessert, these offer a more nutrient-dense option compared to many other cookie varieties.
Tips, Variations & Cooking Advice
- Crispier vs. Chewier: For crispier cookies, reduce the brown sugar slightly and increase the granulated sugar. For chewier, do the opposite.
- Spice It Up: Add 1 teaspoon of ground cinnamon or a pinch of nutmeg for an extra layer of warmth and flavor.
- Chocolate Lover’s Delight: Swap out some or all of the raisins for chocolate chips (milk, dark, or white chocolate work wonderfully).
- Nutty Crunch: Introduce ½ cup of chopped walnuts or pecans for added texture and a rich, earthy flavor. Toast them lightly before adding for enhanced taste.
- Gluten-Free: Use certified gluten-free rolled oats and a 1:1 gluten-free all-purpose flour blend.
- Dairy-Free: Substitute dairy butter with a plant-based butter alternative.
- Temperature Control: Ensure your oven temperature is accurate. An oven thermometer is a small investment that makes a big difference in baking success.
- Don’t Overbake: Oatmeal cookies are best when they are slightly underbaked in the center, as they will continue to set as they cool.
Common Mistakes to Avoid
- Overmixing the Dough: Once flour is added, mix only until just combined. Overmixing develops the gluten, leading to tough cookies.
- Not Softening Butter Enough (or Too Much): Butter should be softened to room temperature – pliable but not melted. If it’s too cold, it won’t cream properly; if it’s melted, your cookies will spread excessively.
- Overcrowding Baking Sheets: Leave enough space between cookies for even baking and spreading. Overcrowding can lead to unevenly baked cookies and sometimes, them sticking together.
- Baking on Hot Sheets: Always let your baking sheets cool completely between batches. Placing dough on a hot sheet will cause immediate spreading and can result in flat, greasy cookies.
- Using Instant Oats: Instant oats are cut much finer and absorb liquid differently, leading to a different, often inferior, texture in cookies. Stick to old-fashioned rolled oats.
Storage & Meal Prep Tips
- Airtight Container: Once completely cooled, store your Oatmeal Cookies in an airtight container at room temperature for up to 5-7 days.
- Freezing Baked Cookies: For longer storage, freeze baked, cooled cookies in a single layer on a baking sheet until solid, then transfer them to a freezer-safe bag or container. They can be stored for up to 3 months. Thaw at room temperature.
- Freezing Dough: You can also freeze portions of unbaked dough. Scoop dough balls onto a parchment-lined baking sheet and freeze until solid. Transfer to a freezer bag. When ready to bake, place frozen dough balls on a baking sheet and bake at the same temperature, adding a few extra minutes to the baking time. This is excellent for fresh, on-demand cookies!
Conclusion
Crafting the perfect batch of Oatmeal Cookies is a rewarding experience, yielding treats that are far superior to anything you’ll find in a store. From the comforting aroma that fills your kitchen to the delightful chewiness of each bite, homemade oatmeal raisin cookies offer a taste of nostalgia and warmth. By following this comprehensive guide, paying attention to ingredient quality, and avoiding common pitfalls, you’re well on your way to baking success. Don’t hesitate to personalize this recipe with your favorite mix-ins or spices. We encourage you to try this recipe, share your delicious results with us, and explore the endless possibilities of homemade baking!
FAQs
Q1: Can I use quick oats instead of old-fashioned rolled oats?
A: While possible, it’s generally not recommended. Quick oats are cut smaller and absorb liquids faster, which can lead to a different, often less chewy, texture. For the best results, stick to old-fashioned rolled oats.
Q2: My cookies spread too much. What went wrong?
A: Common culprits include butter that was too warm or melted, not chilling the dough sufficiently, or an oven that wasn’t preheated correctly. Ensure your butter is softened but still cool, and consider chilling your dough for at least 30 minutes.
Q3: How do I make these cookies healthier?
A: You can reduce the sugar slightly, substitute a portion of the all-purpose flour with whole wheat flour (up to 1/2 cup), or add more nutritious mix-ins like nuts or seeds. For a natural sweetener boost, honey or maple syrup can partially replace some of the sugar, though it may alter the texture slightly.
Q4: Can I make the dough ahead of time?
A: Absolutely! The dough can be prepared up to 3 days in advance and stored, covered, in the refrigerator. This can actually enhance the flavor and improve the texture of the cookies. You can also freeze scooped dough balls for up to 3 months.
Q5: What’s the best way to get uniformly sized cookies?
A: Using a cookie scoop (available in various sizes) is the easiest way to ensure all your cookies are the same size, which promotes even baking.