Craving the Perfect Crumb? Unlock the Secret to Irresistible Homemade Chocolate Chip Cookies!
Have you ever wondered what makes a Chocolate Chip Cookie Recipe truly sublime? It’s that perfect balance of crispy edges, a chewy center, and an abundance of melty chocolate. While store-bought versions offer convenience, there’s an incomparable joy and satisfaction that comes from baking your own batch of Chocolate Chip Cookies from scratch. Beyond the incredible aroma that fills your kitchen, mastering this classic not only provides a delicious treat but also a comforting, rewarding experience that connects you to the heart of home cooking. This guide will help you achieve baking perfection, transforming simple ingredients into extraordinary cookies.
Ingredients & Kitchen Tools
To embark on your journey to cookie bliss, gather the following:
- All-Purpose Flour (2 ¼ cups): The structural backbone of your cookies. You can substitute with a 1:1 gluten-free baking flour for a GF variant.
- Baking Soda (1 teaspoon): The leavening agent that helps the cookies rise and brown.
- Salt (1 teaspoon): Enhances all the flavors, balancing the sweetness.
- Unsalted Butter (1 cup, 2 sticks, softened): Provides richness and tenderness. Using unsalted allows you to control the salt content.
- Granulated Sugar (¾ cup): Contributes to crispness and sweetness.
- Packed Light Brown Sugar (¾ cup): Adds moisture, chewiness, and a delightful caramel note.
- Large Eggs (2, room temperature): Binds ingredients and adds moisture. Room temperature eggs emulsify better with butter and sugar.
- Vanilla Extract (2 teaspoons): A flavor cornerstone, elevating the overall taste. Use high-quality pure vanilla for best results.
- Chocolate Chips (2 cups, semi-sweet or your preference): The star of the show! Use a good brand for superior melt and flavor. Chocolate chunks also work wonderfully.
Kitchen Tools:
- Large Mixing Bowls (2): For dry and wet ingredients.
- Electric Mixer (stand or hand-held): Essential for creaming butter and sugars.
- Rubber Spatula: For scraping bowls and folding ingredients.
- Measuring Cups and Spoons: Accurate measures are crucial in baking.
- Baking Sheets: Preferably light-colored to prevent over-browning.
- Parchment Paper or Silicone Baking Mats: Prevents sticking and ensures even baking.
- Wire Rack: For cooling cookies.
- Cookie Scoop (optional, but recommended): Ensures uniform cookie size for even baking.
Prep Time & Cooking Schedule
- Prep Time: 15 minutes
- Chill Time: 30 minutes (minimum) to 24 hours (for best results)
- Cook Time: 9-12 minutes per batch
- Resting Time: 5 minutes on the baking sheet, then transfer to a wire rack for complete cooling.
The chilling time is crucial for developing flavor and preventing the cookies from spreading too much. Plan to chill for at least 30 minutes, but an overnight chill truly deepens the flavors, making for a richer, more complex cookie.
Step-by-Step Instructions
1. Preheat & Prep: Preheat your oven to 375°F (190°C). Line baking sheets with parchment paper or silicone baking mats.
2. Combine Dry Ingredients: In a medium bowl, whisk together the flour, baking soda, and salt. Set aside.
3. Cream Butter & Sugars: In a large bowl, using an electric mixer, cream together the softened unsalted butter, granulated sugar, and packed light brown sugar on medium speed until light and fluffy (2-3 minutes). This aeration is key for a tender crumb.
4. Add Eggs & Vanilla: Beat in the large eggs one at a time, mixing well after each addition. Stir in the vanilla extract until just combined.
5. Gradually Add Dry to Wet: Gradually add the dry ingredient mixture to the wet ingredients, mixing on low speed until just combined. Be careful not to overmix, as this can lead to tough cookies.
6. Fold in Chocolate Chips: Stir in the chocolate chips with a rubber spatula until evenly distributed. This step is where your Chocolate Chip Cookies truly begin to take shape!
7. Chill the Dough: Cover the bowl with plastic wrap and refrigerate the dough for at least 30 minutes. If chilling longer, allow it to sit at room temperature for a few minutes before scooping.
8. Scoop & Bake: Drop rounded tablespoons (or use a cookie scoop) of dough onto the prepared baking sheets, leaving about 2 inches between each.
9. Bake: Bake for 9-12 minutes, or until the edges are golden brown and the centers are set but still slightly soft. For the ultimate Chocolate Chip Cookie Recipe, watch for that perfect golden hue without over-baking!
10. Cool: Let the cookies cool on the baking sheets for 5 minutes before transferring them to a wire rack to cool completely.
Nutritional Benefits & Advantages
While Chocolate Chip Cookies are an indulgence, they do offer some surprising benefits. Dark chocolate, in particular, contains antioxidants and can contribute to mood elevation. Whole wheat flour can be substituted for a portion of the all-purpose flour to increase fiber content. The eggs provide protein, and butter (in moderation) offers fat-soluble vitamins. Enjoyed mindfully, these cookies can be a comforting and delightful part of a balanced diet.
Tips, Variations & Cooking Advice
- Brown Butter: For a deeper, nutty flavor, brown your butter before creaming. Allow it to cool slightly before proceeding with the recipe.
- Chocolate Mix: Use a combination of semi-sweet, milk, and dark chocolate chips or chunks for a more complex chocolate experience.
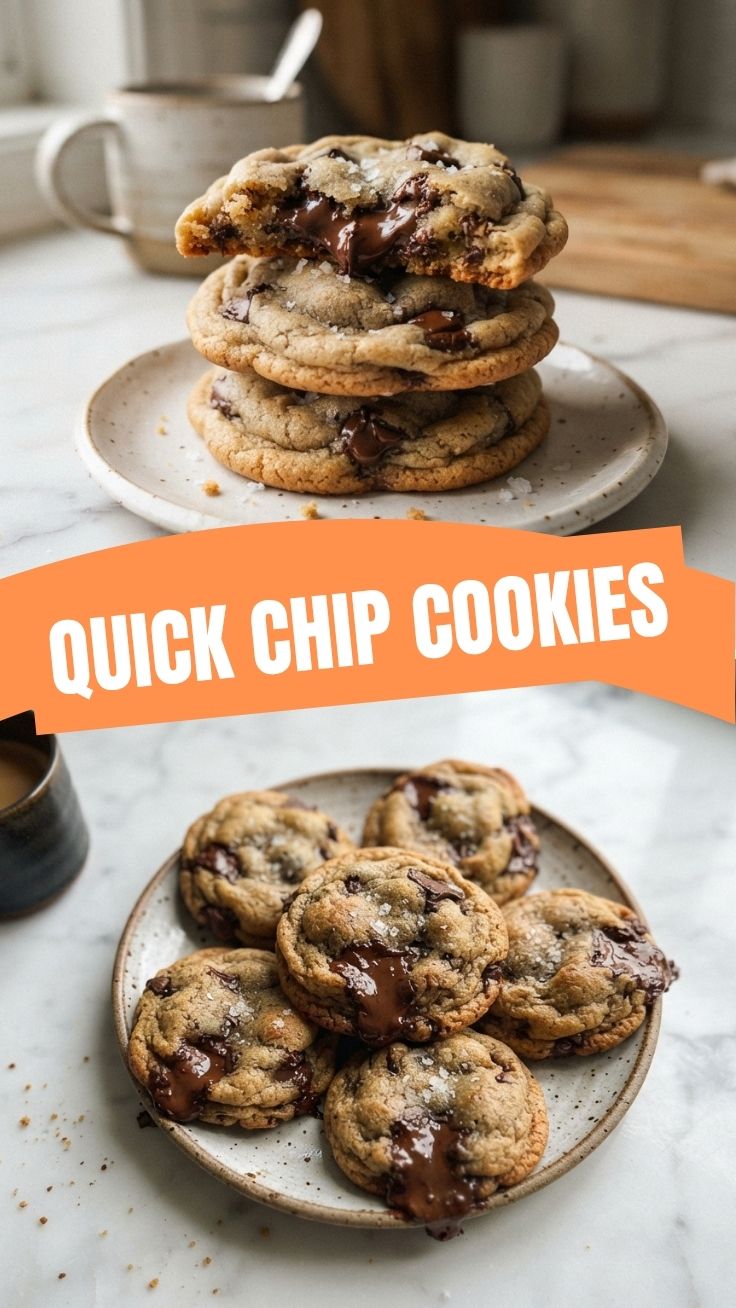
- Flaky Sea Salt: Sprinkle a touch of flaky sea salt on top of the cookies before baking to enhance the sweetness and add a gourmet touch.
- Nutty Additions: Fold in chopped walnuts, pecans, or almonds for added crunch and flavor.
- Gluten-Free: Use a 1:1 gluten-free flour blend.
- Smaller/Larger Cookies: Adjust baking time accordingly. Smaller cookies need less time, larger cookies more.
- Underbaked Center: For super chewy centers, slightly underbake the cookies.
Common Mistakes to Avoid
- Overmixing: Overmixing flour develops gluten, leading to tough, cake-like cookies. Mix until just combined.
- Warm Butter: Using melted or overly soft butter can lead to flat, greasy cookies. Ensure your butter is softened but still cool to the touch.
- Not Chilling Dough: Skipping the chilling step often results in cookies that spread too much. Chilling solidifies the fat, preventing excessive spread.
- Crowding the Baking Sheet: Give cookies enough space to spread (about 2 inches apart) to ensure even baking and browning.
- Oven Temperature Fluctuations: Use an oven thermometer to ensure your oven is at the correct temperature. Inaccurate temperatures can lead to burnt or undercooked cookies.
Storage & Meal Prep Tips
Store leftover Chocolate Chip Cookies in an airtight container at room temperature for up to 3-4 days. To maintain freshness, you can place a slice of bread in the container with them – the cookies will absorb moisture from the bread, keeping them soft. For longer storage, freeze baked cookies in a freezer-safe bag or container for up to 3 months. Thaw at room temperature or warm briefly in the oven for a “freshly baked” feel. You can also freeze raw cookie dough balls; place them on a parchment-lined baking sheet until frozen solid, then transfer to a freezer-safe bag. Bake from frozen, adding an extra minute or two to the baking time.
Conclusion
Creating the perfect batch of Chocolate Chip Cookies is a delightful and rewarding experience that goes beyond just a sweet treat – it’s about crafting moments of joy for yourself and your loved ones. By following this comprehensive guide, anyone can master this classic Chocolate Chip Cookie Recipe. Don’t hesitate to dive into your kitchen, preheat your oven, and whip up a batch. Share your baking triumphs with us, and let’s celebrate the magic of homemade goodness together!
FAQs
Q1: Why are my cookies flat and greasy?
A1: This usually happens if your butter was too warm or melted when you creamed it, or if your oven wasn’t hot enough. Ensure butter is softened but still cool, and verify oven temperature with a thermometer.
Q2: Can I use different types of sugar?
A2: Yes, but it will change the texture. Using more granulated sugar will result in crispier cookies, while more brown sugar will yield chewier, more moist cookies. The ¾ cup of each is a balanced approach.
Q3: How long can I chill the dough?
A3: You can chill the dough for a minimum of 30 minutes up to 72 hours. Longer chilling times (24-48 hours) allow flavors to meld and result in a richer, more complex cookie.
Q4: My cookies are too crumbly. What went wrong?
A4: Crumbly cookies can be a sign of too much flour or insufficient moisture. Ensure you’re measuring flour correctly (spoon and level, don’t scoop directly from the bag), and that your eggs are at room temperature.
Q5: Can I make these without an electric mixer?
A5: Yes, you can. Use a whisk and a sturdy spatula. It will require more effort and arm strength to properly cream the butter and sugars, but it’s entirely possible!