Unleash the Golden Goodness: Your Ultimate Guide to Perfect Cornbread
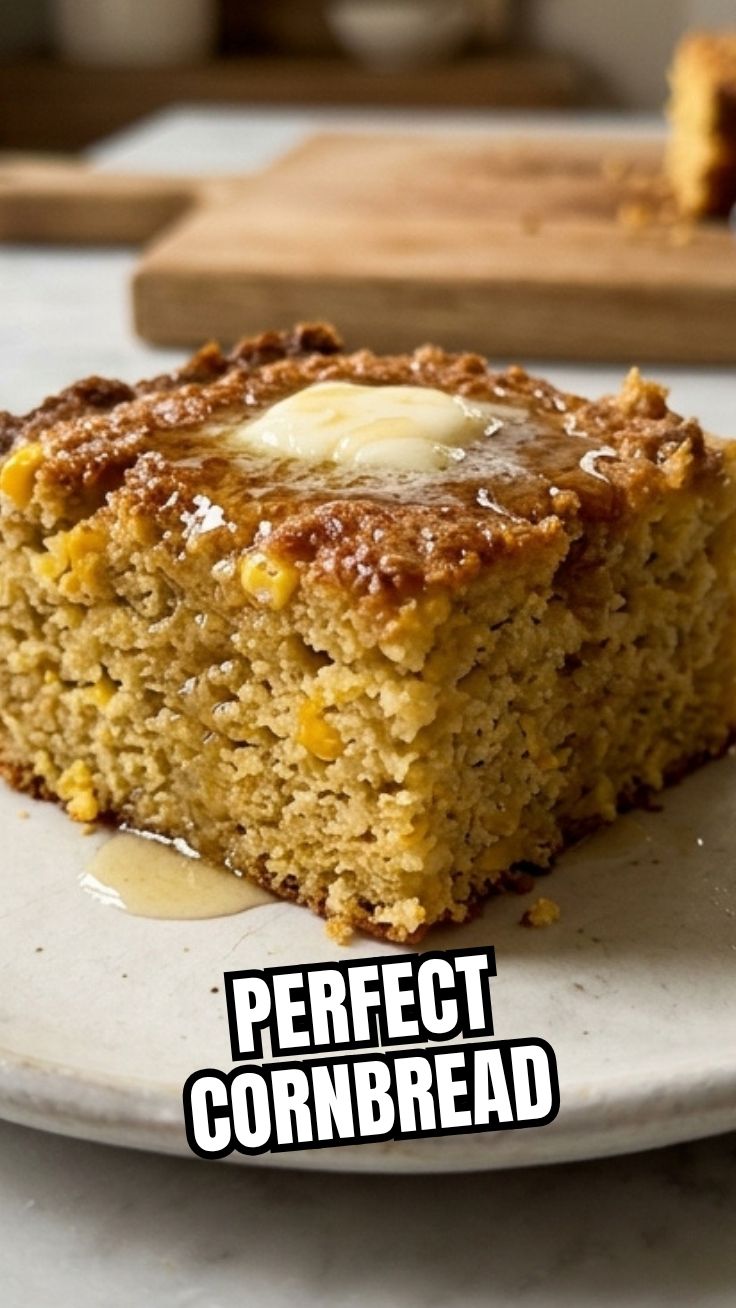
Ever wondered what makes a truly exceptional Cornbread? That perfect balance between a crisp, golden crust and a moist, tender crumb? It’s a culinary quest many embark on, and today, we’re sharing the secrets to achieving just that. While store-bought options offer convenience, there’s an unparalleled satisfaction and superior flavor that comes from baking your own. Embracing the warmth and tradition of Homemade cornbread transforms a simple side dish into a testament to home cooking. This isn’t just about following a recipe; it’s about creating a comforting staple that elevates any meal, from chili night to a Sunday roast. Get ready to master the art of this beloved classic.
Ingredients & Kitchen Tools
To embark on your Cornbread journey, gather these essentials:
- 1 ½ cups all-purpose flour: Provides structure. For gluten-free, use a 1:1 gluten-free baking blend.
- 1 cup yellow cornmeal: The star of the show, gives the characteristic texture and flavor. Opt for fine or medium grind.
- ½ cup granulated sugar: Adds a touch of sweetness to balance the savory notes. Adjust to your preference.
- 1 tablespoon baking powder: Leavening agent for a light, fluffy texture.
- ½ teaspoon baking soda: Reacts with buttermilk for extra rise and tenderness.
- ½ teaspoon salt: Enhances all flavors.
- 1 ½ cups buttermilk: Key for moistness and tang. If you don’t have buttermilk, add 1 tablespoon of lemon juice or white vinegar to regular milk and let it sit for 5 minutes.
- ½ cup melted unsalted butter: Adds richness and flavor. Can substitute with melted coconut oil for dairy-free.
- 2 large eggs: Binds ingredients and adds moisture.
- Optional add-ins: 1 cup shredded cheddar cheese, ¼ cup chopped jalapeños, or ½ cup cooked crumbled bacon for extra flavor.
Kitchen Tools:
- 9-inch cast-iron skillet or 8×8 inch baking dish: Essential for that perfect golden crust.
- Large mixing bowl: For combining dry ingredients.
- Medium mixing bowl: For wet ingredients.
- Whisk: To ensure all dry ingredients are well combined.
- Rubber spatula: For mixing and scraping down the bowl.
- Measuring cups and spoons: For precise ingredient measurements.
Prep Time & Cooking Schedule
- Prep Time: 15 minutes
- Cook Time: 20-25 minutes
- Resting Time: 10 minutes (allows the cornbread to set and cool slightly before slicing, preventing crumbling)
This quick prep and cook time makes this an ideal recipe for a weeknight dinner or last-minute potluck contribution. Plan to start approximately 45-50 minutes before you want to serve it.
Step-by-Step Instructions
1. Preheat Oven & Prepare Pan: Preheat your oven to 400°F (200°C). If using a cast-iron skillet, place it in the oven while it preheats with 2 tablespoons of butter or oil for a super crispy crust. If using a baking dish, grease it well.
2. Combine Dry Ingredients: In a large bowl, whisk together the flour, cornmeal, sugar, baking powder, baking soda, and salt. Ensure there are no lumps.
3. Combine Wet Ingredients: In a separate medium bowl, whisk together the buttermilk, melted butter, and eggs until well combined.
4. Combine Wet and Dry: Pour the wet ingredients into the dry ingredients. Mix until just combined. Be careful not to overmix, as this can lead to tough Cornbread. A few small lumps are perfectly fine. If using optional add-ins, gently fold them in now.
5. Bake: Carefully remove the hot cast-iron skillet from the oven (if using). Pour the batter into the hot skillet or prepared baking dish. Spread evenly.
6. Baking Time: Bake for 20-25 minutes, or until a wooden skewer inserted into the center comes out clean and the top is golden brown.
7. Cool: Let the Homemade cornbread cool in the pan for at least 10 minutes before slicing and serving. This allows it to set and prevents it from falling apart.
Nutritional Benefits & Advantages
This Cornbread offers more than just comfort. Cornmeal itself is a good source of fiber, which aids digestion and promotes gut health. It also contains essential minerals like iron, magnesium, and phosphorus. When made with buttermilk, you get a dose of calcium and probiotics, beneficial for bone health and gut flora. While it does contain some sugar and butter, in moderation, it can be part of a balanced diet. The ability to control ingredients when making Homemade cornbread allows you to manage sodium levels and choose high-quality fats.
Tips, Variations & Cooking Advice
- Flavor Boost: For a richer flavor, brown the butter before adding it to the wet ingredients.
- Sweetness Levels: Adjust the sugar content to your preference. For a more savory cornbread, reduce sugar to ¼ cup or omit entirely.
- Herbaceous Twist: Add 1-2 tablespoons of finely chopped fresh herbs like chives, rosemary, or thyme to the batter.
- Spice It Up: Incorporate a pinch of cayenne pepper or a dash of hot sauce into the batter for a kick.
- Gluten-Free: As mentioned, a 1:1 gluten-free baking flour blend can be used. Ensure your cornmeal is certified gluten-free.
- Dairy-Free: Use your preferred plant-based milk + lemon juice/vinegar for buttermilk, and coconut oil or a dairy-free butter alternative.
- Scone-like texture: For a denser, more biscuit-like texture, use slightly less buttermilk (around 1 ¼ cups).
Common Mistakes to Avoid
- Overmixing: This develops the gluten in the flour, resulting in a tough and chewy texture. Mix just until ingredients are combined.
- Under-greasing the pan: Leads to sticking and a messy removal. Be generous with butter or oil.
- Not preheating the skillet: A hot skillet is crucial for that desirable crispy crust. Don’t skip this step if using cast iron.
- Cutting too soon: Resist the urge to slice immediately. Letting it cool for 10 minutes helps it set and maintains its integrity.
- Incorrect oven temperature: An oven that’s too cool will dry out the cornbread, while one too hot can burn the outside before the inside cooks. Use an oven thermometer if unsure.
Storage & Meal Prep Tips
Leftover Cornbread can be stored at room temperature in an airtight container for up to 2-3 days. For longer storage, refrigerate for up to a week. To freeze, wrap individual slices tightly in plastic wrap and then in foil. It can be frozen for up to 3 months. Thaw in the refrigerator overnight and reheat gently in the microwave, oven, or a dry skillet until warmed through. Reheating in a skillet can help bring back some crustiness. It makes an excellent addition to meal prep, serving as a versatile side for various dishes.
Conclusion
There you have it – your definitive guide to crafting the perfect Cornbread. From selecting the right ingredients to mastering the baking process, we’ve covered all the bases. The joy of pulling a warm, golden loaf of Homemade cornbread from the oven is unmatched, and the taste is a testament to the simple pleasures of home cooking. We encourage you to try this recipe, experiment with the variations, and make it your own. Share your delicious results in the comments below, or tell us your favorite way to enjoy this timeless classic!
FAQs
Q1: Can I use white cornmeal instead of yellow?
A1: Yes, white cornmeal can be used. The color will be lighter, and the flavor might be slightly milder, but the texture will be similar.
Q2: My cornbread came out dry. What went wrong?
A2: Dry cornbread is often a result of overbaking or overmixing. Ensure you bake it only until a skewer comes out clean, and mix the batter just until combined.
Q3: Can I make this with whole wheat flour?
A3: While possible, substituting entirely with whole wheat flour can result in a denser texture. For best results, use a 50/50 mix of all-purpose and whole wheat flour.
Q4: How can I make my cornbread sweeter?
A4: You can increase the granulated sugar up to ¾ cup or add 2-3 tablespoons of honey or maple syrup to the wet ingredients.
Q5: What’s the best way to serve cornbread?
A5: Cornbread is incredibly versatile! It’s fantastic with chili, soups, stews, pulled pork, or simply enjoyed on its own with extra butter and a drizzle of honey.