Unlock the True Flavor of Summer: Your Guide to Homemade Blackberry Jam
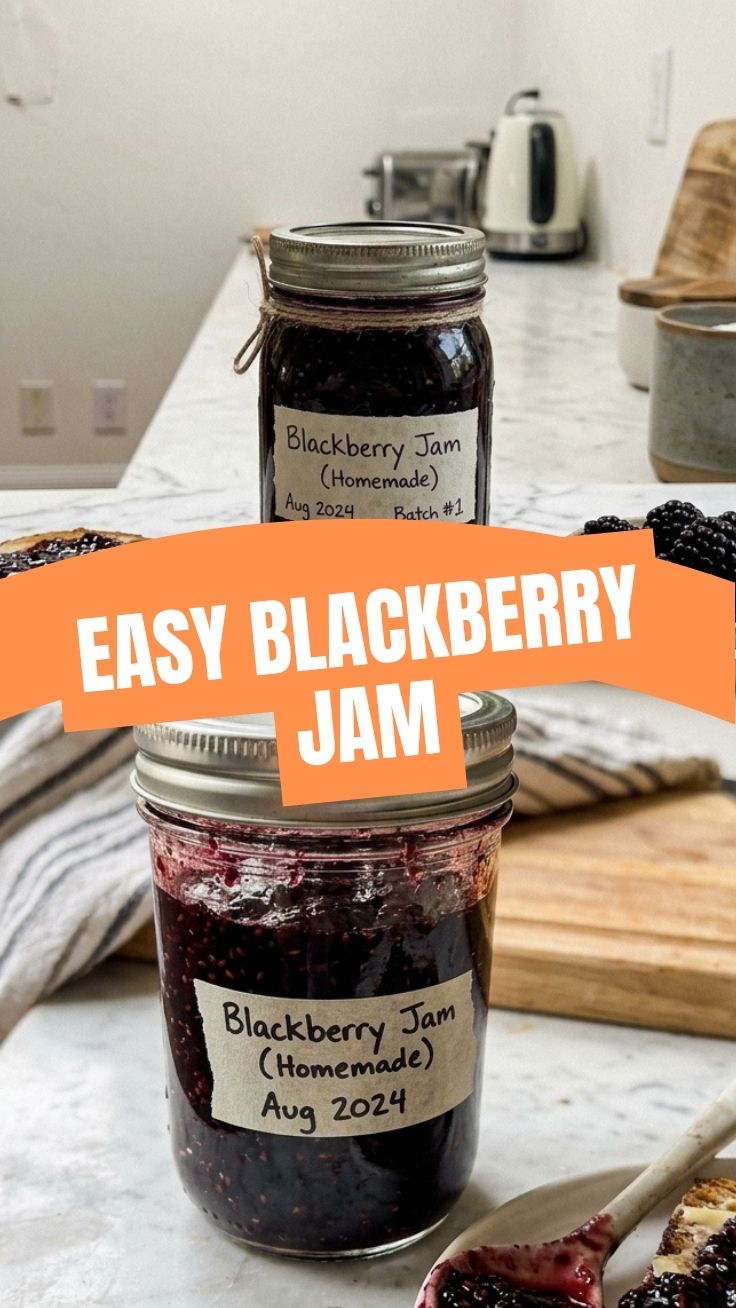
Ever wondered what transforms a humble blackberry into a spoonful of pure sunshine? It’s the magic of Blackberry Jam (Homemade)! Forget store-bought preserves; crafting your own allows you to control the sweetness, embrace the vibrant, natural tang, and infuse every jar with a touch of personal culinary artistry. There’s an undeniable satisfaction in seeing those glistening berries transform into a rich, luscious spread. This journey into creating a superb Blackberry preserves recipe isn’t just about food; it’s about connecting with ingredients and savoring the fruits of your labor, quite literally. Let’s dive in and elevate your breakfast game!
Ingredients & Kitchen Tools
Gather your bounty and your gear! Precision and quality ingredients are key for the best jam.
- Fresh Blackberries (6 cups): Ripe, plump, and free from mold. Can use frozen (unthawed) if fresh are unavailable.
- Granulated Sugar (4-5 cups): Adjust to your sweetness preference; less sugar means a tarter jam. Essential for preserving and setting.
- Lemon Juice (¼ cup, freshly squeezed): High acidity helps the pectin set and brightens the berry flavor.
- Pectin (1 packet, standard 1.75 oz/50g box): Natural gelling agent found in fruits. Ensures proper jam consistency and reduces cooking time. (Optional, but recommended for a consistent set).
- Large, Heavy-Bottomed Pot (e.g., Dutch oven): Prevents scorching and provides even heat distribution.
- Potato Masher or Stick Blender: For desired jam texture – chunky or smooth.
- Ladle: For transferring hot jam.
- Sterilized Jars with Lids (4-5 half-pint jars): Essential for safe canning and storage.
- Jar Lifter, Canning Funnel, Bubble Remover/Headspace Tool: For easy and safe canning.
- Water Bath Canner (optional, but recommended for shelf stability): Creates a vacuum seal for long-term storage.
Prep Time & Cooking Schedule
- Prep Time: 20 minutes (Washing berries, sterilizing jars)
- Cook Time: 25-35 minutes (Simmering, thickening)
- Resting Time: 24 hours (For jam to fully set after jarring)
Allow ample time for the berries to break down and for the jam to reach its ideal consistency. Sterilizing jars takes about 10 minutes, so get that started while you work on the berries.
Step-by-Step Instructions
Crafting the perfect jam is a labor of love, but it’s incredibly rewarding. Follow these steps for an exquisite Blackberry Jam (Homemade).
1. Prepare Jars: Wash jars and lids thoroughly in hot, soapy water. Place jars in a large pot and cover with water. Bring to a boil and simmer for 10 minutes to sterilize. Keep jars hot until ready to fill. Set lids aside in hot (not boiling) water.
2. Combine Berries & Lemon Juice: In your heavy-bottomed pot, combine the washed blackberries and lemon juice. Bring to a boil over medium-high heat, stirring frequently.
3. Mash Berries: Once boiling, reduce heat slightly and simmer for 5-7 minutes, mashing the berries with a potato masher to release their juices. For a smoother jam, use a stick blender sparingly.
4. Add Sugar & Pectin: Gradually stir in the granulated sugar. If using pectin, sprinkle it over the fruit mixture and stir well until fully dissolved.
5. Boil & Thicken: Increase heat to medium-high and bring the mixture to a rolling boil that cannot be stirred down. Boil vigorously for 5-10 minutes, stirring constantly to prevent scorching. For a thicker Blackberry preserves recipe, aim for the setting point (see tip below).
6. Test for Set: To check if the jam is set, drop a small spoonful onto a chilled plate. After a minute in the freezer, push the jam with your finger. If it wrinkles, it’s ready. If not, continue boiling for a few more minutes and retest.
7. Fill Jars: Carefully ladle the hot jam into the sterilized jars, leaving ¼ inch headspace. Remove any air bubbles with a bubble remover tool. Wipe jar rims clean. Center lids on jars and screw bands on until fingertip-tight.
8. Process (Optional for Shelf Stability): If canning for shelf-stable storage, place filled jars in the water bath canner. Ensure jars are covered by at least 1 inch of water. Bring to a boil and process for 10 minutes (adjust for altitude).
9. Cool & Store: Remove jars from the canner and cool on a wire rack for 24 hours. Check for seals (lids should be concave). Unsealed jars should be refrigerated and consumed within a few weeks. Sealed jars can be stored in a cool, dark place for up to one year.
Nutritional Benefits & Advantages
Blackberries are nutritional powerhouses! This homemade jam provides a good source of Vitamin C and Vitamin K, boosting your immune system and supporting bone health. The high fiber content in blackberries also promotes digestive health. While sugar content is present, you’re avoiding artificial colors, preservatives, and high-fructose corn syrup often found in commercial jams. It’s a taste of summer packed with antioxidants!
Tips, Variations & Cooking Advice
- Spice It Up: Add a pinch of cinnamon, a star anise pod during cooking, or a tiny splash of vanilla extract at the end for an interesting twist.
- Seedless Option: For a completely smooth, seedless jam, press the cooked blackberry pulp through a fine-mesh sieve after mashing but before adding sugar. You’ll lose some fiber, but gain a silky texture.
- Less Sugar: If you prefer a tarter jam, you can reduce the sugar to 4 cups, especially if your berries are very sweet. Keep in mind, sugar aids in preservation and gelling.
- Low-Sugar Pectin: For a significantly less sugary jam, use a specific “low-sugar” or “no-sugar” pectin, following its package instructions.
- Fruit Combinations: Blackberries pair beautifully with raspberries, mulberries, or even a hint of peach. Experiment with a 1:1 ratio alongside the blackberries.
Common Mistakes to Avoid
- Not Sterilizing Jars Properly: This is crucial for food safety and preventing spoilage. Don’t skip this step!
- Not Stirring Enough: The jam can easily scorch on the bottom, leading to a burnt flavor. Keep it moving, especially once sugar is added.
- Overcooking/Undercooking: Overcooking can lead to a very stiff, hard jam. Undercooking results in a runny jam. Use the cold plate test religiously.
- Ignoring Headspace: Too little headspace can cause lids to buckle; too much can prevent a proper seal. Stick to ¼ inch.
Storage & Meal Prep Tips
Properly sealed jars of Blackberry Jam (Homemade) can be stored in a cool, dark pantry for up to one year. Once opened, or if a jar doesn’t seal, refrigerate and consume within 2-3 weeks. This jam is perfect for spreading on toast, scones, or pancakes. It also makes a fantastic filling for pastries, a glaze for pork, or a swirl in your morning yogurt. Making a big batch means you have delicious, homemade gifts for friends and family ready to go!
Conclusion
Creating your own Blackberry Jam (Homemade) is more than just a recipe; it’s an art form that rewards you with incredible flavor and a sense of accomplishment. Each jar captures the essence of summer, offering a vibrant burst of fruitiness to brighten any day. We hope this guide empowers you to master this delightful Blackberry preserves recipe. Don’t hesitate to share your jam-making adventures in the comments below! What memories will you create with your homemade spread?
FAQs
Q1: My jam didn’t set. What went wrong?
A1: This is a common issue! It’s usually due to undercooking (not reaching the gelling point), insufficient pectin, or too much liquid. You can re-boil the jam with additional pectin, following package directions for “fixing” runny jam.
Q2: Can I use frozen blackberries instead of fresh?
A2: Absolutely! Thaw them completely before starting and drain any excess liquid. You might find the cook time slightly longer to achieve the right consistency.
Q3: How do I know if my jars have sealed properly?
A3: After 12-24 hours of cooling, the lid should be concave (curved inwards). You should not be able to press down on the center of the lid. If it moves, it’s not sealed and needs to be refrigerated.
Q4: Is it necessary to use pectin?
A4: Not strictly necessary, as blackberries do contain some natural pectin. However, adding commercial pectin ensures a consistent set, reduces cooking time, and preserves more of the fresh fruit flavor and color. Without it, you’ll need to cook the jam longer, potentially resulting in a darker color and more caramelized flavor.