The Ultimate Homemade Apple Crisp: A Cozy & Flavorful Delight
Tired of store-bought desserts that lack that homemade touch? Imagine sinking your teeth into a warm, comforting Apple Crisp, bursting with juicy, spiced apples and topped with a glorious, buttery oat crumble. Making this classic dessert from scratch isn’t just about saving money; it’s about crafting pure satisfaction and filling your home with an irresistible aroma. Unlike a traditional Apple pie, the crisp offers a less daunting, yet equally delicious, baking experience, perfect for both novice and experienced bakers.
Ingredients & Kitchen Tools
Crafting the perfect Apple Crisp requires a few essential items.
- For the Apple Filling:
* 6-8 medium baking apples (Honeycrisp, Granny Smith, Fuji): Choose varieties that hold their shape and provide a good balance of sweet and tart.
* 1/2 cup granulated sugar: Sweetens the apples.
* 1/4 cup packed light brown sugar: Adds a deeper, caramel-like sweetness.
* 1 tablespoon all-purpose flour (or cornstarch): Thickens the filling slightly.
* 1 teaspoon ground cinnamon: The quintessential apple spice.
* 1/4 teaspoon ground nutmeg: Adds warmth and depth.
* Pinch of salt: Enhances all the flavors.
* 1 tablespoon fresh lemon juice: Prevents browning and brightens the apple flavor.
* 2 tablespoons unsalted butter, cubed: Melts into the apples for richness.
- For the Crisp Topping:
* 1 cup old-fashioned rolled oats: Provides the signature texture. (Avoid instant oats.)
* 1/2 cup all-purpose flour: Binds the topping.
* 1/2 cup packed light brown sugar: For sweetness and a chewy texture.
* 1/4 teaspoon ground cinnamon: Echoes the apple spices.
* Pinch of salt: Balances sweetness.
* 1/2 cup (1 stick) unsalted butter, cold and cubed: Creates a tender, crumbly topping.
- Kitchen Tools:
* 9×13 inch baking dish: The ideal size for this recipe.
* Large mixing bowls: For preparing filling and topping separately.
* Vegetable peeler: For preparing apples.
* Sharp knife & cutting board: For slicing apples.
* Pastry blender or your fingertips: For cutting butter into the crisp topping.
* Measuring cups and spoons: For accurate ingredient measurement.
Prep Time & Cooking Schedule
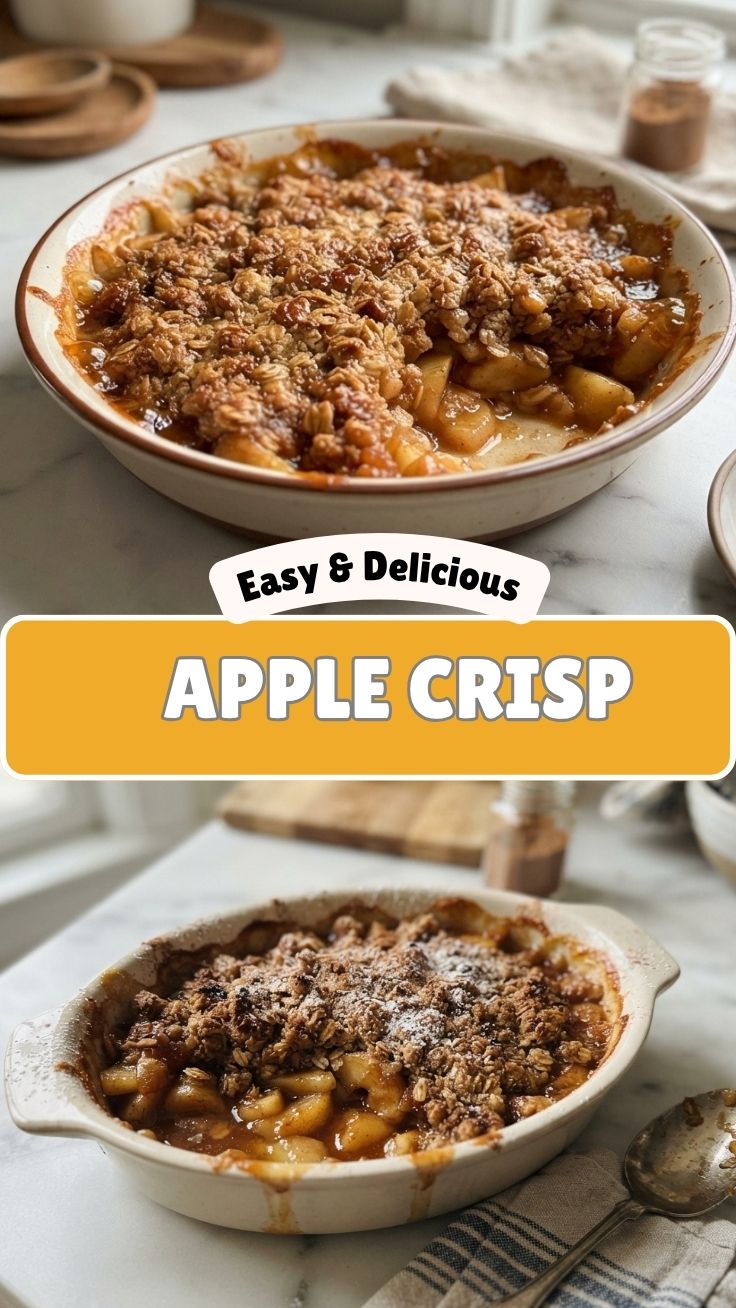
- Prep Time: 25 minutes
- Cook Time: 45-55 minutes
- Resting Time: 15 minutes
This recipe is perfect for a weekend baking project or a delightful weeknight dessert. The resting time after baking is crucial — it allows the filling to set and prevents a watery crisp. Plan to serve it slightly warm for the best experience.
Step-by-Step Instructions
1. Preheat & Prep Apples: Preheat your oven to 375°F (190°C). Peel, core, and slice your apples into roughly 1/4-inch thick slices. This consistent size ensures even cooking.
2. Make the Filling: In a large bowl, combine the sliced apples, granulated sugar, brown sugar, flour, cinnamon, nutmeg, salt, and lemon juice. Toss gently until the apples are evenly coated. Pour the apple mixture into your prepared 9×13 inch baking dish. Dot with the cubed unsalted butter. This luscious Apple Crisp filling sets the stage for a truly memorable dessert, often preferred for its ease over a more intricate Apple pie base.
3. Prepare the Topping: In a separate medium bowl, combine the oats, flour, brown sugar, cinnamon, and salt. Add the cold, cubed butter. Use a pastry blender or your fingertips to cut the butter into the dry ingredients until the mixture resembles coarse crumbs with some pea-sized pieces of butter remaining.
4. Assemble & Bake: Evenly sprinkle the oat topping over the apple mixture in the baking dish.
5. Bake: Bake for 45-55 minutes, or until the topping is golden brown and the apple filling is bubbling around the edges. If the topping starts to brown too quickly, you can loosely tent it with aluminum foil.
6. Cool & Serve: Remove from the oven and let cool for at least 15 minutes before serving. This allows the filling to thicken and prevents it from being too runny.
Nutritional Benefits & Advantages
Apples, the star of this Apple Crisp, are packed with dietary fiber, which aids digestion and promotes satiety. They also contain vitamin C and various antioxidants, contributing to overall health. While it is a dessert, the whole grains from the rolled oats in the topping add an extra layer of fiber and some beneficial complex carbohydrates, making it a more wholesome treat compared to many ultra-processed options.
Tips, Variations & Cooking Advice
- Spice it up: Add a pinch of ground ginger or cardamom to the apple filling for an extra layer of flavor.
- Nutty Crumble: Incorporate 1/2 cup of chopped pecans or walnuts into the crisp topping for added crunch and richness.
- Gluten-Free: Substitute the all-purpose flour in both the filling and topping with a gluten-free all-purpose flour blend (ensure it contains xanthan gum). Use certified gluten-free rolled oats.
- Dairy-Free: Use plant-based butter alternatives for both the dotting butter and the crisp topping butter.
- Sweeter or Tarter: Adjust the sugar in the apple filling based on the tartness of your apples and your personal preference.
Common Mistakes to Avoid
- Undercooked Apples: Ensure your apples are tender. If they’re too firm, they’ll be unpleasant. Cooking times can vary based on apple type and slice thickness.
- Overly Soggy Topping: Don’t overcrowd your pan, and make sure to bake until the topping is truly golden and crisp. If it’s pale, it’s likely still soft.
- Too Much Moisture: Make sure to include the flour or cornstarch in the filling; it’s crucial for preventing a watery result. Using fresh lemon juice also helps.
Storage & Meal Prep Tips
Leftover Apple Crisp can be stored in an airtight container in the refrigerator for up to 3-4 days. To maintain its crispiness, reheat individual servings in a preheated oven at 350°F (175°C) for 10-15 minutes, or until warmed through and the topping crisps up again. Avoid microwaving if you want to preserve the topping’s texture. For longer storage, the crisp can be frozen, tightly wrapped, for up to 2-3 months. Thaw in the refrigerator overnight and reheat as directed.
Conclusion
There’s nothing quite like the comforting aroma and taste of a homemade Apple Crisp. This recipe offers a straightforward and rewarding way to create a classic dessert that rivals any store-bought offering. Whether you prefer the rustic charm of a crisp or the structured elegance of an Apple pie, this recipe is a testament to the joy of home baking. Give it a try, experiment with your favorite apples and spices, and share your delicious results with your loved ones!
FAQs
Q1: Can I use different types of apples?
A1: Yes! A mix of sweet and tart apples like Honeycrisp, Granny Smith, Fuji, and Gala works beautifully for a balanced flavor. Avoid overly soft apples as they can turn to mush.
Q2: My crisp topping isn’t getting as crispy as I’d like. What can I do?
A2: Ensure your butter is very cold when you make the topping. Also, don’t press the topping down too firmly when spreading it over the apples; allow some air circulation. Baking until golden brown is key.
Q3: Can I make this ahead of time?
A3: You can prepare the apple filling and the crisp topping separately, then store them in the refrigerator. Assemble and bake just before serving for the freshest taste and best texture.
Q4: What’s the best way to serve apple crisp?
A4: Serve it warm, ideally with a scoop of vanilla bean ice cream, a dollop of whipped cream, or a drizzle of caramel sauce for an extra special treat.