Master the Art of Decadent Chocolate Cake: Your Ultimate Guide
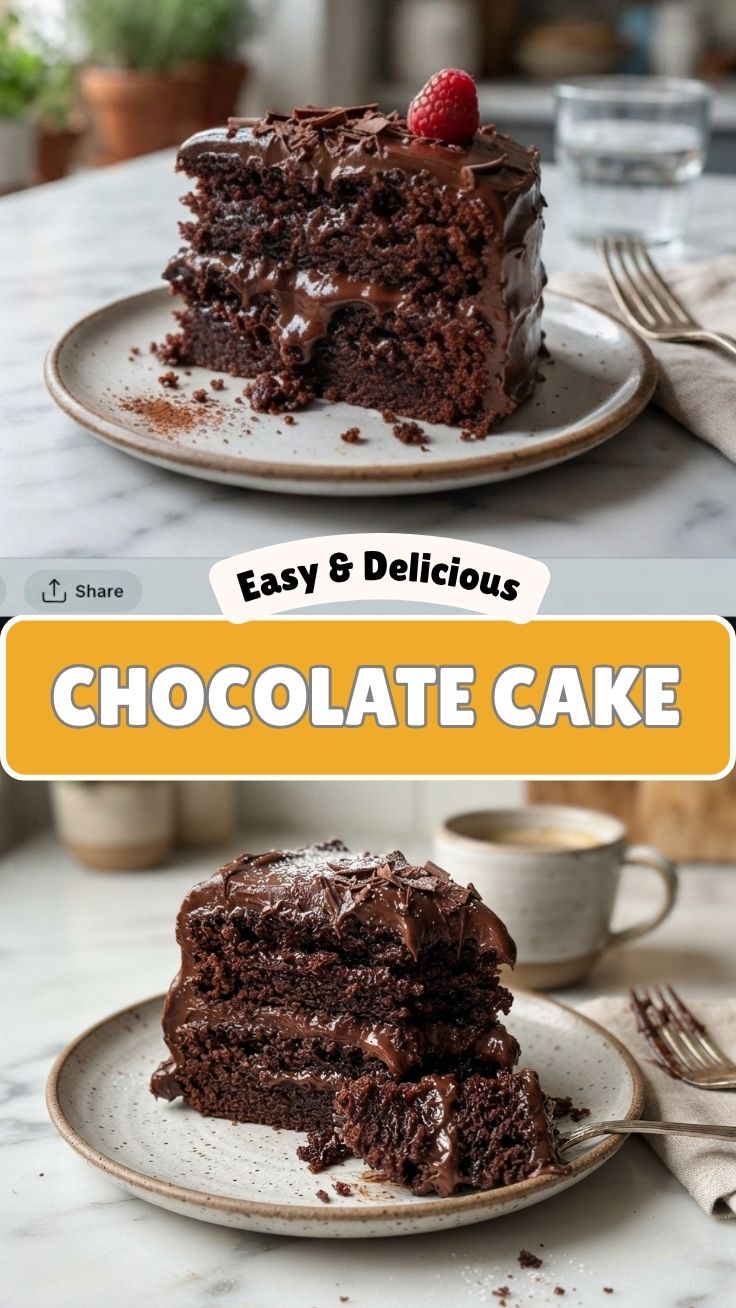
Ever wondered if you could truly bake a show-stopping dessert that tastes as incredible as it looks, right in your own kitchen? The answer is a resounding YES! While many store-bought options can be appealing, there’s an unparalleled satisfaction and rich flavor that comes from crafting your own Chocolate Cake from scratch. This comprehensive guide will equip you with all the knowledge and techniques to create a moist, flavorful, and utterly irresistible dessert, complete with a luscious chocolate frosting. Forget bland, dry imitations; we’re talking about a truly decadent experience that will impress even the most discerning palates. Preparing this classic at home not only ensures freshness and quality ingredients but also allows you to personalize every aspect, making it a truly unique creation.
Ingredients & Kitchen Tools
To embark on your baking adventure, gather the following:
Ingredients:
- 2 cups All-Purpose Flour: Provides structure; for a lighter cake, opt for cake flour.
- 1 ¾ cups Granulated Sugar: Sweetens the cake and aids in browning.
- ¾ cup Unsweetened Cocoa Powder (Dutch-processed recommended): Delivers deep chocolate flavor; Dutch-processed reduces acidity for a darker, smoother taste.
- 1 ½ teaspoons Baking Soda: Leavening agent that reacts with acidic ingredients for rise.
- 1 teaspoon Baking Powder: Another leavening agent for extra lift and tenderness.
- 1 teaspoon Salt: Balances sweetness and enhances flavor.
- 1 cup Buttermilk: Adds moisture and tanginess, crucial for a tender crumb. (Substitution: 1 cup milk + 1 tbsp lemon juice or white vinegar, let sit 5 mins).
- ½ cup Vegetable Oil: Keeps the cake moist and tender.
- 2 Large Eggs (room temperature): Binds ingredients and adds richness.
- 1 teaspoon Vanilla Extract: Enhances all flavors.
- 1 cup Hot Water (or hot coffee): Activates cocoa powder for deeper flavor and adds moisture without thinning the batter too much. Coffee enhances chocolate notes beautifully.
For the Chocolate Frosting:
- 1 cup Unsalted Butter (softened): Forms the base of the frosting, providing richness and creaminess.
- 3-4 cups Powdered Sugar (confectioners’ sugar): Sweetens and thickens the frosting.
- ½ cup Unsweetened Cocoa Powder: For that essential chocolatey taste.
- ½ teaspoon Vanilla Extract: Enhances flavor.
- ¼ cup Milk (or heavy cream): Adjusts consistency; heavy cream makes it richer.
- Pinch of Salt: Balances sweetness.
Kitchen Tools:
- Two 9-inch Round Cake Pans: For even baking. Grease and flour them thoroughly.
- Large Mixing Bowls: Two are ideal for dry and wet ingredients.
- Whisk: For combining dry ingredients.
- Electric Mixer (stand or hand-held): Essential for creaming and beating for optimal texture.
- Spatula: For scraping bowls and folding.
- Measuring Cups and Spoons: For precise ingredient amounts.
- Wire Rack: For cooling cakes evenly.
Prep Time & Cooking Schedule
- Prep Time: 25 minutes – This includes gathering ingredients, greasing pans, and mixing both cake batter and frosting.
- Cook Time: 30-35 minutes – Baking time for the cake layers.
- Cooling Time: 1 hour (at least) – Absolutely crucial for preventing crumbly cakes and melting frosting. Impatience here leads to disaster!
- Assembly Time: 15 minutes – Spreading the frosting and decorating.
Plan to start baking well in advance of when you need the cake. The cooling time is non-negotiable for a perfect finish. You can even bake the cake layers a day ahead, wrap them tightly, and store at room temperature, then frost them the next day.
Step-by-Step Instructions
1. Prepare Your Pans & Oven: Preheat oven to 350°F (175°C). Grease and flour two 9-inch round cake pans. If using parchment paper circles, grease the bottom, place the paper, then grease and flour the paper and sides.
2. Combine Dry Ingredients: In a large bowl, whisk together the flour, sugar, cocoa powder, baking soda, baking powder, and salt until well combined and lump-free. This ensures even distribution of leavening agents.
3. Combine Wet Ingredients (Except Hot Water): In a separate medium bowl, whisk together the buttermilk, vegetable oil, eggs, and vanilla extract until smooth.
4. Combine Wet and Dry: Pour the wet ingredients into the dry ingredients. Mix on low speed with an electric mixer, or by hand, until just combined. Do not overmix! Overmixing develops gluten, leading to a tough cake.
5. Add Hot Water: Carefully pour in the hot water (or coffee) and mix on low speed until the batter is smooth and thin. The hot liquid “blooms” the cocoa, intensifying its flavor. The batter will be quite thin, which is normal for this type of ultra-moist Chocolate Cake.
6. Bake the Cakes: Divide the batter evenly between the two prepared pans. Bake for 30-35 minutes, or until a wooden skewer inserted into the center comes out clean.
7. Cool Completely: Let the cakes cool in their pans on a wire rack for 10-15 minutes before inverting them directly onto the wire rack to cool completely. This is vital! Warm cakes will melt your chocolate frosting.
8. Prepare the Frosting: In a large bowl, using an electric mixer, beat the softened butter on medium speed until creamy (about 2 minutes). Add the powdered sugar, cocoa powder, vanilla extract, and salt. Start mixing on low speed until sugar is incorporated, then increase to medium-high and beat until light and fluffy. Gradually add milk (or cream), one tablespoon at a time, until you reach your desired consistency – smooth and spreadable.
9. Assemble and Frost: Once cakes are completely cool, place one layer on a serving plate. Spread a generous amount of frosting evenly over the top. Carefully place the second cake layer on top. Frost the top and sides of the entire cake, using a spatula or offset palette knife for a smooth finish.
Nutritional Benefits & Advantages
This homemade Chocolate Cake, while a treat, offers a few advantages over highly processed store-bought versions. By making it yourself, you control the quality of ingredients, opting for organic and high-quality cocoa which is rich in antioxidants. Cocoa flavanols found in unsweetened cocoa powder have been linked to improved heart health and cognitive function. Furthermore, using real butter and fresh eggs provides essential nutrients like Vitamin D and choline, respectfully. While it’s a dessert, the satisfaction of baking it yourself and enjoying a portion mindfully can be a delightful and healthy experience in itself.
Tips, Variations & Cooking Advice
- Coffee Boost: Using hot coffee instead of hot water in the batter deepens the chocolate flavor without making the cake taste like coffee.
- Buttermilk Substitute: If you don’t have buttermilk, create your own by adding 1 tablespoon of lemon juice or white vinegar to a cup of regular milk and letting it sit for 5 minutes.
- Gluten-Free: Substitute the all-purpose flour with a 1:1 gluten-free baking blend that contains xanthan gum.
- Dairy-Free: Use plant-based buttermilk (almond milk + lemon juice), dairy-free butter substitute, and plant-based milk/cream for the frosting.
- Layer Fillings: Beyond just frosting, consider adding a layer of raspberry jam, cherry pie filling, or caramel between the cake layers for an extra burst of flavor.
- Cream Cheese Frosting: For a tangier twist, swap out half of the butter in the frosting with softened cream cheese.
Common Mistakes to Avoid
- Overmixing the Batter: This develops gluten, making your cake tough and dense. Mix until just combined.
- Under-Greasing Pans: Leads to cakes sticking and crumbling when trying to remove them. Be generous with grease and flour.
- Not Cooling Cakes Completely: Applying frosting to warm cakes will cause the frosting to melt and slide off, creating a messy disaster. Patience is key!
- Using Cold Ingredients: Especially for the frosting, softened butter is essential for a smooth, creamy texture. Cold butter will result in lumpy frosting.
- Opening Oven Door Repeatedly: This causes temperature fluctuations and can make your cake sink in the middle. Resist the urge to peek!
Storage & Meal Prep Tips
Store your frosted Chocolate Cake at room temperature in an airtight container for up to 3 days. For longer storage, refrigerate for up to a week. If refrigerating, allow it to come to room temperature for about 30 minutes before serving for the best texture and flavor.
You can also prepare the cake layers ahead of time. Once completely cooled, wrap each layer tightly in plastic wrap and then aluminum foil. They can be stored at room temperature for up to 2 days or frozen for up to 2 months. Thaw frozen layers in the refrigerator overnight before frosting. The frosting can also be made ahead and stored in an airtight container in the refrigerator for up to a week. Bring to room temperature and re-whip briefly before using.
Conclusion
Baking a truly exceptional Chocolate Cake at home is a rewarding experience, and with this guide, you now have all the tools to achieve it. From the perfectly moist crumb to the rich and velvety chocolate frosting, every bite will be a testament to your baking prowess. Don’t be afraid to experiment with variations and make this recipe your own. We encourage you to try this ultimate chocolate classic and share your delicious results with us! Happy baking!
FAQs
Q: Can I use oil instead of butter in the cake batter?
A: This recipe already uses vegetable oil, which contributes to its incredible moistness. Substituting more oil for butter is not recommended as it would significantly alter texture and flavor.
Q: My frosting is too thin/too thick. How can I fix it?
A: If it’s too thick, add milk or cream one teaspoon at a time until desired consistency. If it’s too thin, gradually beat in more powdered sugar until it stiffens.
Q: Why did my cake sink in the middle?
A: Common reasons include opening the oven door too early, inaccurate oven temperature, overmixing the batter, or using expired leavening agents. Ensure your baking soda and powder are fresh.
Q: Can I make this as cupcakes instead?
A: Absolutely! This recipe works wonderfully for cupcakes. Bake for approximately 18-22 minutes, or until a skewer comes out clean.
Q: How do I get my cake layers to be perfectly level?
A: You can use cake strips around your pans to help the cakes bake more evenly. If they still dome, use a serrated knife to carefully level them once completely cooled.