Baking Bliss: Mastering the Art of Perfect Vanilla Cupcakes
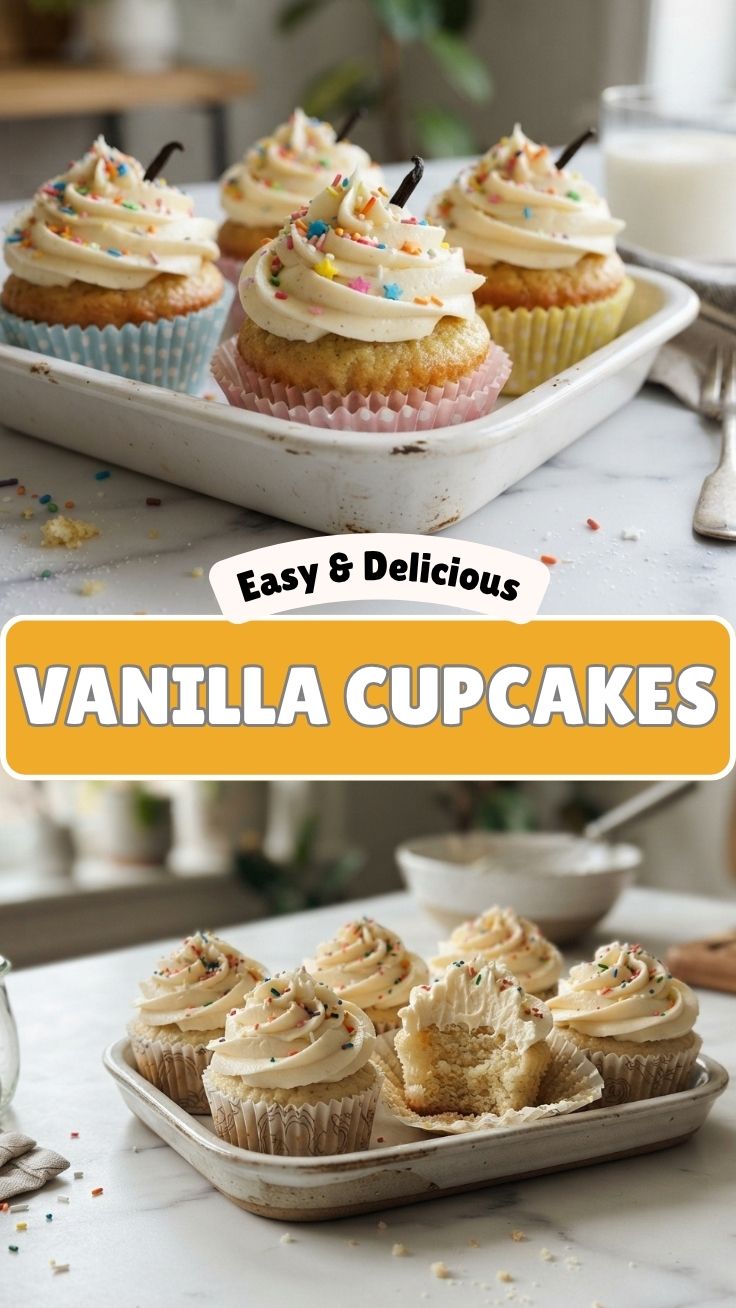
Ever wondered how to bake Vanilla Cupcakes that are not just good, but absolutely extraordinary? The kind that melt in your mouth, leaving a delicate sweetness and a yearning for more? Preparing these delightful treats at home is incredibly rewarding. Not only do you have complete control over the ingredients, ensuring freshness and quality, but there’s a unique satisfaction in presenting a homemade dessert. This guide will walk you through crafting the perfect vanilla frosting to crown your culinary masterpieces, transforming simple ingredients into pure joy.
Ingredients & Kitchen Tools
Gather your culinary arsenal! Here’s what you’ll need, along with some helpful notes:
- All-Purpose Flour (2 ¼ cups): The foundation of our cupcakes. Sifted for a lighter, airier texture.
- Granulated Sugar (1 ¾ cups): Provides sweetness and helps with browning.
- Baking Powder (1 ½ teaspoons): Our leavening agent, creating that lovely rise.
- Salt (½ teaspoon): Balances the sweetness and enhances flavor.
- Unsalted Butter (½ cup, 1 stick, softened): Adds richness and contributes to a tender crumb. Unsalted allows for better salt control.
- Large Eggs (3, room temperature): Binds the ingredients and adds structure. Room temperature eggs emulsify better.
- Whole Milk (1 cup, room temperature): Contributes moisture and tenderness.
- Vanilla Extract (2 teaspoons): The star flavor of our cupcakes – opt for pure extract for the best taste.
- Powdered Sugar (4 cups): For the frosting, ensuring a smooth, lump-free consistency.
- Cream Cheese (8 ounces, softened): For a tangy, rich vanilla frosting.
- Cupcake Liners: Prevents sticking and adds a decorative touch.
- Muffin/Cupcake Pan (12-cup): The vessel for baking our treats.
- Electric Mixer (stand or hand-held): Essential for creaming butter and sugar, and whipping the frosting.
- Mixing Bowls: Various sizes for different ingredients.
- Spatula: For scraping bowls and folding ingredients.
- Measuring Cups & Spoons: Precision is key in baking.
- Cooling Rack: Allows cupcakes to cool evenly and prevents sogginess.
Prep Time & Cooking Schedule
- Prep Time: 20 minutes (includes gathering ingredients and preheating).
- Bake Time: 18-22 minutes (depending on your oven).
- Cooling Time: 30 minutes (crucial before frosting).
- Total Time: Approximately 1 hour and 10 minutes.
This schedule allows for a relaxed baking experience. Remember to preheat your oven while you prepare the batter to ensure it’s at the correct temperature when your cupcakes are ready to bake.
Step-by-Step Instructions
1. Preheat and Prepare: Preheat your oven to 350°F (175°C). Line a 12-cup muffin pan with cupcake liners.
2. Combine Dry Ingredients: In a medium bowl, whisk together the flour, baking powder, and salt. Set aside.
3. Cream Butter and Sugar: In a large bowl, using an electric mixer, cream together the softened butter and granulated sugar on medium speed until light and fluffy (about 2-3 minutes). This aeration is critical for tender Vanilla Cupcakes.
4. Add Eggs and Vanilla: Beat in the eggs one at a time, incorporating each fully before adding the next. Stir in the vanilla extract.
5. Alternate Wet and Dry: Gradually add the dry ingredients to the wet ingredients in three additions, alternating with the milk, beginning and ending with the dry ingredients. Mix on low speed until just combined – overmixing can lead to tough cupcakes.
6. Fill and Bake: Divide the batter evenly among the prepared cupcake liners, filling each about two-thirds full. Bake for 18-22 minutes, or until a wooden skewer inserted into the center comes out clean.
7. Cool: Let the cupcakes cool in the pan for 5 minutes before transferring them to a wire rack to cool completely.
8. Prepare the Frosting: While the cupcakes are cooling, prepare the vanilla frosting. In a large bowl, beat the softened cream cheese until smooth. Gradually add the powdered sugar, mixing on low speed until combined, then increase to medium-high and beat until light and fluffy. Beat in the vanilla extract.
9. Frost and Enjoy: Once the cupcakes are completely cool, frost them generously.
Nutritional Benefits & Advantages
While Vanilla Cupcakes are undeniably a treat, baking them at home offers advantages. You control the sugar content and can opt for high-quality, natural vanilla extract, avoiding artificial flavors. Using real butter and eggs provides essential nutrients. For specific dietary needs, consider whole wheat flour for added fiber or reduced-fat cream cheese for the frosting, though this may alter texture slightly.
Tips, Variations & Cooking Advice
- Temperature Matters: Ensure all cold ingredients (eggs, milk, cream cheese) are at room temperature for optimal emulsification and a smoother batter/frosting.
- Don’t Overmix: Overmixing develops gluten, leading to tough cupcakes. Mix only until ingredients are just combined.
- Flavor Variations:
* Citrus Zest: Add lemon, orange, or lime zest to the batter for a bright twist.
* Almond Extract: Substitute half of the vanilla extract with almond extract for a marzipan-like flavor.
* Chocolate Chip: Fold in a handful of mini chocolate chips during the final mixing stage.
- Dietary Adaptations:
* Gluten-Free: Use a 1:1 gluten-free all-purpose flour blend.
* Dairy-Free: Substitute milk with a plant-based milk (almond, soy, oat) and use dairy-free butter and cream cheese alternatives for the frosting.
Common Mistakes to Avoid
- Overfilling Cupcake Liners: Fill only two-thirds full to prevent overflow and ensure even baking.
- Opening Oven Door Too Soon: Resist the urge! This can cause cupcakes to collapse in the center. Peek only after 15 minutes.
- Frosting Warm Cupcakes: A cardinal sin! Warm cupcakes will melt the frosting, creating a sticky mess. Always wait until they are completely cool.
- Using Cold Ingredients: As mentioned, cold ingredients don’t emulsify well, leading to a less cohesive batter.
Storage & Meal Prep Tips
- Storage: Store frosted Vanilla Cupcakes in an airtight container at room temperature for up to 2 days. If your vanilla frosting contains cream cheese, refrigeration is recommended to maintain freshness and prevent spoilage. In the refrigerator, they’ll last up to 5 days.
- Freezing: Unfrosted cupcakes can be frozen for up to 2 months. Wrap individual cupcakes tightly in plastic wrap, then place them in a freezer-safe bag or container. Thaw at room temperature before frosting. Frosting can also be frozen, then thawed and re-whipped before use.
Conclusion
Baking perfect Vanilla Cupcakes and crowning them with a delectable vanilla frosting is a truly satisfying experience that brings joy to both the baker and everyone who gets to enjoy these delightful treats. With this comprehensive guide, you’re now equipped with the knowledge and techniques to achieve bakery-quality results right in your own kitchen. Don’t hesitate to try this recipe, experiment with the variations, and share your delicious creations! We’d love to hear about your baking adventures in the comments below.
FAQs
Q: Can I use oil instead of butter in the cupcakes?
A: While oil can be used, butter provides a richer flavor and a more tender crumb. If substituting, use a neutral-flavored oil like vegetable or canola oil.
Q: My frosting is too thin/thick. How can I fix it?
A: If it’s too thin, add more powdered sugar, a tablespoon at a time, until desired consistency. If it’s too thick, add a tiny bit of milk (half a teaspoon at a time) until it’s spreadable.
Q: How do I know when the cupcakes are done baking?
A: The best indicator is the wooden skewer test. Insert a skewer into the center of a cupcake; if it comes out clean, they’re ready. The tops will also be golden brown and spring back when gently touched.
Q: Can I make the cupcake batter ahead of time?
A: It’s best to bake the cupcakes immediately after preparing the batter to ensure the leavening agents are most effective. However, the frosting can be made a day in advance and refrigerated, then re-whipped before use.
Q: What’s the secret to fluffy cupcakes?
A: The key is not to overmix the batter, ensuring your butter and sugar are properly creamed, and using room temperature ingredients. These steps incorporate air and create a tender crumb.