The Ultimate Homemade Strawberry Banana Milkshake: A Summer Delight!
Don’t you just crave that perfect, creamy, and refreshingly sweet treat on a hot summer’s day? Forget the drive-thru! Creating your own delightful strawberry banana Milkshake at home isn’t just about saving money; it’s about customizing flavors, controlling ingredients, and ensuring every sip is pure bliss. This guide will walk you through crafting a truly exceptional Milkshake that rivals any diner classic, using fresh produce and a technique that guarantees peak deliciousness. Get ready to explore the exciting world of homemade milkshake recipes that are both simple to make and incredibly satisfying.
Ingredients & Kitchen Tools
Gathering your supplies is the first step to milkshake mastery!
- 1 cup fresh or frozen strawberries, hulled: For vibrant color and sweet-tart flavor. Frozen berries will yield a thicker, colder shake.
- 1 medium banana, ripe and sliced: Adds natural sweetness and a creamy texture. Frozen banana slices are highly recommended for optimal chill and thickness.
- 1 cup cold milk (dairy or plant-based): The liquid base. Whole milk offers the creamiest result, but almond, oat, or soy milk work wonderfully for dairy-free options.
- ½ cup vanilla ice cream (optional but recommended): For that classic, decadent milkshake richness. You can omit for a healthier, smoothie-like consistency.
- 1-2 tablespoons honey, maple syrup, or agave nectar (adjust to taste): Natural sweeteners to enhance the fruit’s sweetness.
- ½ teaspoon vanilla extract: Boosts overall flavor.
- Pinch of salt: Balances sweetness and enhances other flavors.
- Blender: A powerful blender is essential for a smooth, lump-free texture.
- Measuring cups and spoons: For accurate ingredient proportions.
- Serving glasses: Chilled glasses make the experience even better!
- Straws (optional): Wide straws for thicker shakes are ideal.
Prep Time & Cooking Schedule
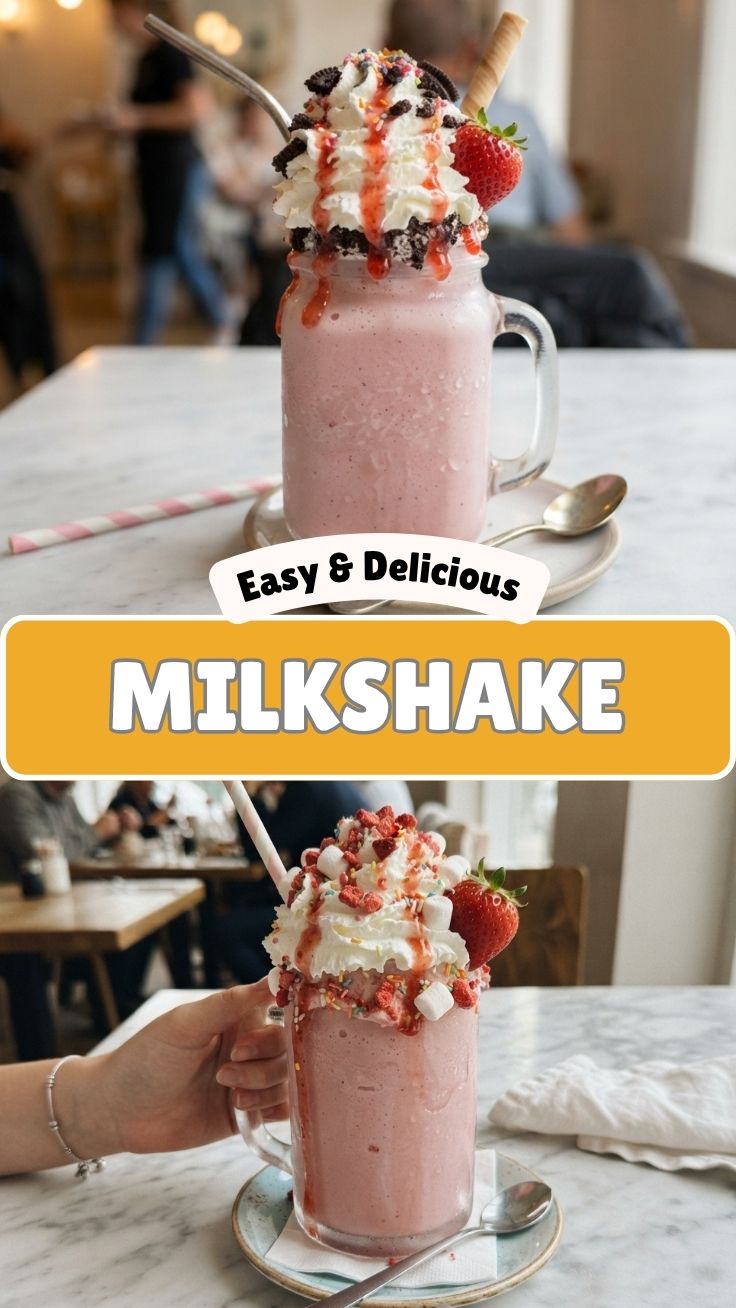
Good news – this is one of the quickest and easiest treats you can whip up!
- Prep Time: 5 minutes
- Blend Time: 1-2 minutes
- Resting Time: None! Serve immediately.
This recipe is perfect for last-minute cravings or a quick dessert after a meal. No elaborate cooking schedule needed, just instant gratification!
Step-by-Step Instructions
Follow these simple steps for a perfect Strawberry Banana Milkshake every time.
1. Prepare Your Fruit: If using fresh strawberries, hull them. For an extra cold and thick shake, freeze your banana slices and strawberries for at least 2-3 hours beforehand.
2. Combine Ingredients: Add the prepared strawberries, sliced banana, cold milk, vanilla ice cream (if using), honey (or your chosen sweetener), and vanilla extract to your blender. A tiny pinch of salt can really make the fruit flavors pop!
3. Blend Until Smooth: Secure the lid and start blending on a low setting, gradually increasing to high. Blend until the mixture is completely smooth and creamy, with no ice chunks or fruit pieces remaining. You might need to pause and scrape down the sides of the blender with a spatula to ensure everything is incorporated, especially if you’re exploring various milkshake recipes for optimal consistency.
4. Check Consistency & Sweetness: If the shake is too thick, add a little more milk, one tablespoon at a time, and blend briefly. If it’s too thin, add a few more frozen strawberries or a scoop of ice cream. Taste and adjust sweetness as desired.
5. Serve Immediately: Pour into chilled glasses and enjoy your homemade summer delight! Garnish with a fresh strawberry, a dollop of whipped cream, or a drizzle of chocolate syrup if you’re feeling fancy.
Nutritional Benefits & Advantages
This homemade Milkshake isn’t just delicious; it offers some great nutritional perks! Strawberries are packed with Vitamin C and antioxidants, while bananas provide potassium and dietary fiber. By making it yourself, you control the amount of sugar and fat, making it a healthier alternative to many store-bought options. Using plant-based milk and omitting ice cream can further reduce calories and increase dietary fiber, transforming it into a nutrient-dense snack.
Tips Variations & Cooking Advice
- Boost the Flavor: A dash of cinnamon or a spoonful of peanut butter can add intriguing depth to your Milkshake.
- Protein Power-Up: Add a scoop of your favorite vanilla or unflavored protein powder for a post-workout treat or a more filling snack.
- Dietary Adaptations:
* Dairy-Free: Use almond, oat, or soy milk and a dairy-free vanilla ice cream or omit ice cream entirely.
* Gluten-Free: This recipe is naturally gluten-free!
* Lower Sugar: Use unsweetened milk and half the recommended sweetener, or rely solely on the sweetness of ripe fruit.
- For a Thicker Shake: Use only frozen fruit and reduce the amount of milk slightly.
- For a Thinner Shake: Add more milk until desired consistency is reached.
Common Mistakes to Avoid
- Using Warm Ingredients: This will result in a thin, less refreshing shake. Always use cold milk and preferably frozen fruit.
- Not Blending Enough: Lumpy shakes are a no-go! Ensure the blender runs long enough to break down all solids completely.
- Over-Sweetening: Taste as you go. It’s easier to add more sweetener than to lessen it.
- Forgetting the Salt: A tiny pinch of salt truly makes a difference in brightening the flavors of the fruit and balancing sweetness.
Storage & Meal Prep Tips
This Strawberry Banana Milkshake is best enjoyed immediately after blending. The texture and flavor are at their peak when fresh. If you have any leftovers, you can store them in an airtight container in the refrigerator for up to an hour, but expect some separation and a less thick consistency. Stir well before drinking. For future enjoyment, consider freezing pre-portioned banana and strawberry slices in bags, so they’re always ready for a quick blend.
Conclusion
Crafting your own delicious Strawberry Banana Milkshake is a simple pleasure that delivers immense satisfaction. With fresh ingredients and a few easy steps, you can create a customized, healthy, and incredibly tasty treat. We hope you’ll experiment with these tips and truly make this recipe your own, exploring the delightful versatility of various milkshake recipes. Don’t hesitate to share your creations and modifications in the comments below – happy blending!
FAQs
Q1: Can I use other fruits in this Milkshake?
A1: Absolutely! Mango, blueberries, raspberries, or peaches would all be excellent additions or substitutions. Just be sure to use them frozen for the best texture.
Q2: What’s the best way to make this Milkshake healthier?
A2: Omit the ice cream, use unsweetened plant-based milk, and control the added sweeteners or replace them with a few dates for natural sweetness and fiber.
Q3: My Milkshake is too thin. What did I do wrong?
A3: This usually means you didn’t use enough frozen fruit or added too much liquid. For a thicker shake, always use frozen fruit and start with less milk, adding more gradually until your desired consistency is reached. A scoop of ice cream or a handful of ice cubes can also thicken it.
Q4: Can I meal prep ingredients for this Milkshake?
A4: Yes! Freeze pre-portioned bags of sliced bananas and hulled strawberries. When you’re ready for a shake, just dump the frozen fruit, milk, and other ingredients into the blender.