The Ultimate Tuna Salad: Your Homemade Deli Favorite, Elevated!
Are you tired of bland, store-bought deli options that lack flavor and nutritional punch? Imagine sinking your teeth into a creamy, savory, and perfectly seasoned Tuna Salad, made with fresh ingredients right in your own kitchen. This isn’t just any recipe; it’s a guide to crafting a culinary experience that will redefine your perception of a simple lunch. Preparing this dish at home offers unparalleled control over ingredients, allowing you to tailor it to your exact preferences, from the type of tuna to the creaminess of the dressing. Not only is it a delicious and versatile meal, but it also forms the perfect foundation for an incredible Tuna Sandwich, a true comfort food classic. Let’s dive into making a dish that promises both satisfaction and remarkable flavor.
Ingredients & Kitchen Tools
Gathering the right ingredients and tools is the first step to culinary success.
- Canned Tuna (2 cans, 5 oz each, packed in water or olive oil): Drained thoroughly. Water-packed is leaner, while oil-packed offers richer flavor.
- Mayonnaise (1/2 cup): Your preferred brand. Adds creaminess and binds the ingredients.
- Celery (2 stalks): Finely diced. Provides a satisfying crunch and freshness.
- Red Onion (1/4 cup): Finely minced. Offers a subtle sharpness and color. Optional, for those who prefer a milder flavor.
- Dill Pickles (2 tbsp): Finely chopped or relish. Contributes a tangy, briny element.
- Fresh Dill (1 tbsp): Chopped. Enhances the overall fresh, herbaceous aroma. Optional, dried dill can be used in a pinch (1 tsp).
- Dijon Mustard (1 tsp): Adds a subtle tang and enhances the savory notes.
- Lemon Juice (1 tbsp): Freshly squeezed. Brightens the flavors and prevents oxidation.
- Salt (1/2 tsp, or to taste): Essential for seasoning.
- Black Pepper (1/4 tsp, or to taste): Adds a mild heat and depth.
- Mixing Bowl (large): For combining all ingredients.
- Fork: For flaking the tuna.
- Measuring Spoons and Cups: For accurate ingredient quantities.
- Cutting Board & Knife: For chopping vegetables.
Prep Time & Cooking Schedule
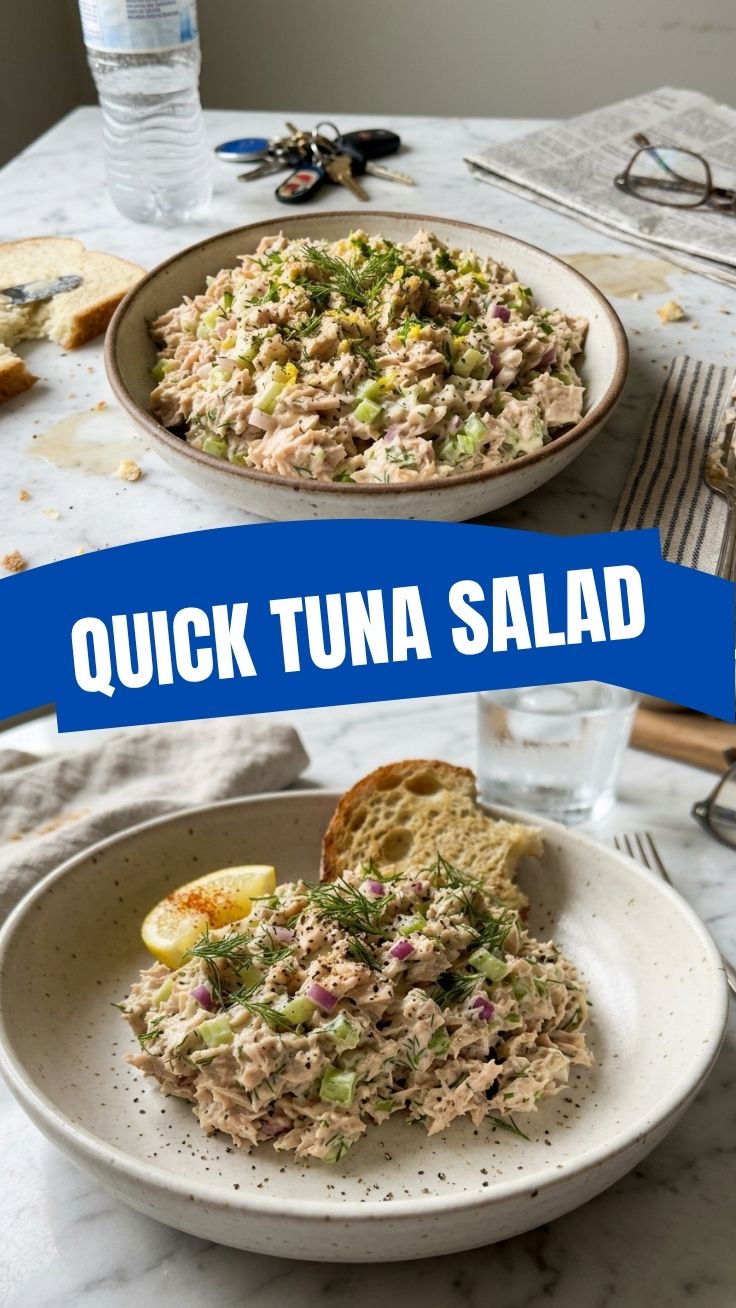
This recipe is a marvel of speed and simplicity, making it perfect for a quick lunch or dinner component.
- Prep Time: 15 minutes
- Resting Time: 15-30 minutes (optional, but recommended for flavors to meld)
Allowing the Tuna Salad to rest in the refrigerator for a short period allows the flavors to truly incorporate, resulting in a more harmonious and delicious experience. This brief wait is crucial for unlocking its full potential.
Step-by-Step Instructions
Follow these simple steps for a perfect batch every time.
1. Drain the Tuna: Open the cans of tuna and thoroughly drain any liquid. Press down with the lid or a spoon to remove as much moisture as possible. Transfer the drained tuna to a large mixing bowl.
2. Flake the Tuna: Using a fork, gently flake the tuna until it’s broken into small, consistent pieces. Avoid mashing it too much; we want some texture.
3. Prepare Vegetables: Finely dice the celery and red onion. Chop the dill pickles and fresh dill. Add these prepared ingredients to the bowl with the flaked tuna.
4. Create the Dressing: In a small bowl, whisk together the mayonnaise, Dijon mustard, and lemon juice. Season with salt and black pepper. Taste and adjust seasoning as needed.
5. Combine Ingredients: Pour the dressing over the tuna and vegetable mixture.
6. Mix Gently: Using a spoon or spatula, gently fold all the ingredients together until everything is well combined and coated with the dressing. Be careful not to overmix, as this can make the tuna mushy.
7. Chill (Optional but Recommended): For optimal flavor, cover the bowl and refrigerate the Tuna Salad for at least 15-30 minutes before serving. This allows the flavors to meld beautifully, making your ultimate Tuna Sandwich truly shine.
Nutritional Benefits & Advantages
This homemade Tuna Salad is more than just a tasty meal; it’s packed with nutritional goodness. Tuna is an excellent source of lean protein, essential for muscle repair and growth, and it’s rich in Omega-3 fatty acids, which are beneficial for heart health and brain function. The celery and red onion add dietary fiber, vitamins, and minerals. By making it at home, you control the type and amount of mayonnaise, easily reducing unhealthy fats if desired.
Tips, Variations & Cooking Advice
- Spice It Up: Add a pinch of cayenne pepper or a dash of hot sauce for a kick.
- Herbaceous Delights: Experiment with other fresh herbs like chives, parsley, or tarragon for different flavor profiles.
- Creamy Alternatives: For a lighter option, substitute some of the mayonnaise with Greek yogurt.
- Veggie Boost: Incorporate finely grated carrots, bell peppers, or even a handful of chopped spinach for added nutrients and color.
- Global Flavors: Add a teaspoon of curry powder and a pinch of mango chutney for an Indian-inspired twist. Alternatively, a splash of soy sauce and a sprinkle of sesame seeds can create an Asian-inspired version perfect for lettuce wraps.
- Dietary Adaptations: For a gluten-free option, serve in lettuce cups or on gluten-free bread. For dairy-free, ensure your mayonnaise is dairy-free, or use an avocado-based alternative.
Common Mistakes to Avoid
- Not Draining Tuna Properly: Excess moisture will result in a watery, bland salad. Always drain thoroughly.
- Overmixing: Vigorously mixing the tuna will break down its texture, leading to a mushy final product. Mix gently until just combined.
- Under-seasoning: Don’t be shy with salt and pepper. Taste and adjust until the flavors pop. Lemon juice is also key for brightness.
- Using Warm Ingredients: Chilling the salad helps the flavors meld and ensures a refreshing experience.
Storage & Meal Prep Tips
Leftover Tuna Salad can be stored in an airtight container in the refrigerator for up to 3-4 days. It’s not recommended for freezing, as the mayonnaise and celery will separate and become watery upon thawing. This recipe is fantastic for meal prep; simply prepare a larger batch at the beginning of the week for quick and easy lunches. When ready to serve, stir gently to redistribute any settled dressing.
Conclusion
Crafting your own creamy, flavorful Tuna Salad at home is a rewarding experience that far surpasses any store-bought alternative. With fresh ingredients, customizable flavors, and easy steps, you’ve unlocked the secret to a deli-quality dish that’s both nutritious and utterly delicious. Whether enjoyed on its own, with crackers, or as the star of an unforgettable Tuna Sandwich, this recipe is sure to become a staple in your culinary repertoire. We encourage you to try this recipe, experiment with your personal twists, and share your delightful creations with us!
FAQs
1. Can I use fresh tuna instead of canned?
Absolutely! Poach or grill fresh tuna, let it cool completely, and then flake it before proceeding with the recipe. This will elevate the flavor profile even further.
2. What if I don’t like dill pickles?
You can substitute them with capers for a briny kick or omit them entirely. A small amount of finely chopped red bell pepper can add crunch without the tang.
3. How can I make this less caloric?
Use light mayonnaise, or substitute half of the mayonnaise with plain Greek yogurt. You can also increase the proportion of vegetables like celery and onion.
4. Can I prepare this in advance for a party?
Yes, this Tuna Salad is an excellent make-ahead option. Prepare it up to 24 hours in advance and store it in the refrigerator. Flavors will deepen beautifully.
5. What’s the best bread for a Tuna Sandwich?
Toasted sourdough, rye bread, or a soft brioche bun all make excellent choices! For a lighter option, consider crisp lettuce leaves or whole-wheat crackers.