Unlock the Secret to the Juiciest Homemade Fruit Salad You’ve Ever Tasted!
Are you tired of bland, pre-packaged fruit mixes that lack vibrancy and flavor? Do you yearn for a refreshing, perfectly balanced bowl of nature’s candy that’s as good for you as it is delicious? Preparing your own Fruit Salad at home isn’t just about saving money; it’s about control – control over freshness, quality, and the sheer joy of customizing a truly magnificent culinary creation. There’s an undeniable satisfaction in crafting a vibrant, healthy fruit salad, bursting with seasonal goodness, right in your own kitchen. This post will guide you through creating a masterpiece that will tantalize your taste buds and impress your guests, ensuring every spoonful is a delight.
Ingredients & Kitchen Tools
Mixed Seasonal Fruits (5-6 cups): Think berries (strawberries, blueberries, raspberries), melon (cantaloupe, honeydew), grapes, kiwi, pineapple, oranges, apples, and bananas. Choose ripe but firm fruits for best texture.*
Lime or Lemon Juice (2 tbsp): Freshly squeezed is best. Adds a bright, zesty note and helps prevent browning.*
Honey or Maple Syrup (1-2 tbsp): Optional, for added sweetness and a subtle glaze.* Adjust to your preference.
Fresh Mint Leaves (handful): For garnish and a refreshing aromatic touch.*
Large Mixing Bowl: Essential for combining all ingredients.*
Sharp Knife: For safe and efficient fruit preparation.*
Cutting Board: Protects your countertops and provides a stable surface.*
Optional – Zester: If adding citrus zest for extra aroma.*
Optional – Melon Baller: For aesthetically pleasing melon spheres.*
Prep Time & Cooking Schedule
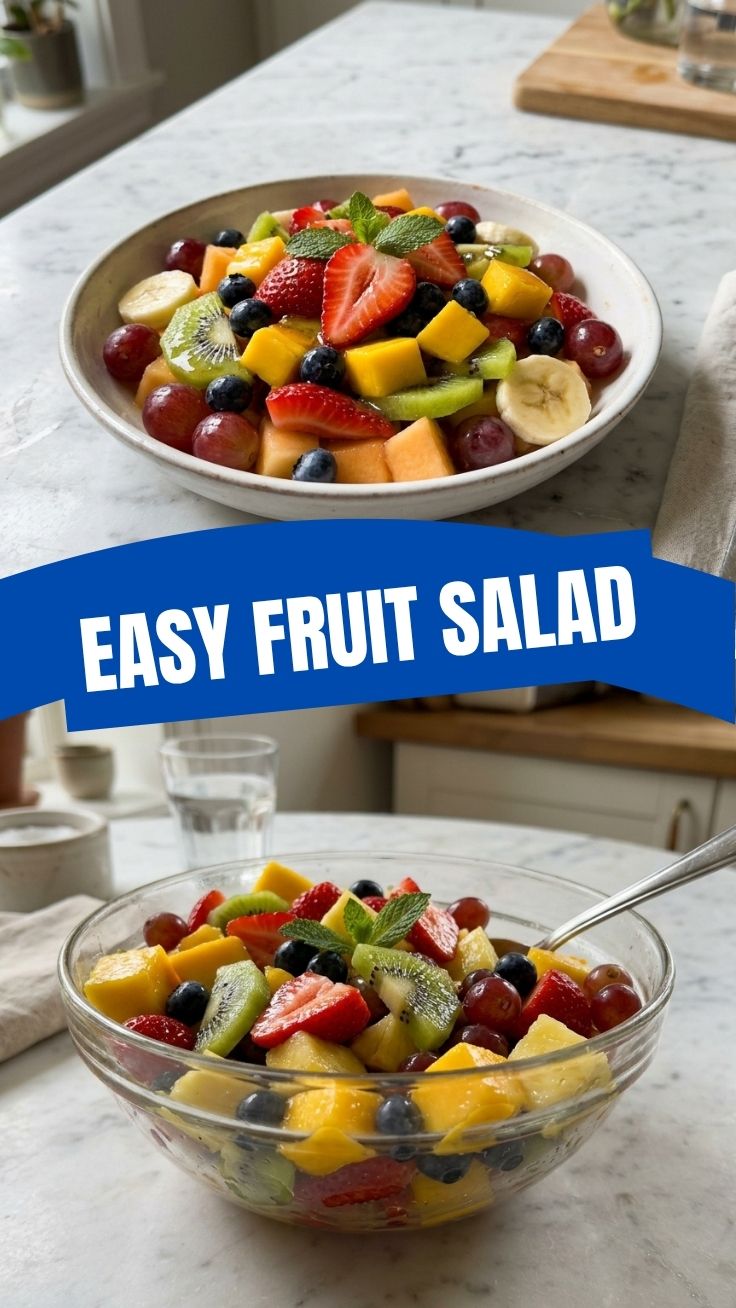
This recipe is all about freshness and minimal “cooking.”
- Prep Time: 15-20 minutes (depending on the variety and quantity of fruit). This includes washing, peeling, and chopping.
- Resting Time: 10-15 minutes (recommended). Allowing the assembled Fruit Salad to rest allows the flavors to meld beautifully and the dressing to lightly coat each piece of fruit, enhancing the overall taste of this healthy fruit salad. There is no cook time.
Step-by-Step Instructions
1. Wash and Dry All Fruits: Thoroughly rinse all fruits under cold water. Pat them dry with a clean kitchen towel to remove excess moisture. This is crucial for maintaining the salad’s freshness and preventing premature spoilage.
2. Prepare Individual Fruits:
* Berries: Hull strawberries, leave blueberries and raspberries whole.
* Melons: Remove seeds and rind, then cut into bite-sized cubes or use a melon baller.
* Grapes: Leave whole or halve if very large.
* Kiwi: Peel and slice into rounds or half-moons.
* Pineapple: Peel, core, and cut into chunks.
* Oranges: Peel, segment, and remove any seeds or pith.
Apples: Core and chop. If preparing in advance, lightly toss with a dab of lemon juice to prevent browning.*
* Bananas: Slice just before assembling to prevent browning.
3. Combine Fruits: Gently place all the prepared fruits (except bananas, if using) into a large mixing bowl.
4. Create the Dressing: In a small bowl, whisk together the fresh lime or lemon juice and, if using, the honey or maple syrup.
5. Dress the Fruit: Pour the dressing over the fruit in the large bowl. Gently toss everything together using a large spoon or your hands (wearing gloves optional) until all the fruit is evenly coated. Avoid over-mixing, as this can bruise delicate fruits. Now is the perfect moment to ensure every piece in your Fruit Salad is glistening, paving the way for a truly healthy fruit salad experience.
6. Add Bananas (if using): If you’re including bananas, gently fold them in now to minimize browning.
7. Garnish and Serve: Transfer the fruit salad to a serving bowl. Garnish with fresh mint leaves for an appealing finish. Serve immediately or chill for a short period to enhance the refreshing taste.
Nutritional Benefits & Advantages
This vibrant Fruit Salad is a powerhouse of nutrition. Packed with vitamins, minerals, fiber, and antioxidants, it supports immune health, aids digestion, and provides natural energy. Different colored fruits offer diverse phytonutrients, contributing to overall well-being. It’s naturally low in calories and fat, making it an excellent choice for a light snack, breakfast, or dessert. The natural sugars provide sustained energy without the crash associated with refined sugars.
Tips, Variations & Cooking Advice
- Seasonal Focus: Always use fruits that are in season for the best flavor and affordability.
- Herb Infusion: Experiment with other herbs like basil or cilantro for an unexpected aromatic twist.
- Spicy Kick: A tiny pinch of finely minced jalapeño or a sprinkle of chili powder can add a surprising, delicious complexity.
- Creamy Addition: For a richer version, gently fold in a dollop of Greek yogurt or a swirl of whipped coconut cream.
- Nutty Crunch: Add a handful of chopped nuts (almonds, walnuts) or seeds (chia, pumpkin) for extra texture and healthy fats.
- Dietary Adaptations: This recipe is naturally gluten-free and vegan. Adjust sweetener as needed for diabetic-friendly versions.
Common Mistakes to Avoid
- Over-mixing: Can bruise delicate fruits like berries, leading to a mushy texture. Gentle folding is key.
- Cutting Too Early: Apples and bananas brown quickly. Add them last or prepare them with a bit of citrus juice.
- Ignoring Ripeness: Underripe fruit is hard and lacks flavor, while overripe fruit becomes mushy. Select fruits at their peak.
- Too Much Dressing: A little citrus goes a long way. Too much can overpower the natural fruit flavors.
- Using Frozen Fruit: While practical for smoothies, frozen fruit becomes watery and loses its texture when thawed for a salad. Stick to fresh.
Storage & Meal Prep Tips
Store leftover fruit salad in an airtight container in the refrigerator for up to 2-3 days. The presence of citrus juice helps preserve freshness. Avoid freezing, as fruits will become mushy upon thawing. For meal prep, chop more resilient fruits like melons, pineapple, and grapes ahead of time. Slice apples, bananas, and delicate berries just before serving to maintain optimal freshness and texture.
Conclusion
Crafting your own invigorating Fruit Salad at home is a simple yet profoundly rewarding culinary endeavor. It’s not just a dish; it’s a celebration of vibrant colors, fresh flavors, and healthy eating, providing a truly delicious and healthy fruit salad. By following these steps and tips, you can transform a handful of fresh produce into a delightful masterpiece that nourishes both body and soul. Give it a try, experiment with your favorite seasonal fruits, and share your colorful creations with us! We guarantee you’ll be amazed at the difference fresh, homemade makes.
FAQs
Q1: How do I prevent my apples and bananas from browning in the fruit salad?
A1: Toss sliced apples and bananas immediately with a small amount of lime or lemon juice. The acidity helps to slow down the oxidation process that causes browning.
Q2: Can I make this fruit salad ahead of time for a party?
A2: You can prepare most of the fruit a few hours in advance, ensuring it’s well-chilled. However, for the best texture and appearance, add delicate fruits like berries and bananas, and the dressing, closer to serving time.
Q3: What are the best fruits to use in a winter fruit salad?
A3: For a winter Fruit Salad, consider using citrus fruits (oranges, grapefruits), pomegranates, kiwis, pears, and apples. These are typically in season and offer bright flavors.
Q4: My fruit salad tastes a little bland. How can I boost the flavor?
A4: Ensure your fruits are ripe and sweet. You can also add a pinch of salt to enhance natural sweetness, a tiny bit of orange zest, or a splash of orange blossom water for an aromatic uplift.
Q5: Is it possible to make a sugar-free version of this fruit salad?
A5: Absolutely! The natural sweetness of ripe fruit is often enough. For an extra touch of sweetness without added sugar, you can use a few drops of a natural sugar substitute like stevia or monk fruit, or simply omit the honey/maple syrup.